

Switch theme
Devices
Every device that runs the Konty app has its own role, which it gets when it is registered:
| Role | What it is for | On which device |
|---|---|---|
| Cash Register | Issuing receipts, the shift, cash in the register. | A computer (Windows, macOS), an Android POS terminal or tablet, or the web app in a browser. |
| Remote Ordering Device | A waiter enters orders at the table and sends them to the bar and kitchen. | An Android phone or tablet. |
| Kitchen Display System (KDS) | Showing orders in the kitchen (see Kitchen Display). | A computer, tablet or screen with the app. |
You register the first cash register during the initial setup. This page describes how to register additional devices and how devices work together.
Availability
The number of cash registers depends on your plan. Remote ordering devices and the kitchen display are available in hospitality, when the matching modules are turned on.
Registering a device
You start the registration on the device itself:
- Log in with the venue account and your PIN (see Log In).
- On the Sell items screen, click REGISTER TERMINAL in the Terminal not registered message — or open Working Day and click Set Up on the cash register card.
- In the Register terminal window, choose the device's role and fill in the details (see the sections below).
- Confirm the registration.
Registering a device requires the Allow cash register management permission; without it, the Set Up link is not shown on the Working Day screen.
Warning
Registration cannot be undone — the device keeps the chosen role. Make sure you are registering the right device. To move a cash register to another device, contact Konty support.
Cash register
Enter the Name of the cash register (for example Cash Register 2), which is shown on the Working Day screen and in reports, and click SET UP CASH REGISTER, then confirm.
Registering a cash register records the device as a cash register in your account. You then set up the printers in Printers.
Note
A cash register can also be registered in the web app. If you have reached the number of terminals in your plan, the app shows "You have reached the limit on the number of terminals that you can register. For more details, please contact support." — contact support for an additional cash register.
Remote ordering device
You register a waiter's phone or tablet as a Remote Ordering Device:
- Enter the device's Name (for example the waiter's name).
- Choose the Cash Register the device works through.
- Click SET UP REMOTE ORDERING DEVICE and confirm.
On the device, the waiter uses the table plan and the order screen as on the register (see Hospitality Sales). Order slips are printed on the register's printers: on the waiter's device, open Options → Printers and assign the register's printers to the roles (see Printers). Printing goes over the local network and, when the local network is not available, over the internet.
Availability
A remote ordering device must be an Android phone or tablet, and the number of such devices depends on your plan. It can be registered once the venue has a registered cash register and the remote ordering module is turned on.
Kitchen display
Enter the Name and click SET UP KDS. The device switches to the kitchen screen right away. A venue can have one kitchen display, and it can be registered once the venue already has a registered cash register.
Devices in Administration
In hospitality venues, all registered devices are listed in Administration, on the Terminals page (see Settings). There you change a device's name and delete devices that are no longer used. A cash register cannot be deleted.
Local network
Devices in the same venue exchange orders and print over the local network (Wi-Fi or cable), and over the internet when the local connection is not available. The central point of the local network is a cash register on a computer (Windows or macOS): waiters' phones and the kitchen display connect to it.
For the local network to work:
- all devices must be on the same network;
- the cash register on the computer must be switched on, with the app running;
- on Windows, allow the app to access the private network when you start it for the first time (see Installation).
If the venue has no cash register on a computer, there is no local network: the devices exchange data over the internet, and the connection icon blinks yellow.
Connection status
The connection icon — in the main menu on the left side of the screen, and on a phone in the top left corner of the sales screen — shows the connection state:
| Icon | Meaning |
|---|---|
| Green | The internet and the local network work. |
| Yellow, blinking | The internet works, but there is no connection to the devices on the local network. |
| Red, blinking | No internet. |
Click the icon to open the Connections window with the state of the Internet connection and, when the venue has a remote ordering device or a kitchen display, the state of the Local connection and the list of connected devices (not in the web app).
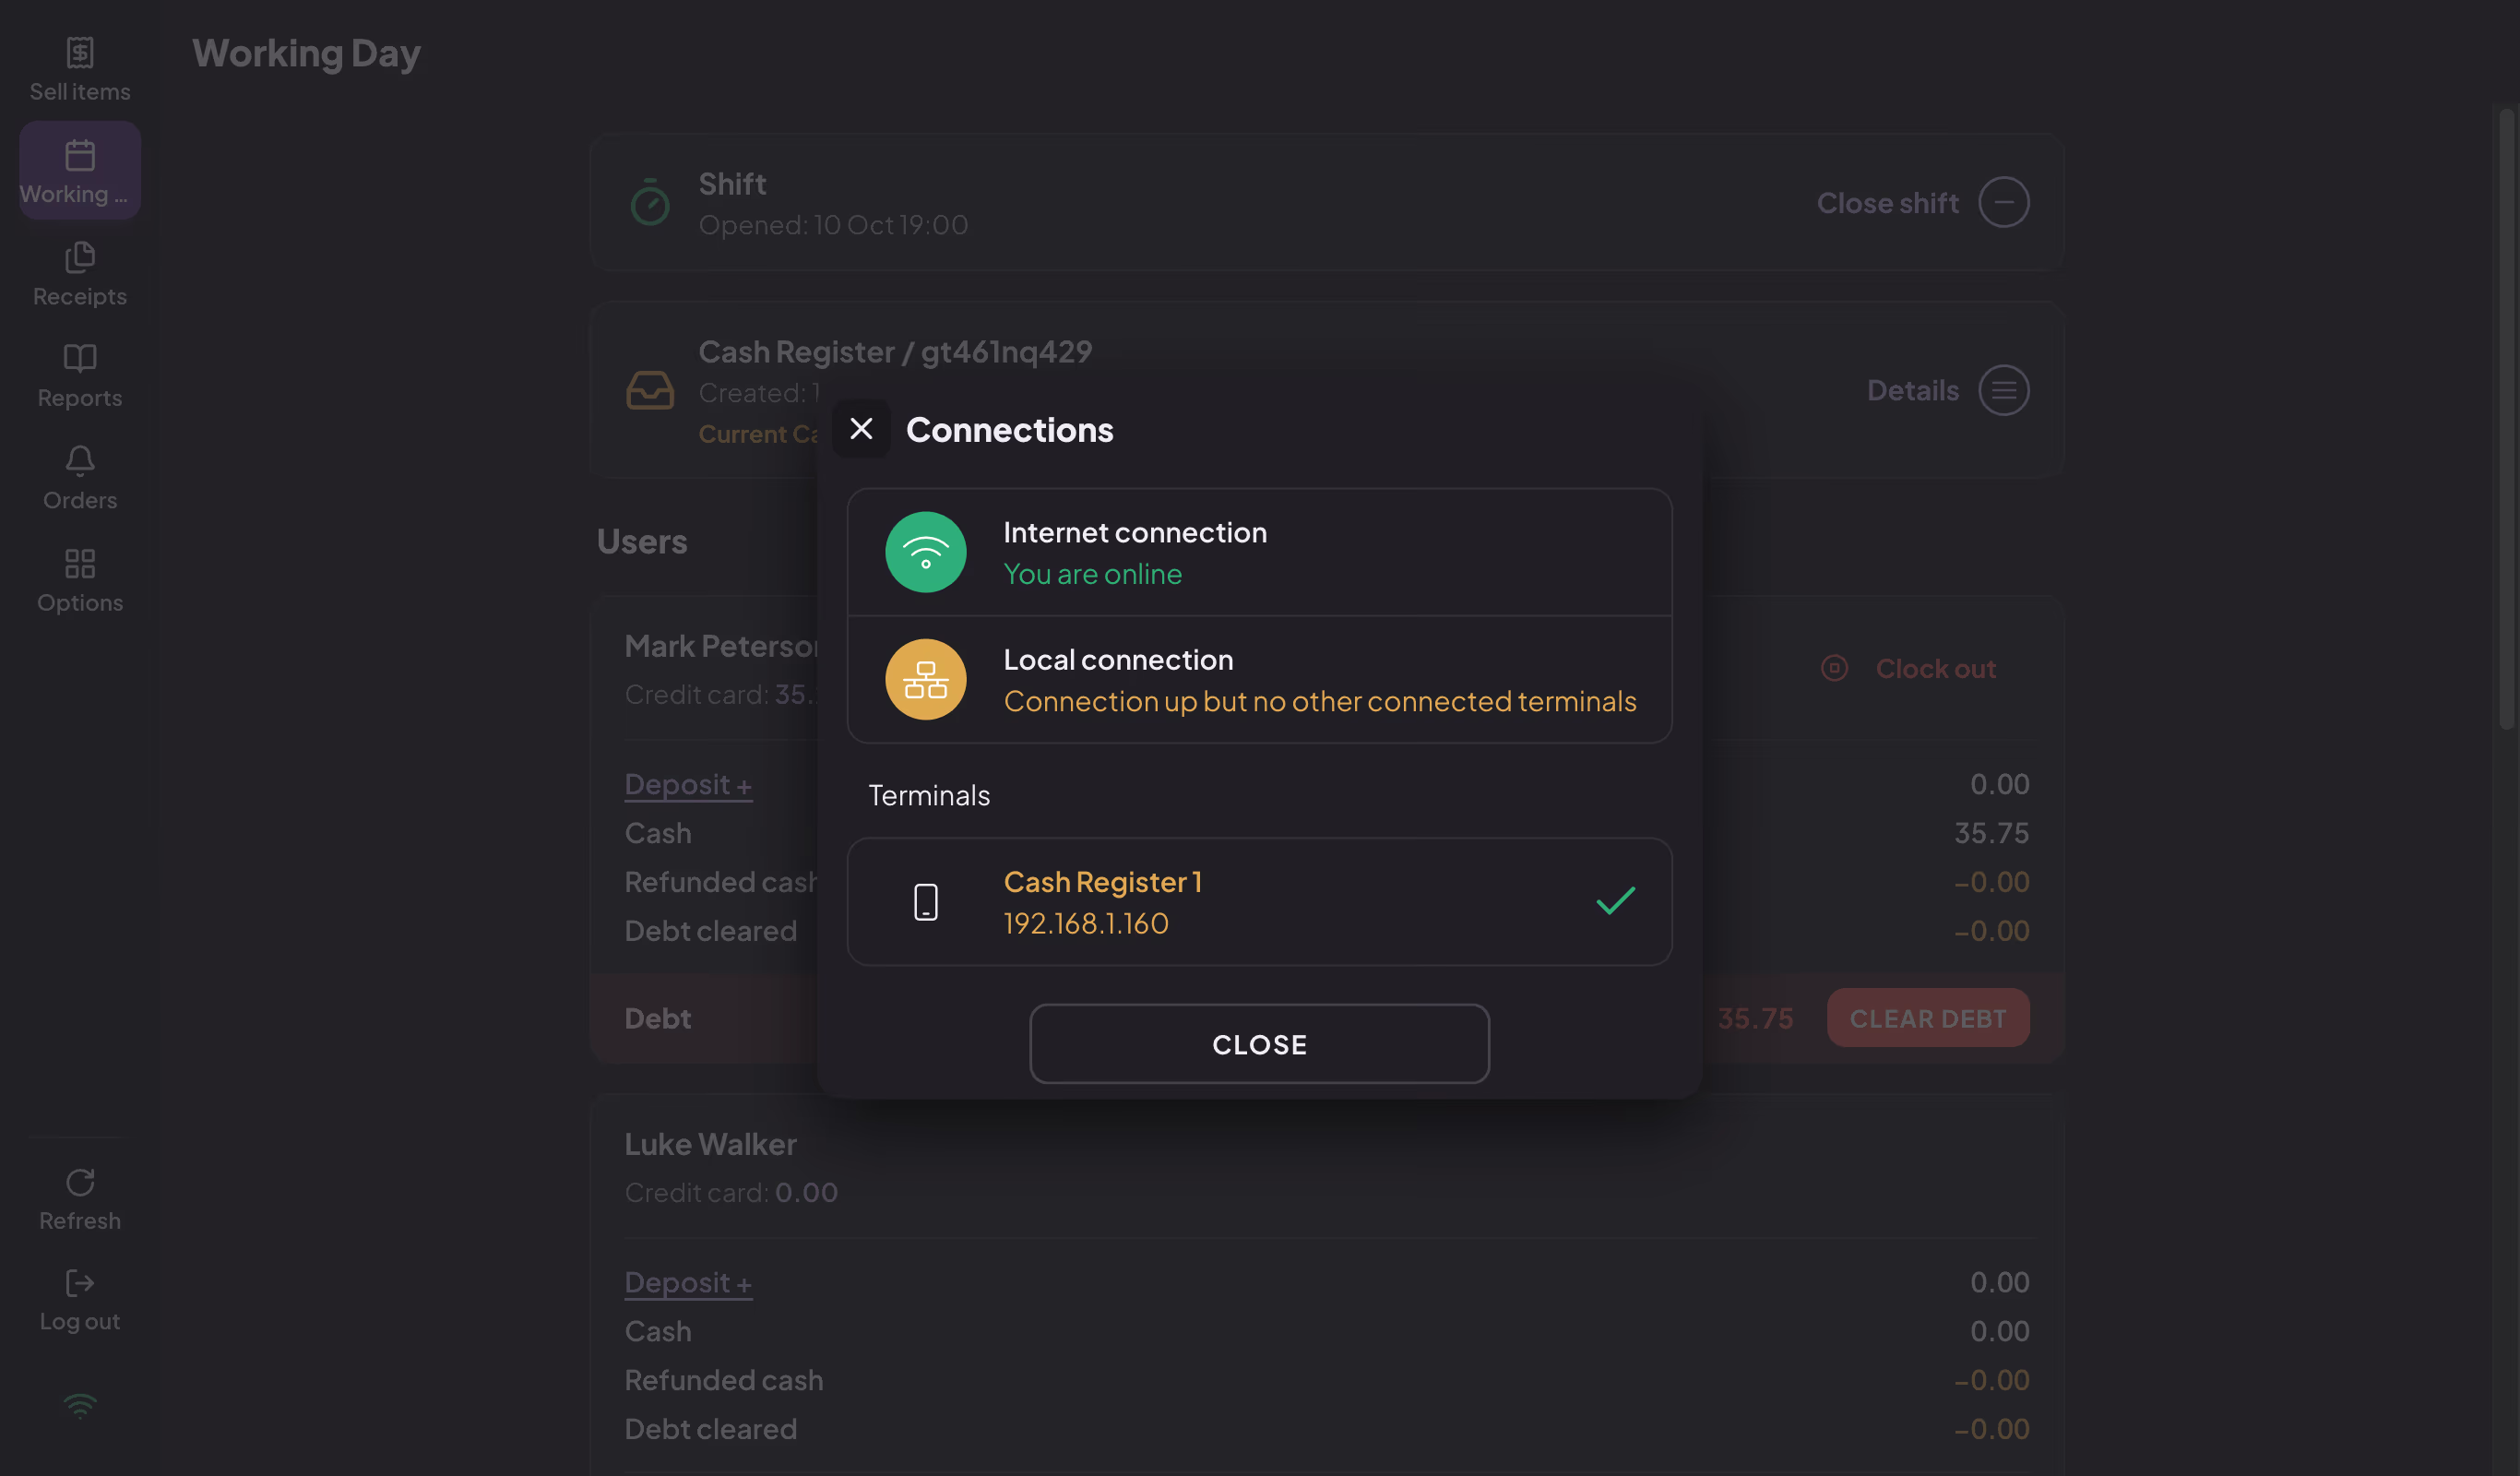
Connections window
Working offline
The register also works without the internet: you issue receipts, and the data is sent to the server when the connection returns. While there is no internet, the app shows the warning "You're offline. Please check your internet connection. Your work will not be synchronized until you get back online."
Some actions require the internet and are not available while there is no connection: approving QR orders, adding and editing items and buyers, refreshing the app, sending receipts or reports as a PDF and by email, logging the account out of the device, and some reports.
Warning
After 2 days without the internet, the app locks with the message "Offline for too long." Work continues as soon as you connect the device to the internet.