Receipts and Reports
The eighth, penultimate item on the Administration menu is Receipts and Reports. It is divided into 3 sections:
Receipts & Orders
Selecting the first available option, the user is taken to the following screen where all receipts and orders can be viewed:
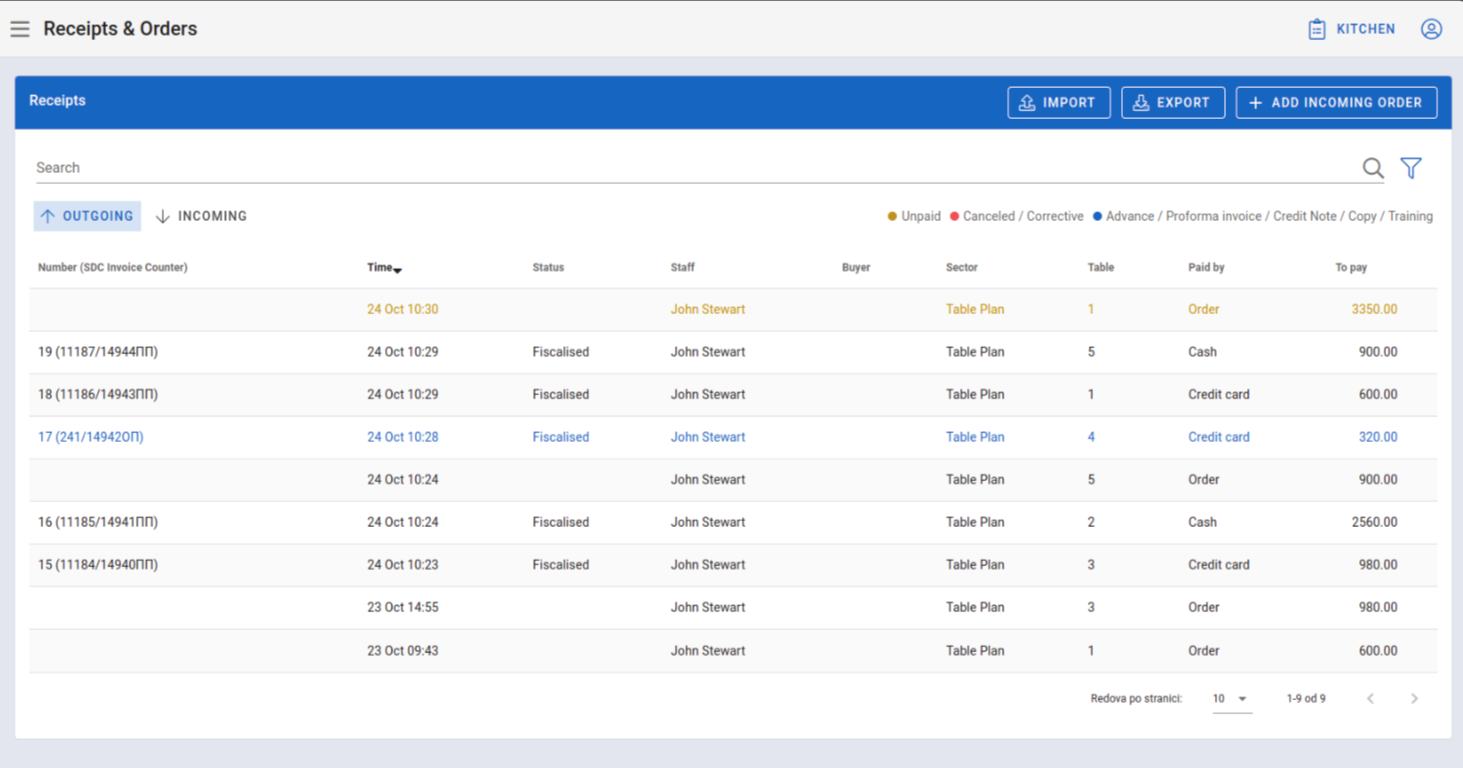
Receipts & Orders
On the right above the table, a description of the type of receipt and the color that represents it in the table is shown:

Receipt and order statuses
There are two types of receipts visible: OUTGOING, which are displayed first, and INCOMING. You can switch between these two views by selecting one of the two options shown below:
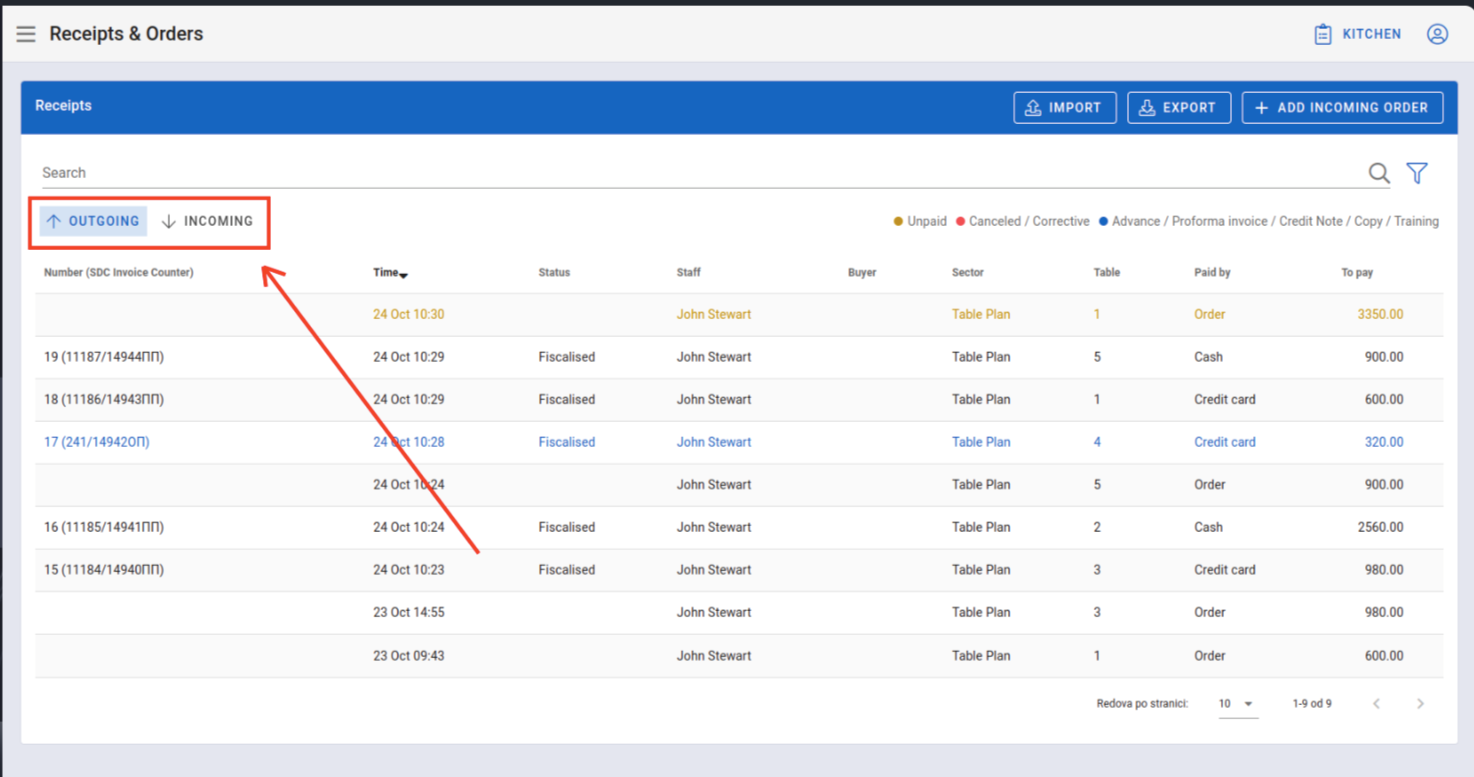
Tabs for incoming and outgoing receipts
For example, if we select the INCOMING option, the following will be displayed:
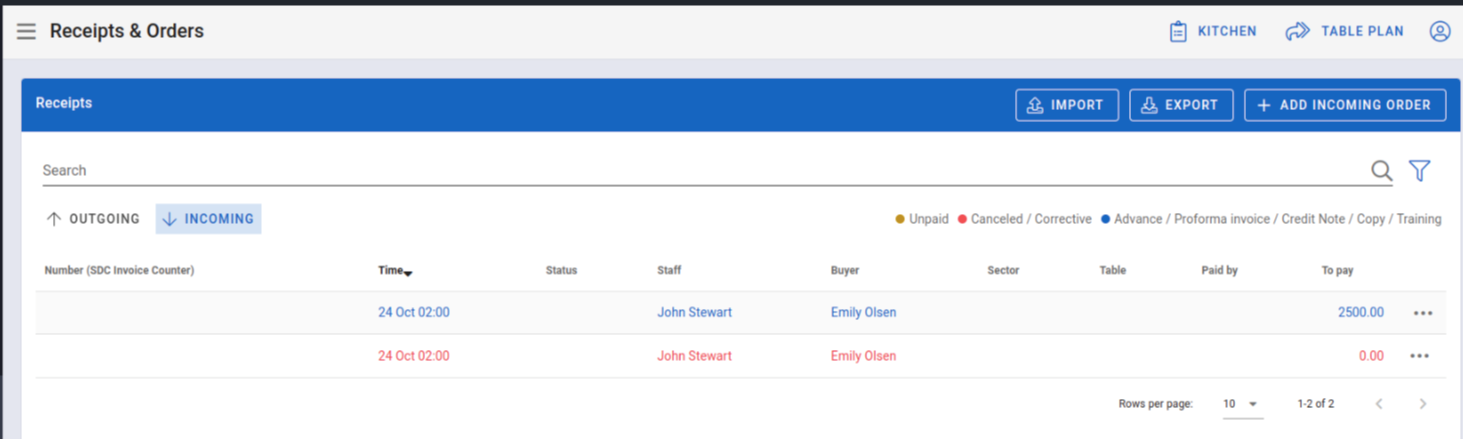
Incoming receipts and orders
Here, we see that the one of the receipts is red, which indicates that the receipt is either canceled or refunded.
Clicking on the three dots in the corner of the window will present two options:
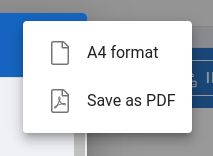
Options for the displayed receipt
By selecting the A4 format option, the receipt will be displayed in A4 format, while selecting the Save as PDF option will save the receipt to your device as a PDF.
Receipt search and filters
For a basic receipt search, use the Search field, where you can type a keyword to search for a receipt. For an advanced search, click on the funnel icon located in the upper-right corner of the receipts table:
Funnel icon
This will open a new section with a set of fields to search receipts by:
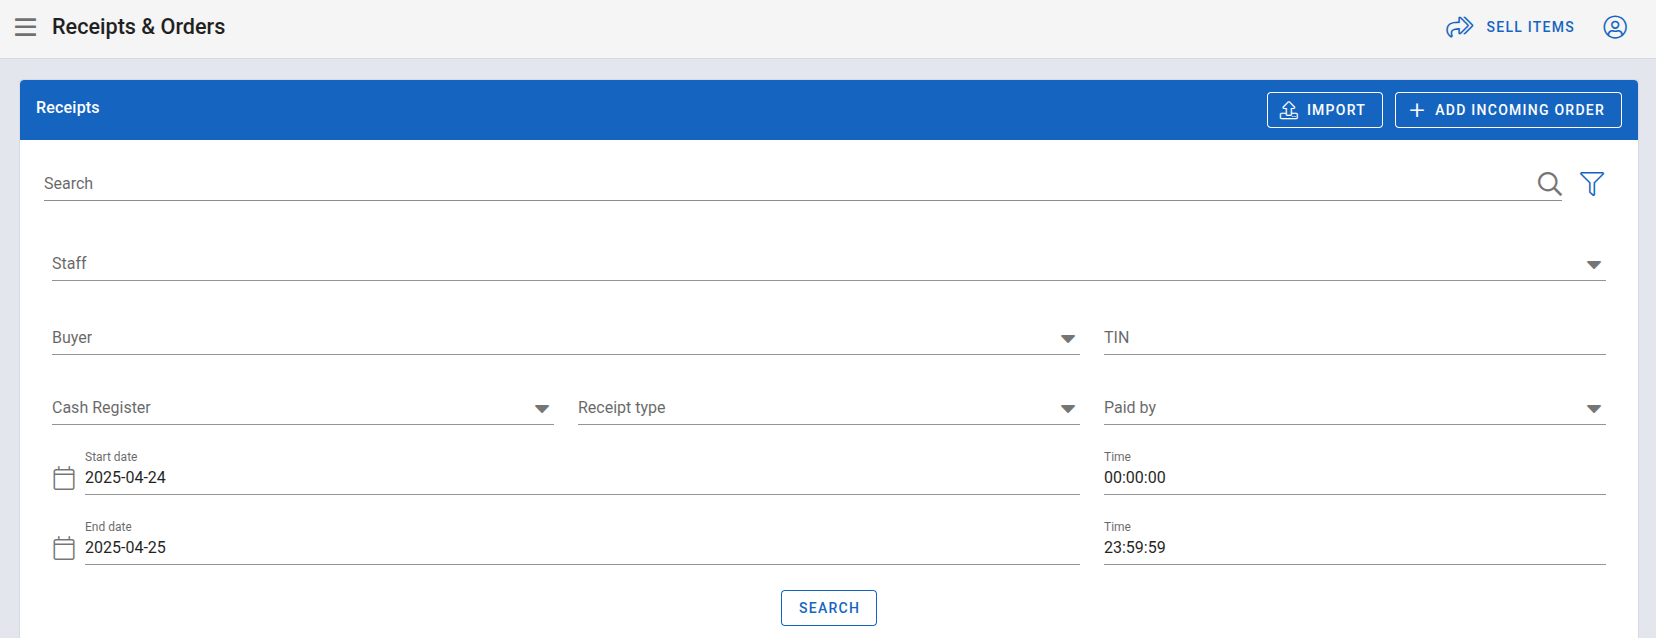
Filters for advanced search
Advanced search can search receipts by one parameter or by multiple parameters at once. You can search by:
- Staff
- Buyer
- Tax Identification Number (TIN)
- Cash register
- Receipt type
- Payment method (Paid by)
- Start and End date of receipt issuance
Import receipt
Clicking the IMPORT button, located above the table to the right, opens the window for importing receipts:
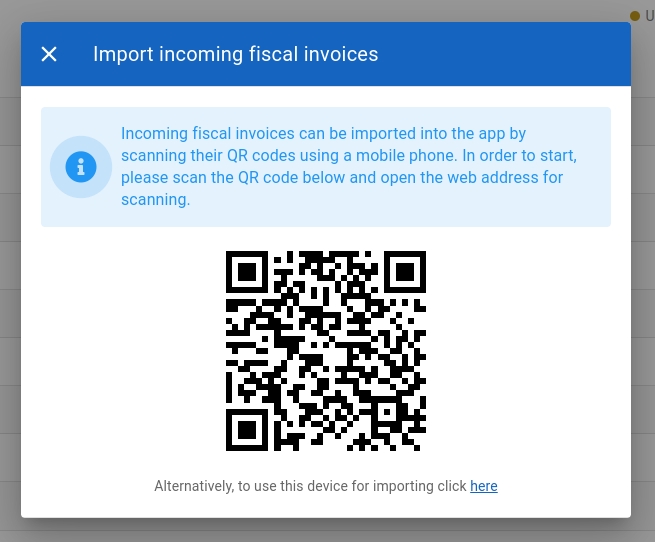
Receipt import window
Export receipts
Clicking the EXPORT button next to the IMPORT button, in the upper-right corner above the table, downloads an Excel file with all the receipts to your computer.
Add Incoming Order
Adding incoming orders can be done by clicking the ADD INCOMING ORDER button, located to the right above the table, next to the import and export buttons. The application will take you to the following page:
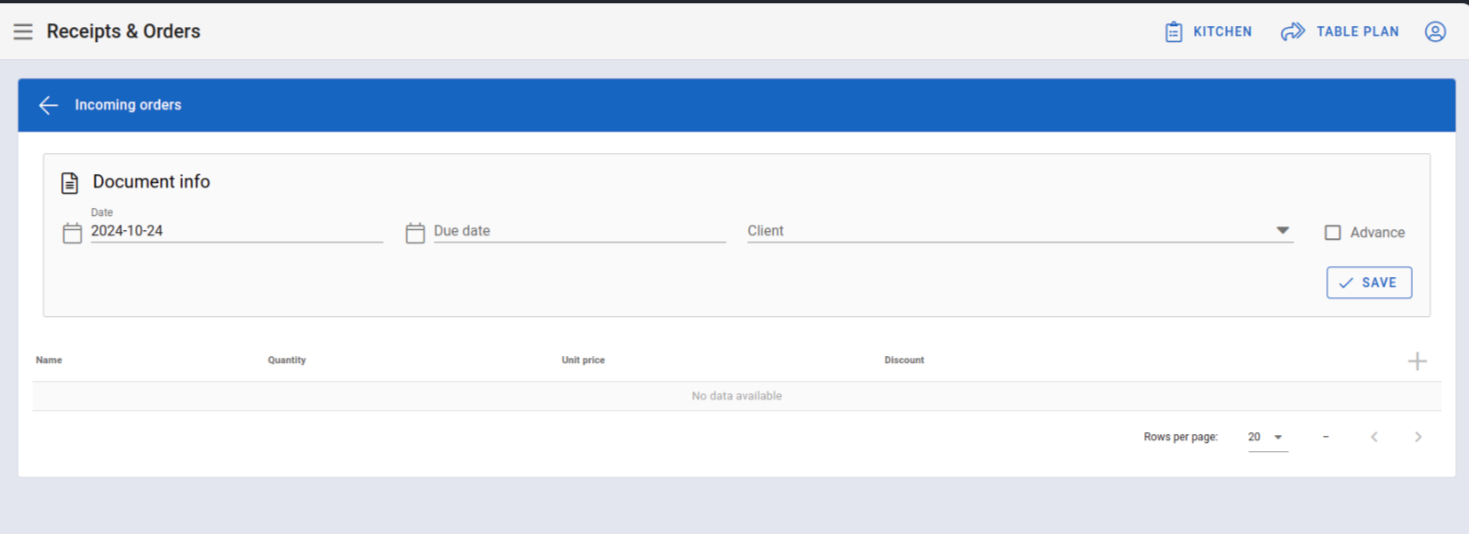
Add incoming order page
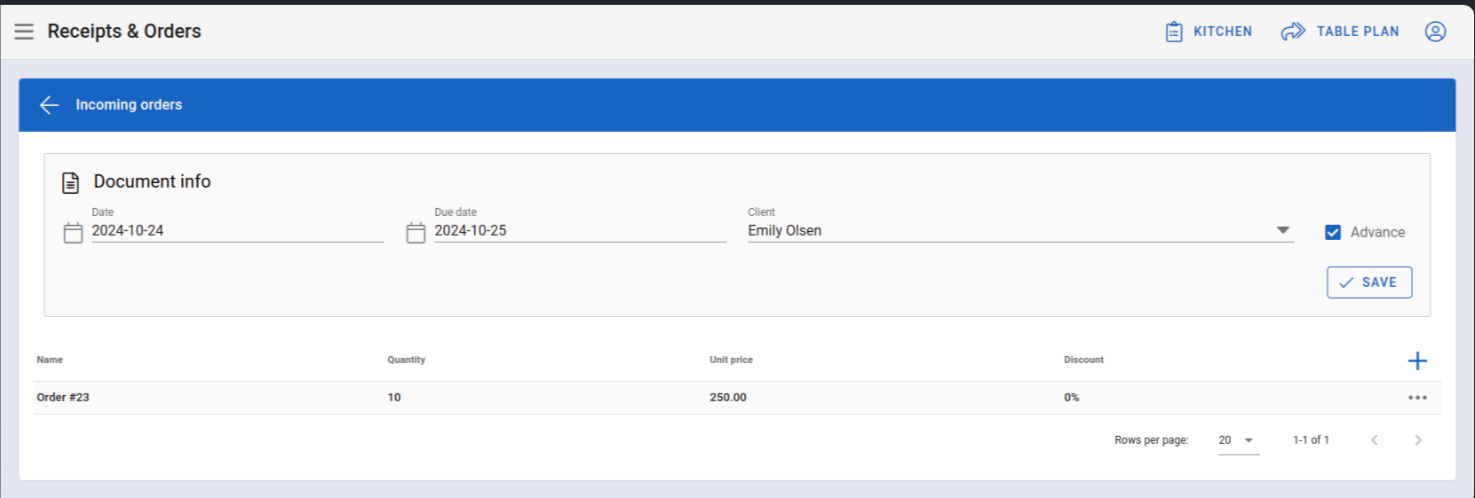
Once we fill in the details in the form above, the form will look like this:
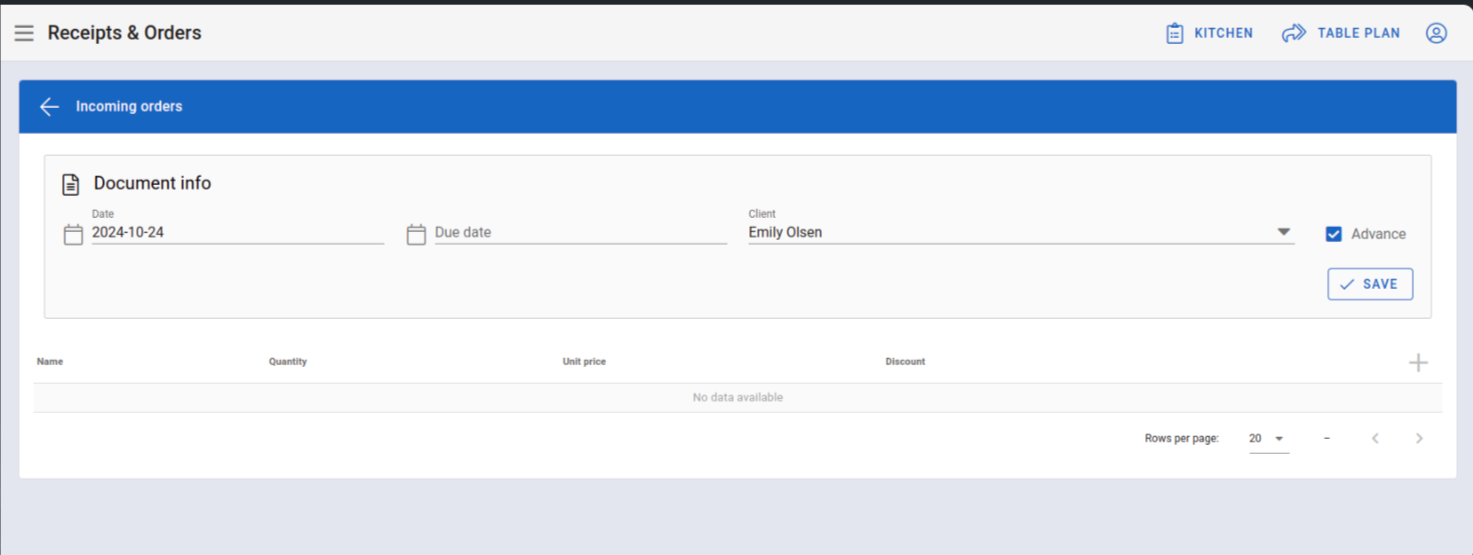
Completed form for adding incoming receipts
After clicking the SAVE button, the incoming invoice will be successfully saved.
After that, below the form, clicking on the + icon will open the window for adding the main items of the order:
Form for adding main items to the order
Once we have successfully completed the second part of the form for adding incoming receipts, clicking SAVE will save the incoming order in the system, and it will be displayed in the receipts table under the selected INCOMING option.
Options for Incoming Order Management
Clicking on the three dots at the end of the row of an incoming order opens options for managing the incoming order:
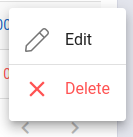
Options for managing the incoming order
Edit Incoming Order
Clicking on the Edit option takes us to the screen for editing an incoming order:
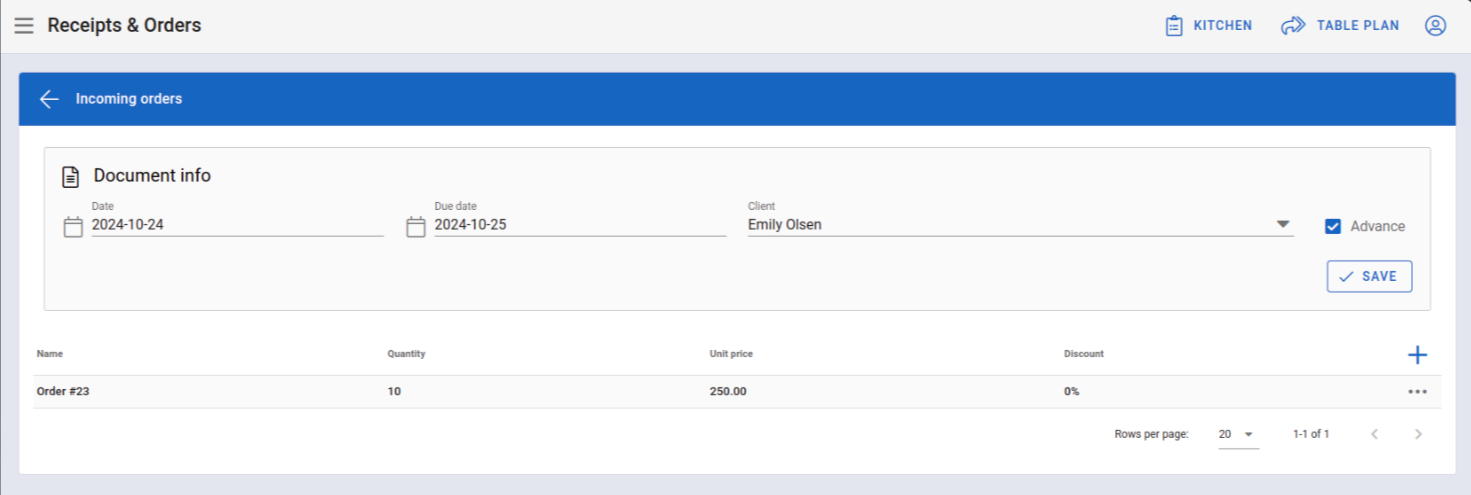
Incoming order edit screen
Here, it is possible to edit document information, as well as add new or delete existing main items of the order.
Delete Incoming Order
Deleting an incoming order is done by clicking on the three dots in the row of a order item and selecting the Delete option. After that, a confirmation window will appear:

Confirmation window for deleting a order item
Sales Reports
The second item under Receipts is Sales Reports:
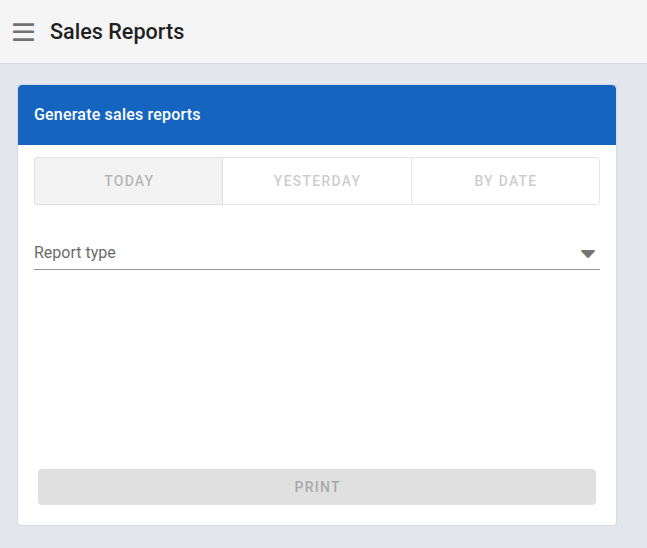
Sales Reports
On the report generation page, the dropdown menu contains types for generating reports.
Current Balance Report
The first option in the dropdown menu Report Type is the Current Balance Report. When we click on this option, the following window will open:

Current Balance Report
We can see that the Current Balance Report refers to today's working period. You can select multiple registers from which you want the report. When we select the register, clicking the PRINT button will generate the report and prepare it for printing:
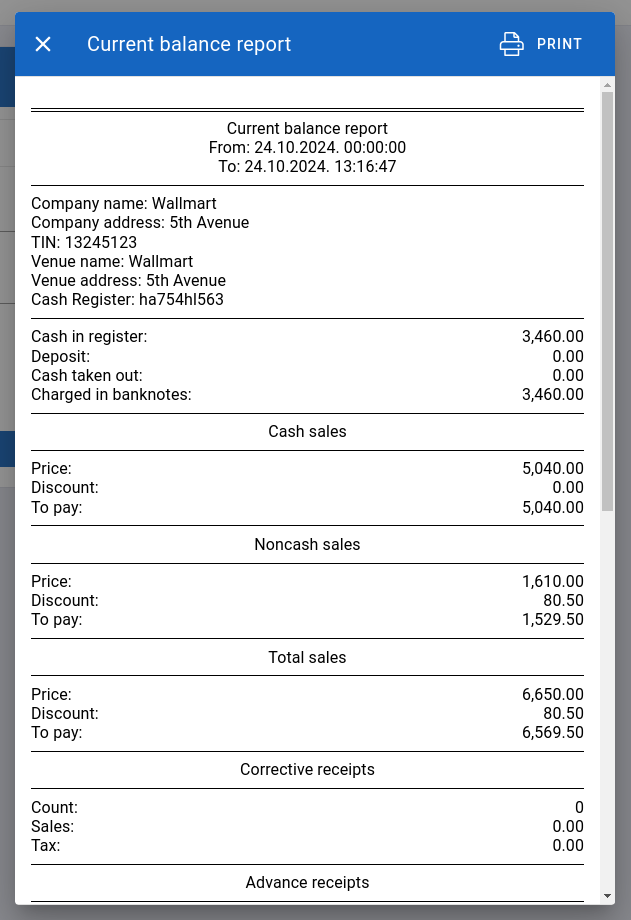
Printing the Current Balance Report
Once the report is generated, clicking on PRINT will trigger the action to print the report on the selected printer.
Daily Report
When we click on the Daily Report, we will see that the option to generate a daily report for yesterday or by date appears. If you selected "yesterday" as the report generation time, click PRINT. If you want a specific date, by clicking on the BY DATE segment, the following window will open:
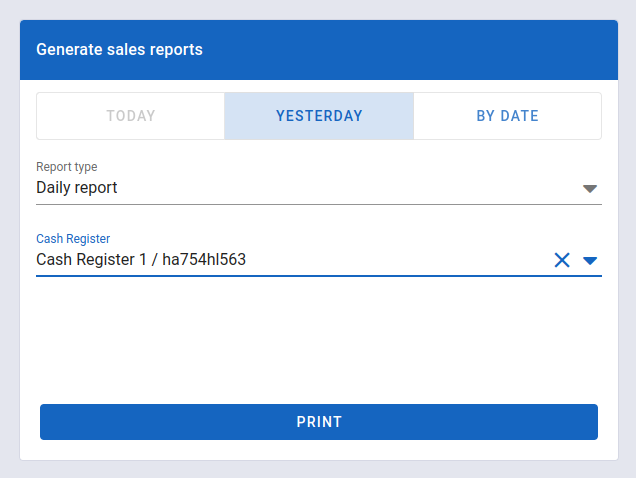
Printing the Daily Report
A field for selecting the start date opens, which essentially means just one date for the daily report, i.e., the date for which you want to extract the report. Clicking on the start date field will open the date picker. Clicking on the desired date will fill in the field, and the app is ready to generate the report.
Clicking the PRINT button will generate the report, ready for printing.
Once the report is generated, clicking on PRINT will trigger the action to print the report on the selected printer.
Periodic Report
The Periodic Report can be generated for today, yesterday, or by date. If, for example, we want to generate a report for a specific period, clicking on the "by date" segment will open a form that allows us to do that:
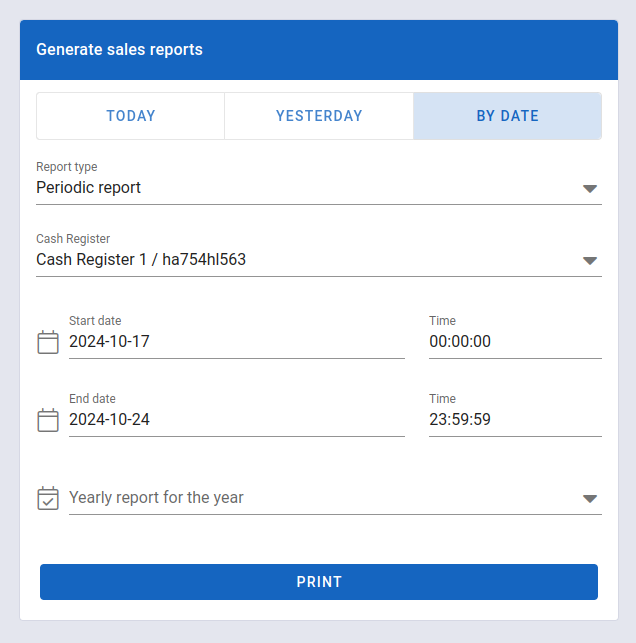
Selecting dates for the Periodic Report
In this case, we have filled in the fields to generate a report starting from October 17th until October 24th.
Clicking the PRINT button will generate the report, ready for printing.
Once the report is generated, clicking on PRINT will trigger the action to print the report on the selected printer.
Shift Report
When selecting the Shift Report, it is necessary to choose the register where the shift is open:
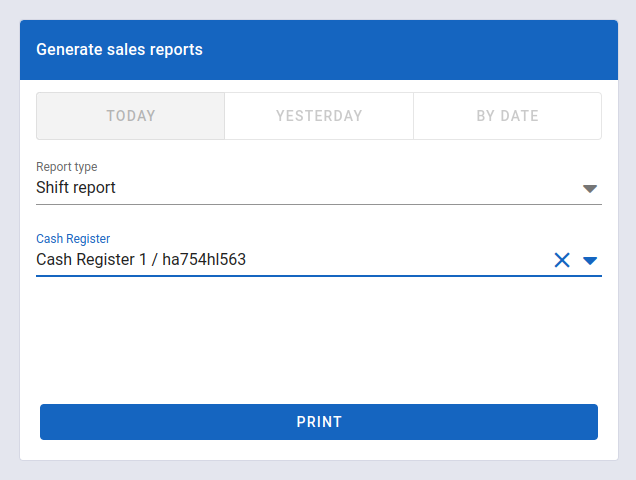
Shift Report
Clicking the PRINT button will generate the report, ready for printing:
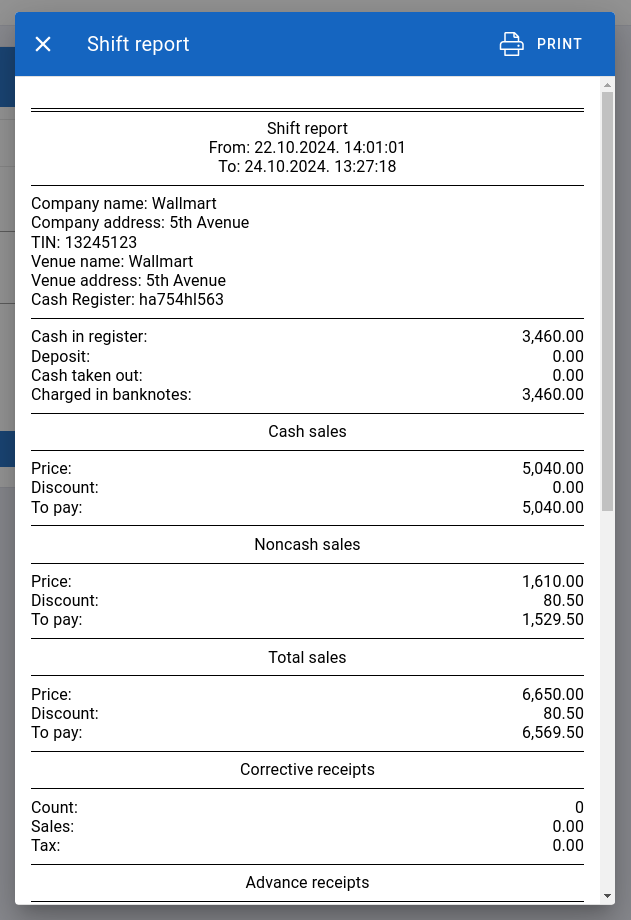
Printing the Shift Report
Once the report is generated, clicking on PRINT will trigger the action to print the report on the selected printer.
Total Sales
The Total Sales report generates the total sales for the selected period. When we select this report type, the following image will open:
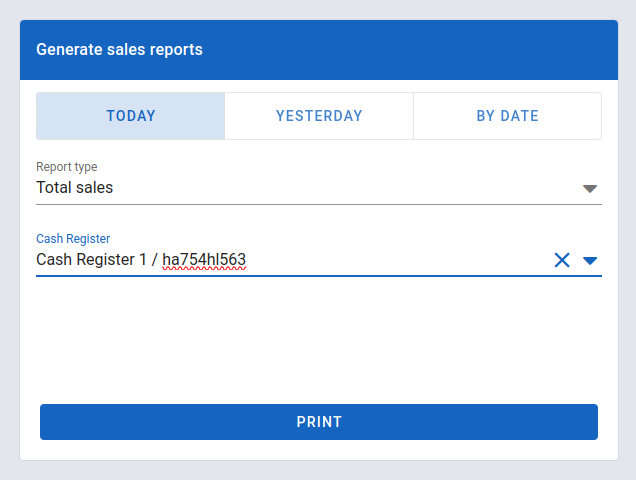
Total Sales
Clicking the PRINT button will generate the report, ready for printing.
Once the report is generated, clicking on PRINT will trigger the action to print the report on the selected printer.
Sales by Buyer
The Sales by Buyer report generates the sales made by the selected buyer for the selected period. When we select this report type, the following image will open:
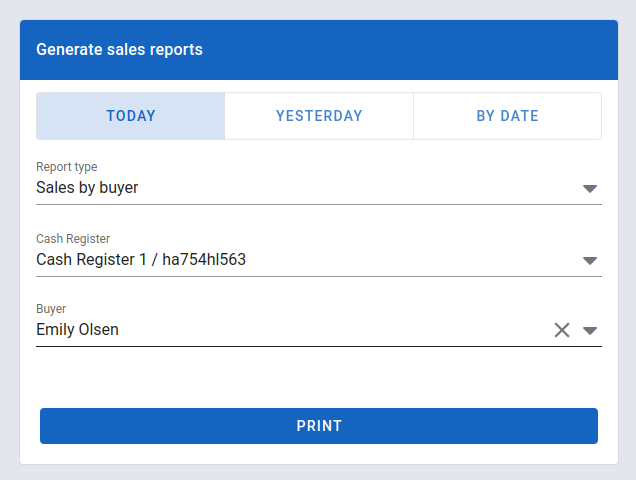
Sales by Buyer
After that, select the desired period, and clicking the PRINT button will generate the sales report by buyer.
Sales by Staff Member
The Sales by Staff Member report generates the sales made by employees in the selected period. When we select this report type, the following image will open:
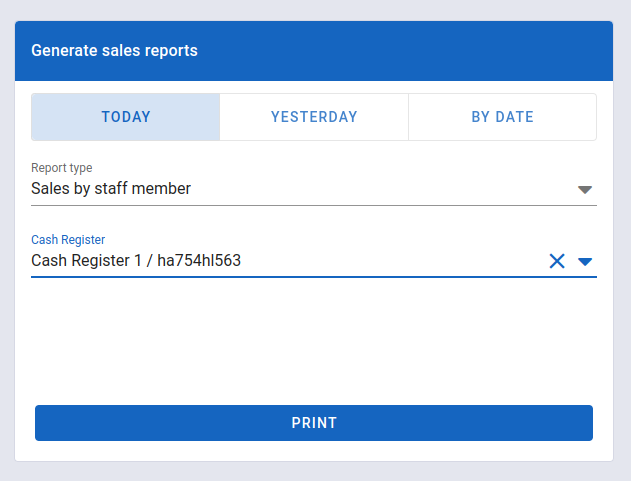
Sales by Staff Member
After that, select the desired period, and clicking the PRINT button will generate the sales report by staff member.
Sales by Inventory Item
The Sales by Inventory Item report generates sales by selected inventory items in the selected period. When we select this report type, the following image will open:

Sales by Inventory Item
Here, multiple items can be selected to display in the report.
Sales by Inventory Item Category
The Sales by Inventory Item Category report generates sales by all inventory item categories in the selected period. When we select this report type, the following image will open:
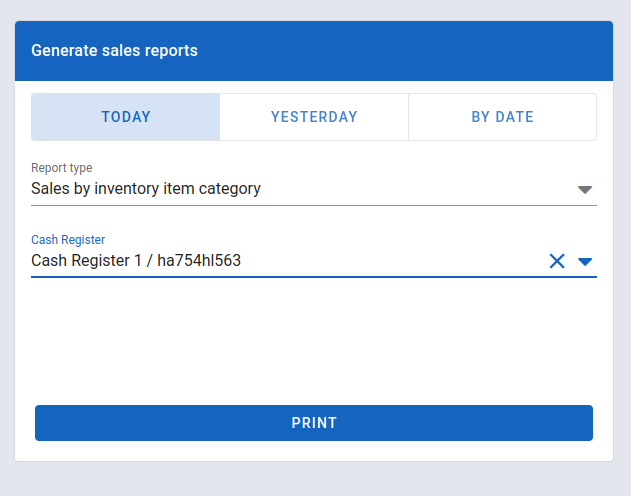
Sales by Inventory Item Category
After that, clicking the PRINT button will generate the sales report by inventory item category.
Sales by Inventory Item Type
The Sales by Inventory Item Type report generates sales by a certain inventory item type in the selected period. When we select this report type, the following image will open:
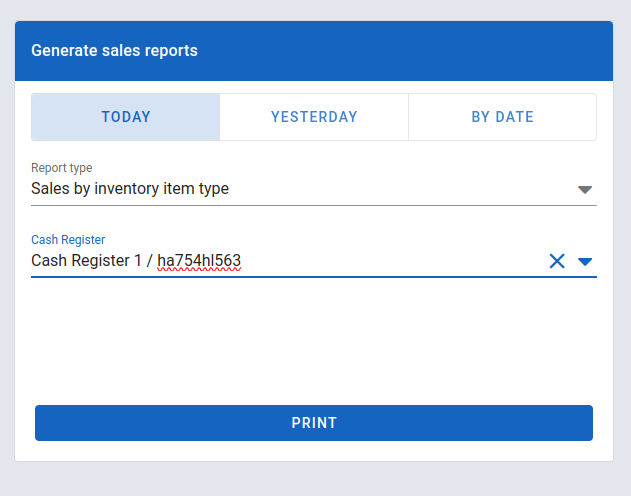
Sales by Inventory Item Type
After that, clicking the PRINT button will generate the sales report by inventory item type.
Sales and Taxes Summary by Inventory Item Type
The report for Sales and Taxes Summary by Inventory Item Type generates the total sales and taxes by a specific type of inventory item. When we select this type of report, the following image will open:
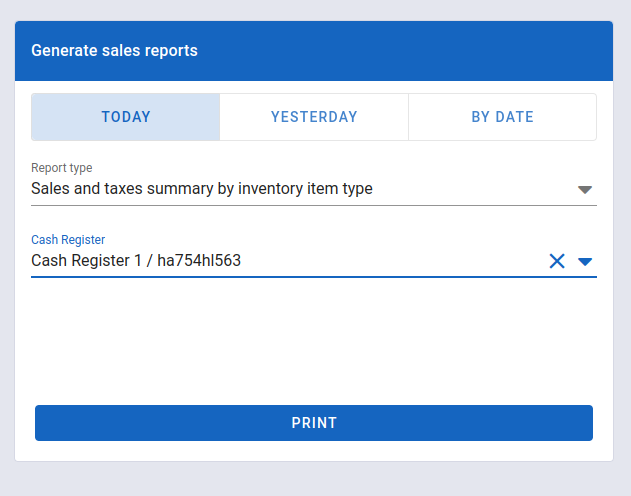
Sales and Taxes Summary by Inventory Item Type
After that, clicking the PRINT button will generate the report for Sales and Taxes Summary by Inventory Item Type.
Sales by Sector
The report for Sales by Sector generates the sales of items by sector in the selected period. When we select this type of report, the following image will open:

Sales by Sector
After that, clicking the PRINT button will generate the report for Sales by Sector.
Ingredients Sales
The report for Ingredients Sales generates sales of ingredients in the selected period. When we select this type of report, the following image will open:
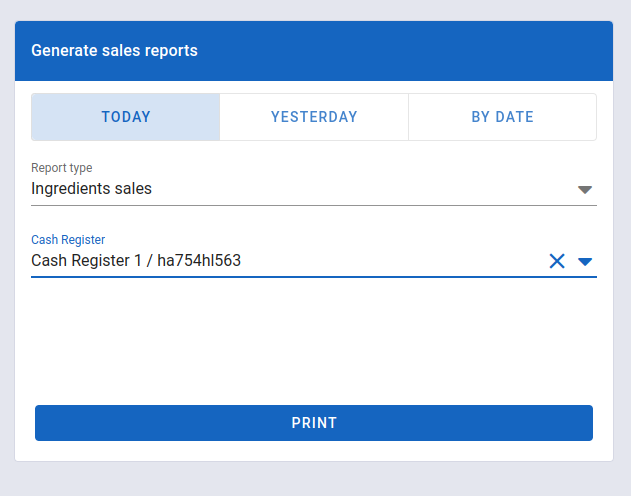
Ingredients Sales
After that, clicking the PRINT button will generate the report for Ingredients Sales.
Stock
The report for Stock generates the total sales and taxes by a specific type of inventory item. When we select this type of report, the following image will open:
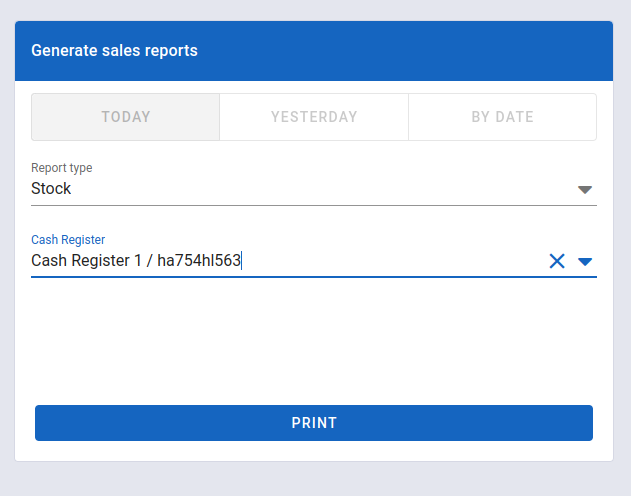
Stock
Clicking the PRINT button will generate the report ready for printing:
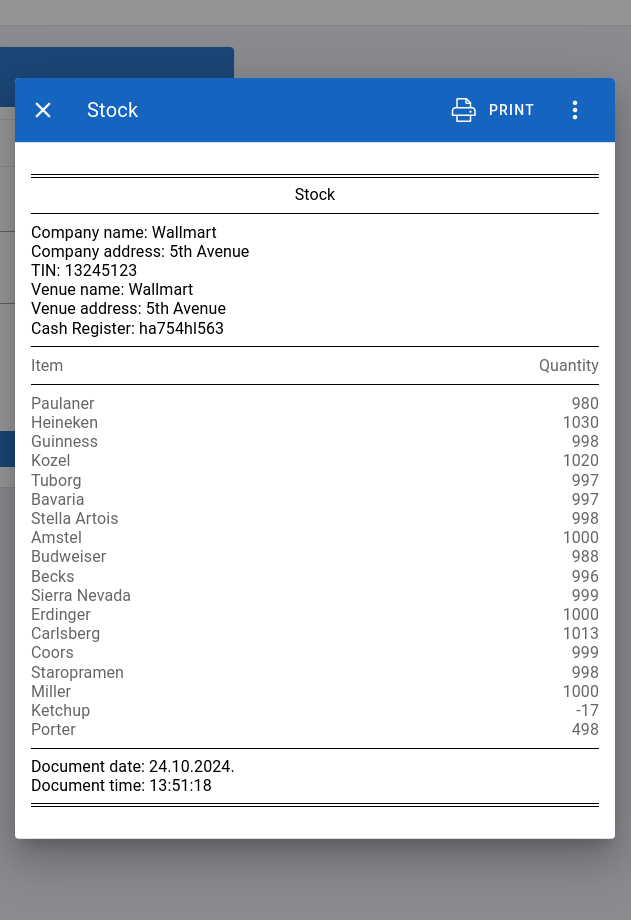
Printing the Stock Report
Sales at the Bar
The Sales at the Bar report provides details on daily sales for a selected period in the hospitality sector:

Sales at the Bar
Clicking the PRINT button will generate the report ready for printing:
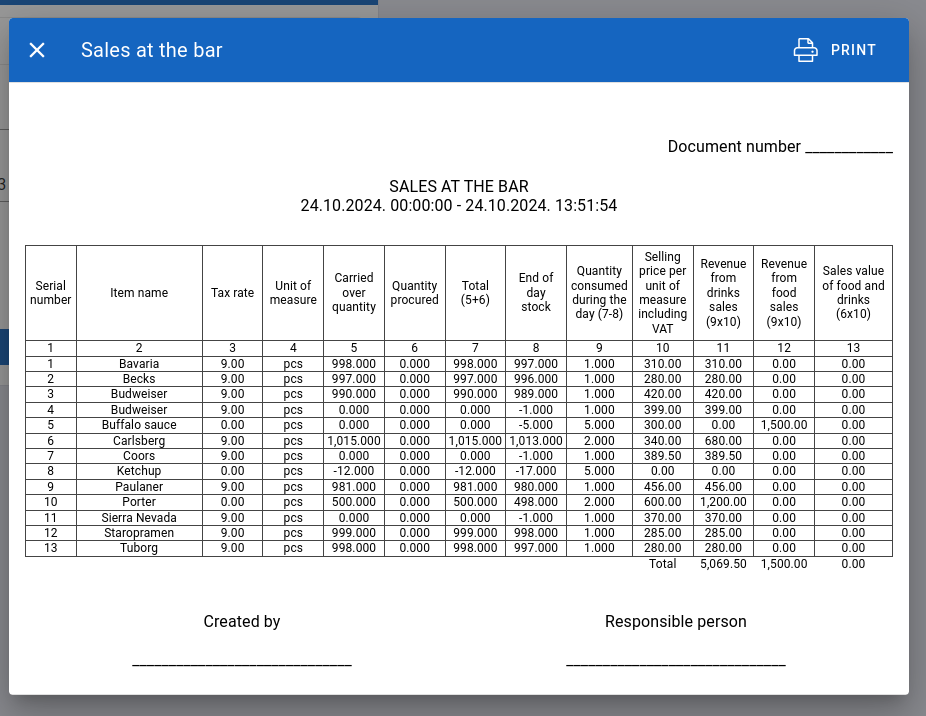
Printing the Sales at the Bar Report
Once the report is generated, clicking the PRINT button will start the print action on the selected printer.
Working Hours
The Working Hours page displays how many hours employees have worked during a selected time period:
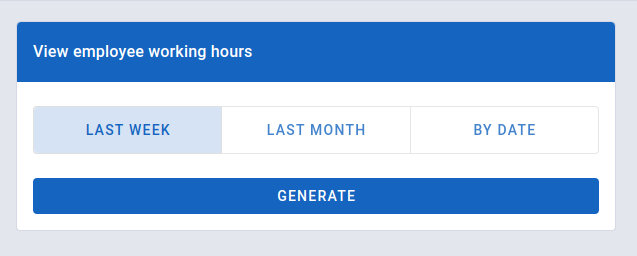
Working Hours
There are three segments for generating the Working Hours report:
- Working hours for the last week
- Working hours for the last month
- Working hours by a specific date range
Here, we will show an example of generating working hours by date.
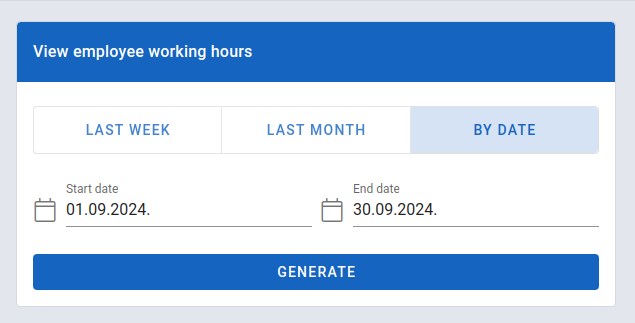
Selecting Dates for Working Hours
Once the desired date is selected, by clicking the GENERATE button, a report will be shown displaying how much time each employee has spent working with the application:
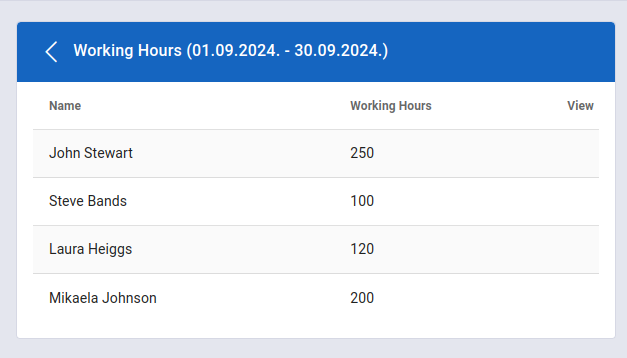
Employees' Working Hours