Registration
Account registration in Konty app
When you start the aplication the following window will appear:
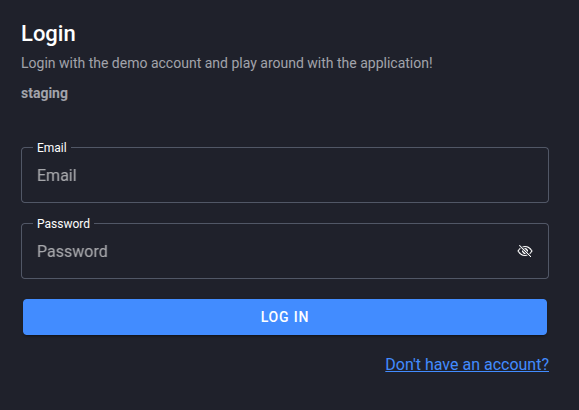
Log in screen
The form shown above is the form for accessing the service. Since you will not have an account when using the application for the first time, it is necessary to create one.
On the form, find and click on the option that says Don't have an account?, which is located below the button that says LOG IN, and the registration form will be displayed:
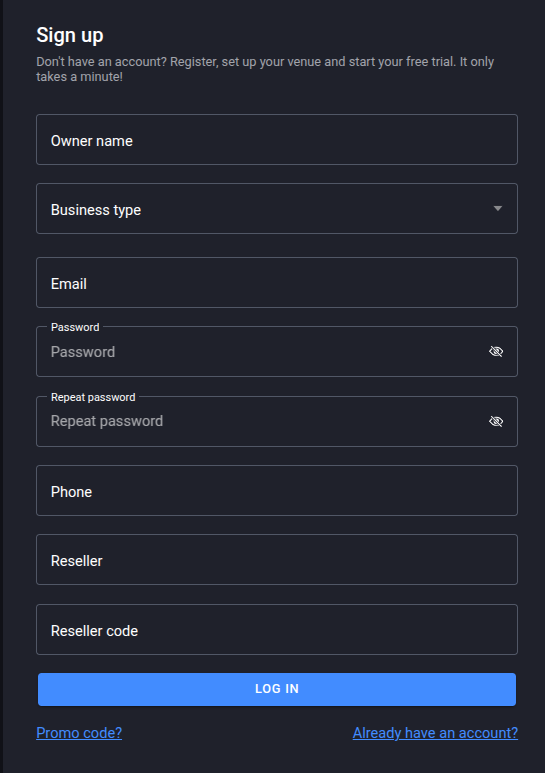
Registration form
The form consists of the following fields:
- Owner Name - enter the name of the owner
- Business Type - enter the type of your business (Hospitality or Retail and services)
- Email - enter your e-mail
- Password - enter the password (it must consist of at least 8 characters)
- Repeat password - re-enter password
- Phone - enter your phone number
- Reseller - enter the name of the reseller (when typing, if your reseller exists in our system, it will be offered as an option)
- Reseller's code - enter your reseller's code
NOTE: All fields are mandatory, and user registration will not be successful if the entire form is not filled out completely and correctly!
After you complete the form, by clicking on the LOG IN button, your account has been created and you need to set it up for work through a couple of simple steps that are explained in detail in the following instructions.
Basic business settings
Company Information
The next screen that will be displayed is the screen shown in the picture below:

Form for entering your business venue and company info
The form for Information about the business object consists of the following fields:
- Venue - enter the name of your business facility, eg. Captain Jack
- Country - enter the country
- Venue address - enter the address of the business facility, e.g. Profesorska 13
- Administrator PIN - enter the PIN with which you will log in to the sales system, this field must have a minimum of 4 characters
- Repeat PIN - confirm the PIN entered above
- Company name - enter the name of the company
- Company address - enter the address where your company is located
- Postal number - enter the postal number
- City - enter the city
- TIN - enter TIN (Tax Identification Number)
- Bank account number - enter your company's bank account number
After correctly filling out the form, it should look like the picture below:
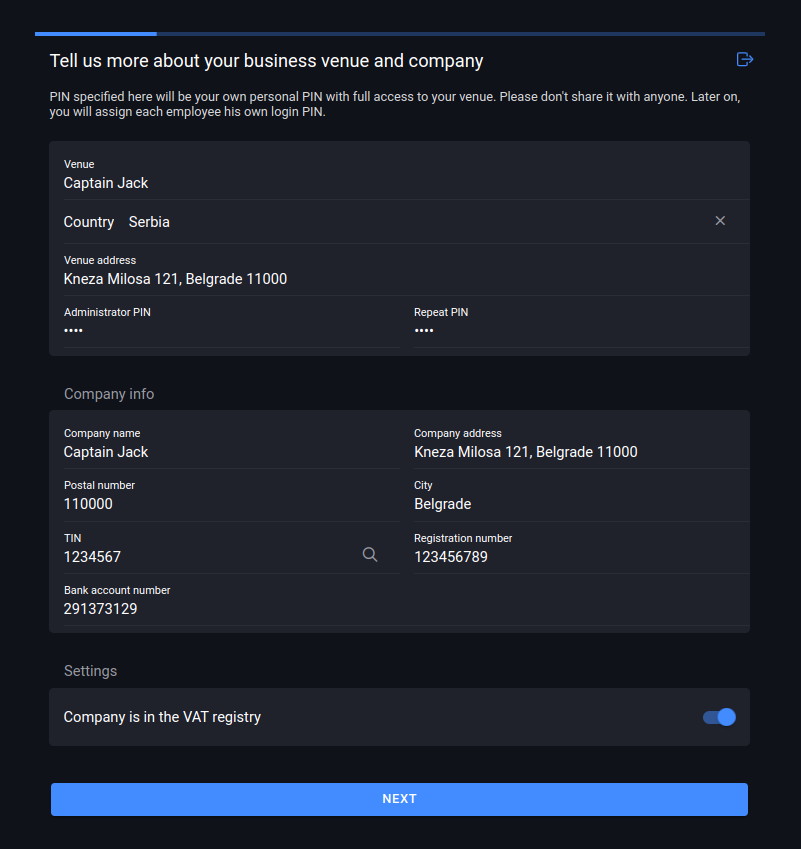
Completed form for entering your business venue and company info
Now we can click NEXT.
Items
The form that will greet you is the form for importing items:
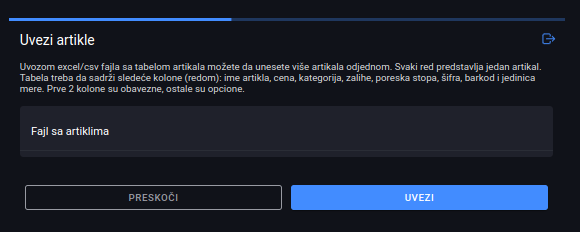
Import items form
This page is used to enter a large number of items from an already prepared file.
If you still do not want to insert items into the system, you have the option to click the SKIP option, which will take you to the next step. You will be able to enter the items later.
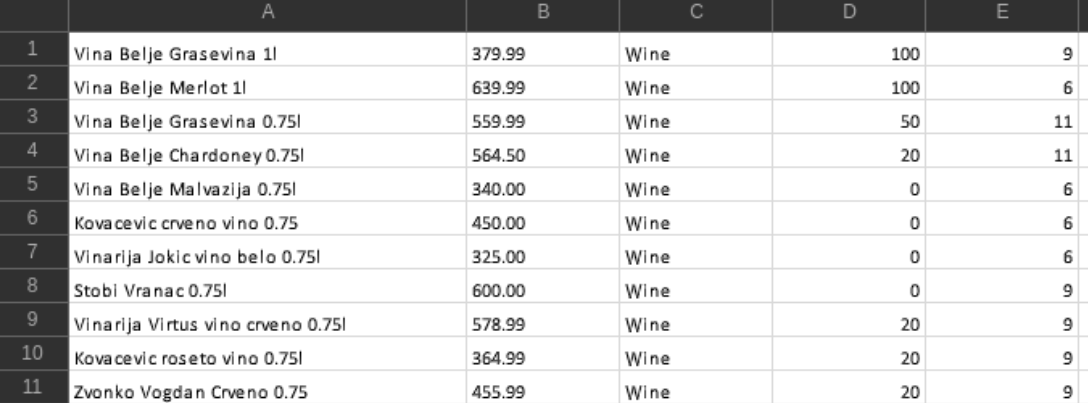
If you want to insert a file with items, click on File with items. After that, a window will open in which you need to find a file with your items in excel / csv format. In that file, a table with items should be defined, in which each row represents one item.
The table should contain the following columns (in order):
- item name
- price
- category
- supplies
- tax rate
- the code
- barcode
The first 3 columns are mandatory, as is the fifth (the value of the tax rate in percentages that must correspond to one of the currently prescribed tax rates).
Articles
When you have successfully filled in the File with items field and successfully entered the file with items, click on the IMPORT button. The printer settings window will open.
Printer settings
The window you will see is the following:
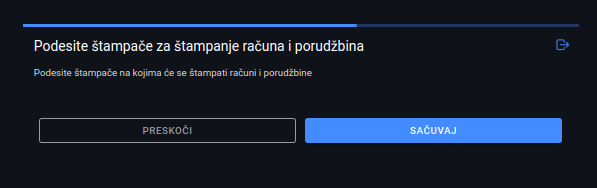
Printer Setup Screen
TODO : Fix this...
Register checkout
The last item is registering the cash register:
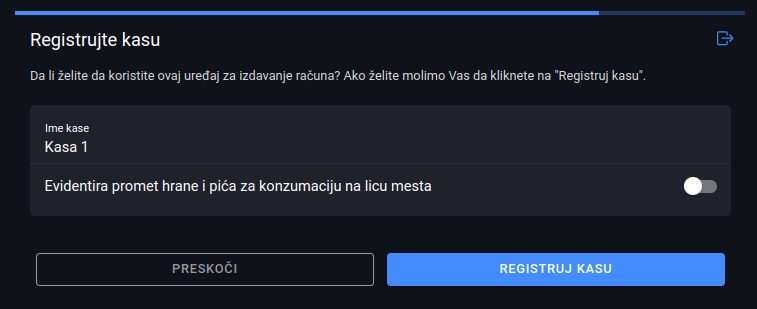
Cash register
Here the program asks if we want to mark this device as a device from which we will issue fiscal invoices. If we do, click on REGISTER CASH. This successfully completes the registration on the e-fiscalization system and the application is ready for use.
The user will then be redirected to the page for entering the PIN code he created during registration:

PIN input
After entering the PIN correctly, the rest of the application is ready.