Users
The next option in the administration menu is Users. By clicking on this option in the navigation, two options will appear in the dropdown menu:
Users
By clicking on Users, then again on Users, you will see the following screen:
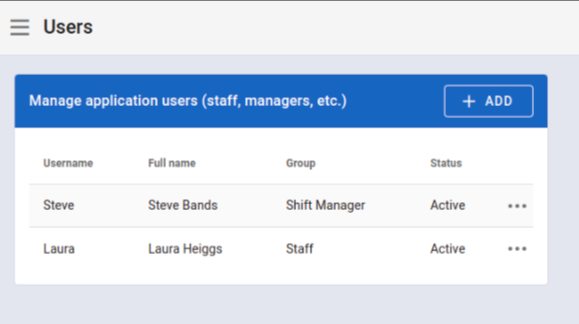
Users
Here, it is possible to see a list of all available users in the system. You can add new ones, edit, or delete existing ones.
Add User
To add a new user, click the ADD button located in the top right corner above the table. After that, the following window will appear:
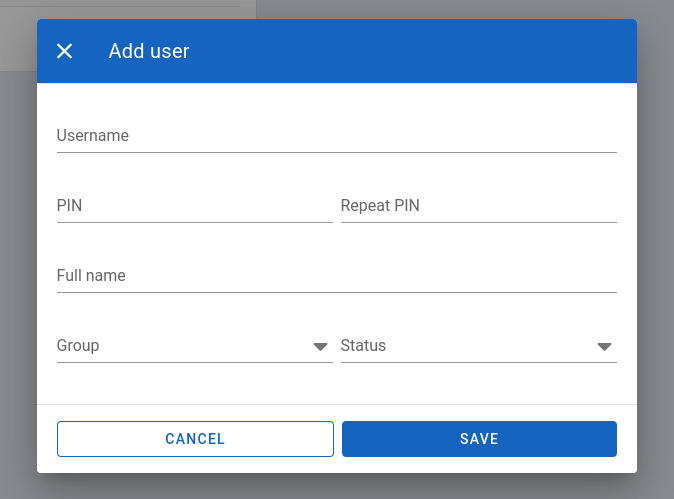
Window for adding a new user
After successfully filling out the form with all the necessary information, by clicking the SAVE button, it will create and save the user in the system.
NOTE: It is important to note that the PIN must be unique for each person within the company, as it is used to identify the individual logging into the sales interface.
Options for User management
To access additional options over users, you need to click on the three dots in the row in which a specific user is located. The following options will appear:
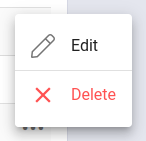
Options for user management
Edit User
Clicking on the Edit option will open the following window:
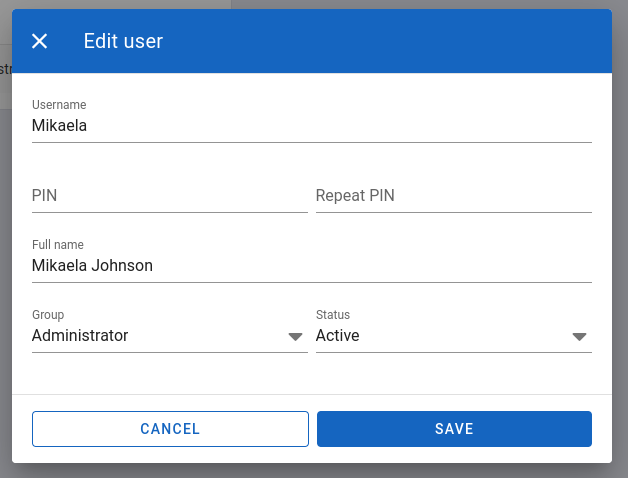
Window for editing a user
After making the desired changes, click the SAVE button to save the changes.
Delete User
If we want to delete a user, by clicking on the three dots next to the Status column, the user options will appear again, and we will click on the Delete option. A warning window will appear:

Confirmation window for deleting a user
Clicking CONFIRM will permanently delete the user from the system.
User Groups
The second option is User Groups:
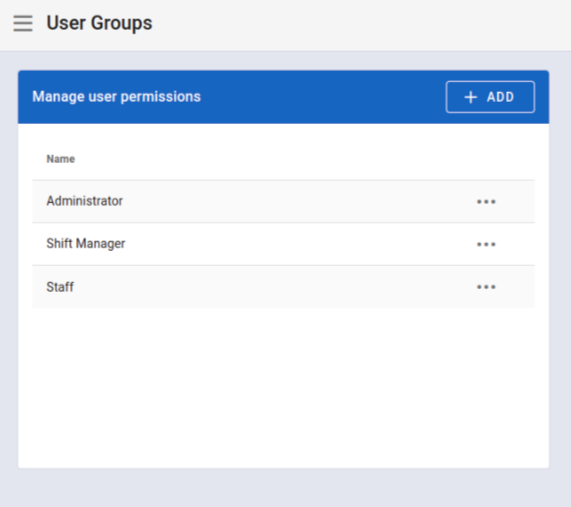
User Groups
Add User Group
Adding a new user group is possible by clicking the ADD button in the top-right corner above the table. Then, the user groups table will be replaced with the following form:
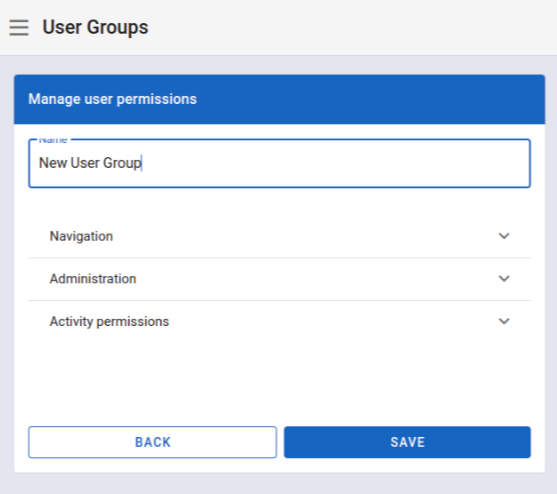
Form for adding a user group
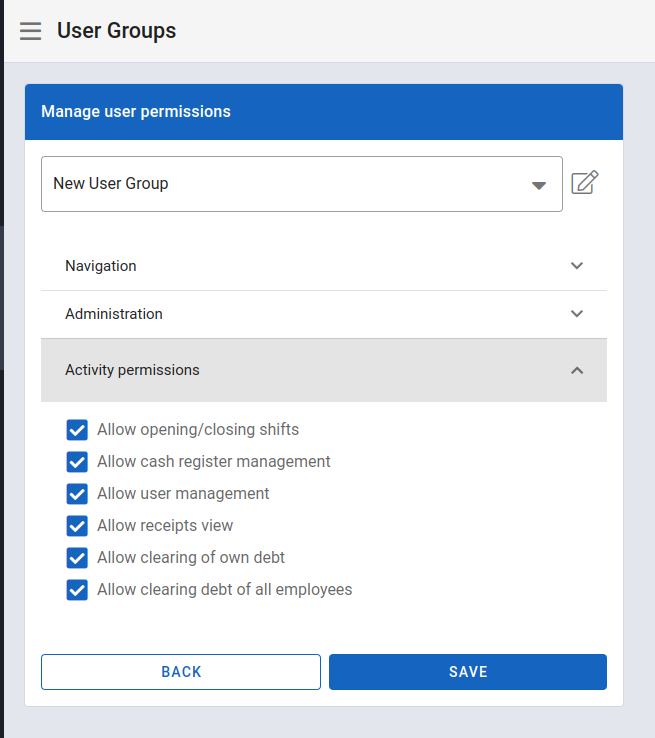
In the Name field, enter the name of the new user group. The Navigation, Administration, and Activity Permissions sections allow you to select access rights to certain functionalities of the application. An example is shown below:
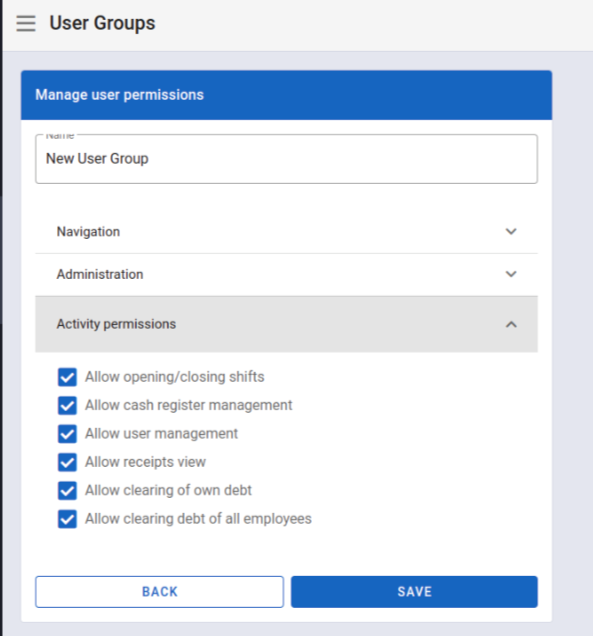
Assigning permissions in the form for adding a user group
After entering the name and setting all permissions for the new user group, click the SAVE button. A message will appear confirming the successful data entry, and that user group will be added to the existing list of user groups.
Options for User Group management
To access additional options over user groups, you need to click on the three dots in the row in which a specific user group is located. The following options will appear:
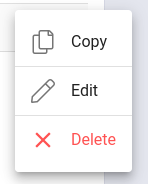
Options for User Group management
Copy User Group
Clicking on Copy selects the option to copy a user group. This is typically used when you want to create a new user group that is very similar to one of the existing user groups.
Edit User Group
To edit a user group, click on the three dots in the row containing the user group you want to edit. From the previously shown options for user groups, choose Edit. A page will open that looks similar to the form for adding a user group, but it will already be filled with the data of the selected user group.
Form for editing a user group
After making the desired changes, click the SAVE button to update the current user group.
Delete User Group
To delete a user group, click on the three dots in the row containing the user group you want to delete. The options for the user group will appear, and you click on Delete. A confirmation window for the deletion action will open:
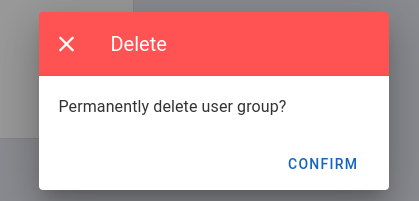
Confirmation window for deleting a user group
Once you are sure, click CONFIRM, which will permanently delete the user group from the system.