Sell Items - Retail
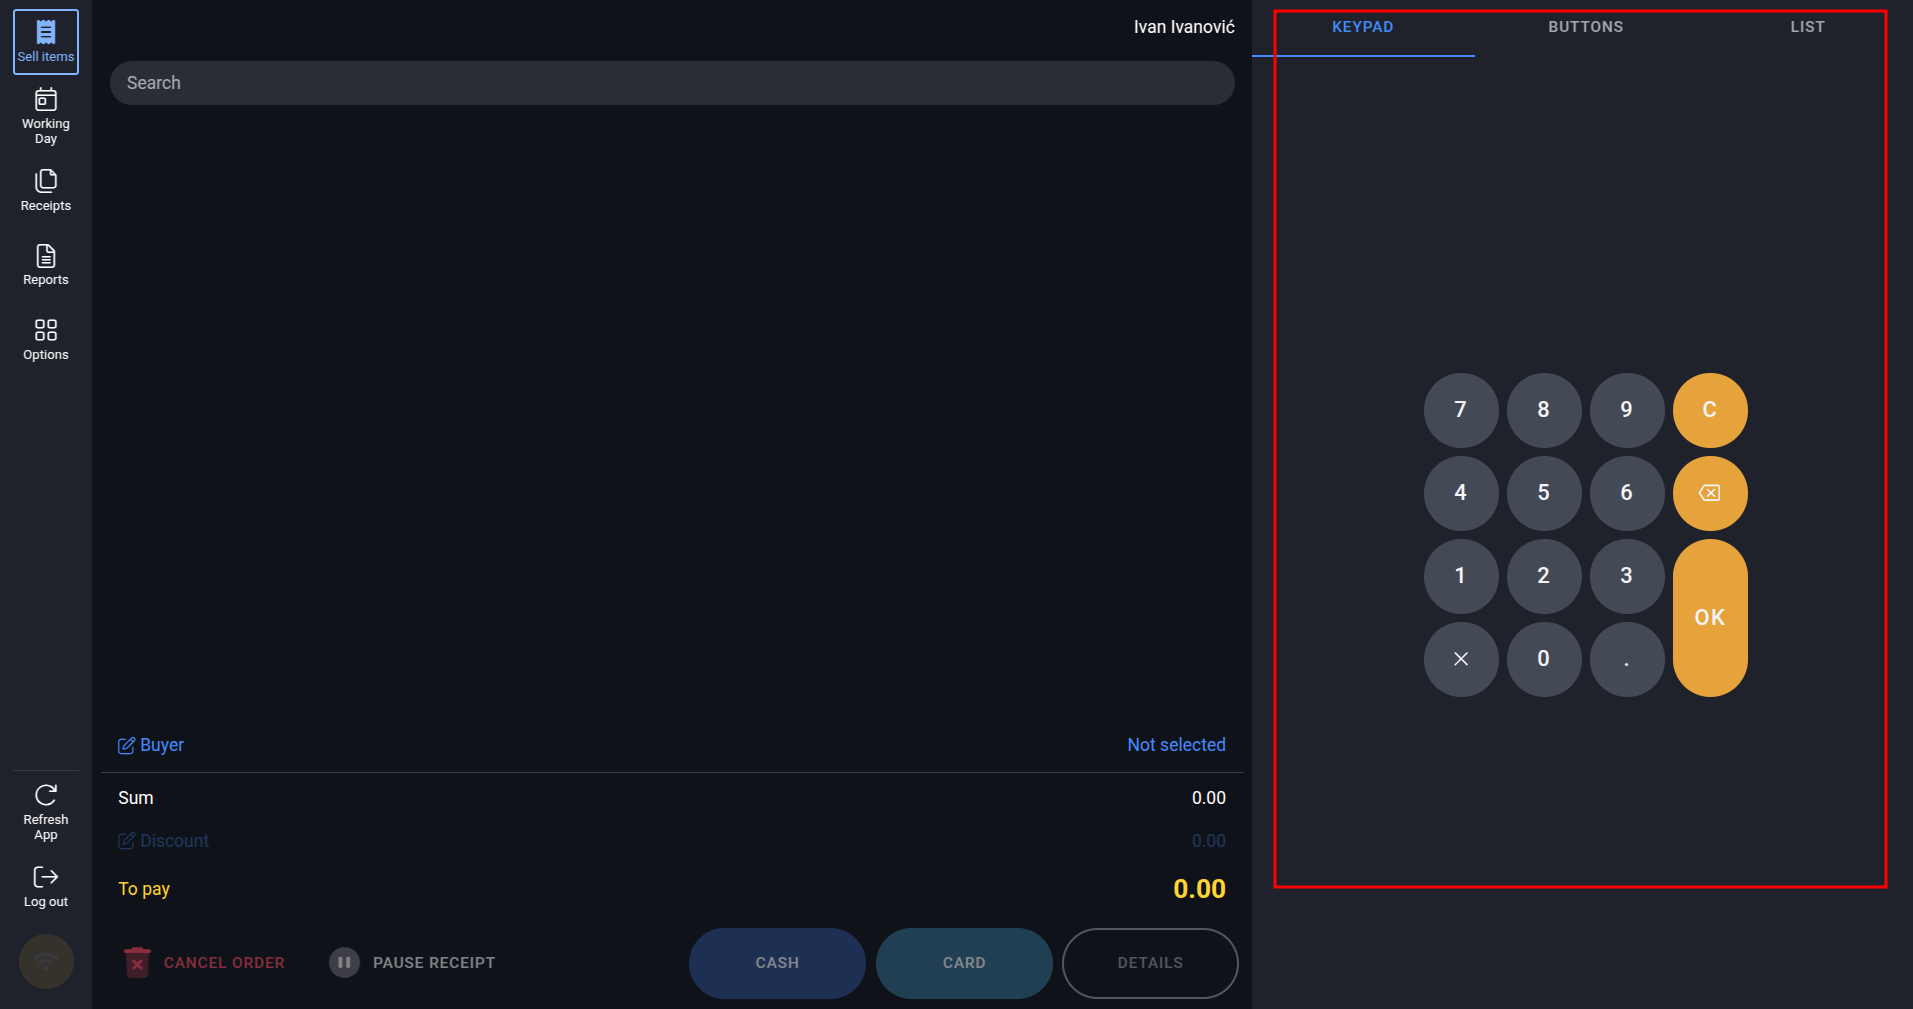
After we start our shift on the Work Day page, the Sell Items screen will be enabled for use and will look as shown in the image below:
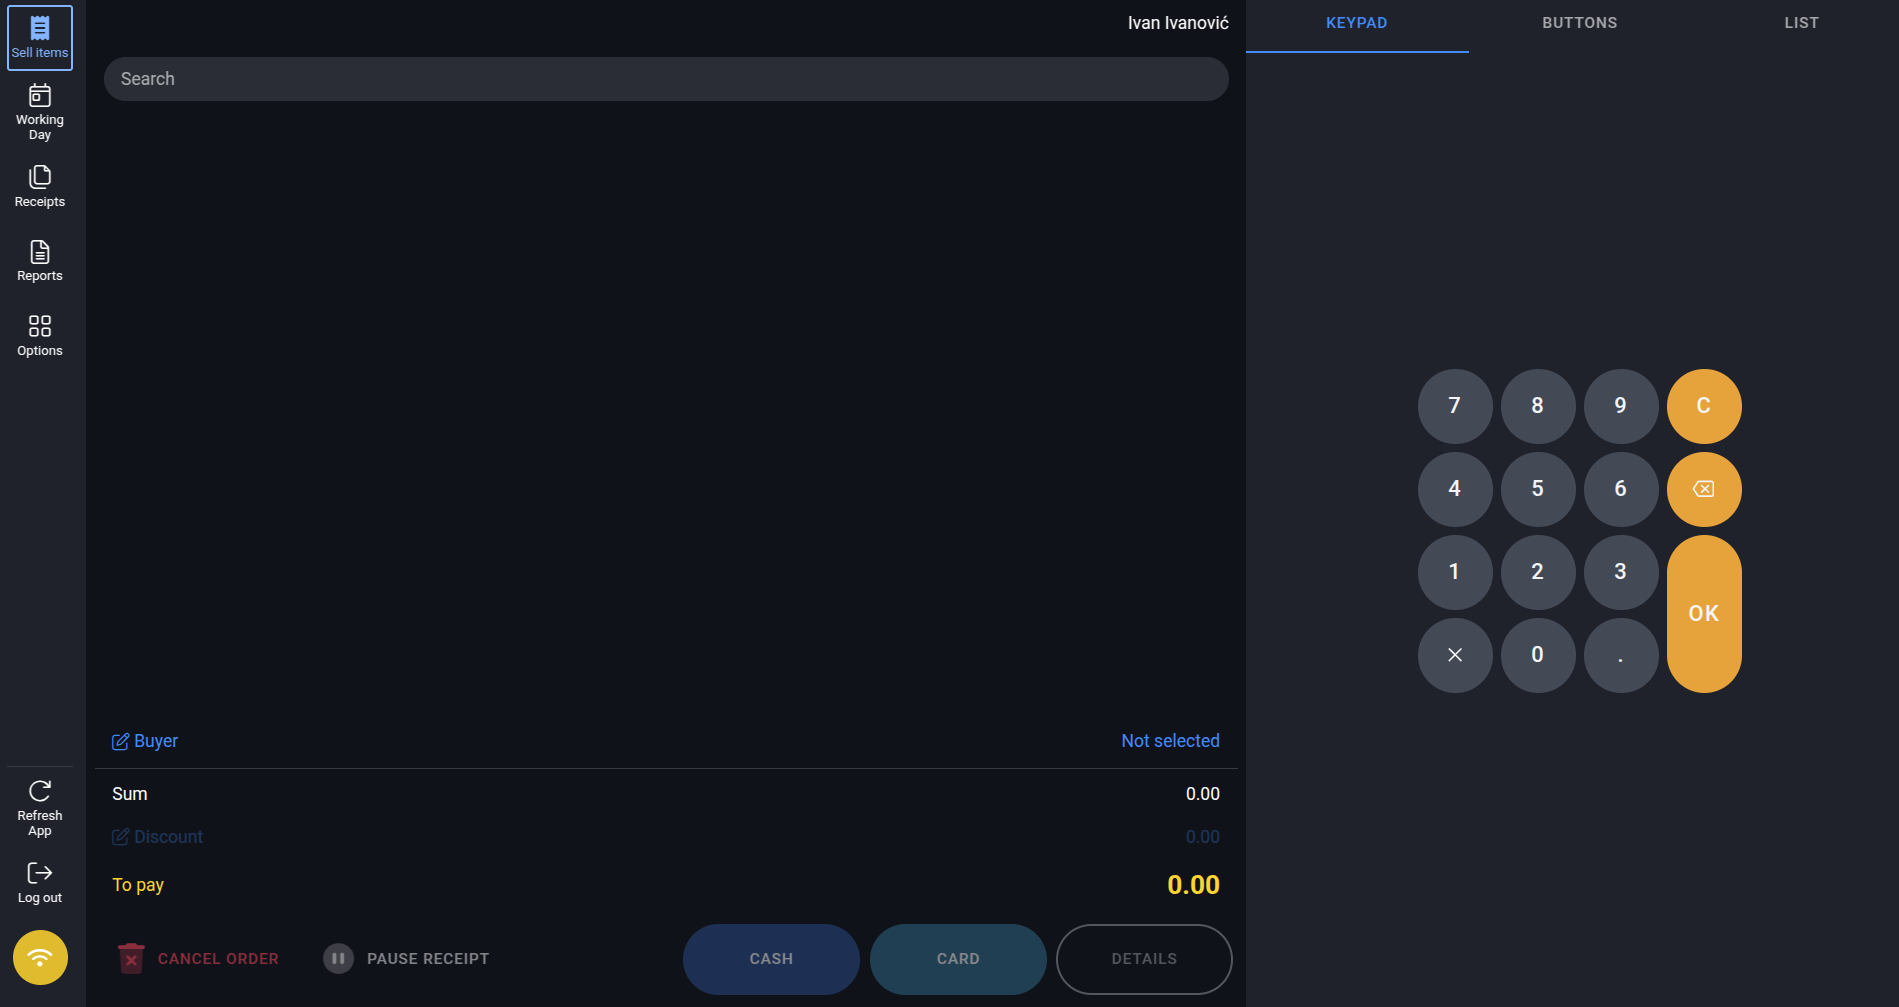
Sell Items Screen
The Sell Items page is the main page of the application and it's the page where you will spend most of your time. It is used for selecting items and issuing receipts.
To understand the page and its functionalities better, we will split it in two parts:
Order Overview
- Manual search for items and adding items to the order
- Display of selected items on the order
- Selecting a buyer
- Discount calculation
- Receipt details
- Payment method
and
Item Selection
- Keypad
- Buttons
- List
Order Overview
The left part of the Sell Items screen is marked in the following image:
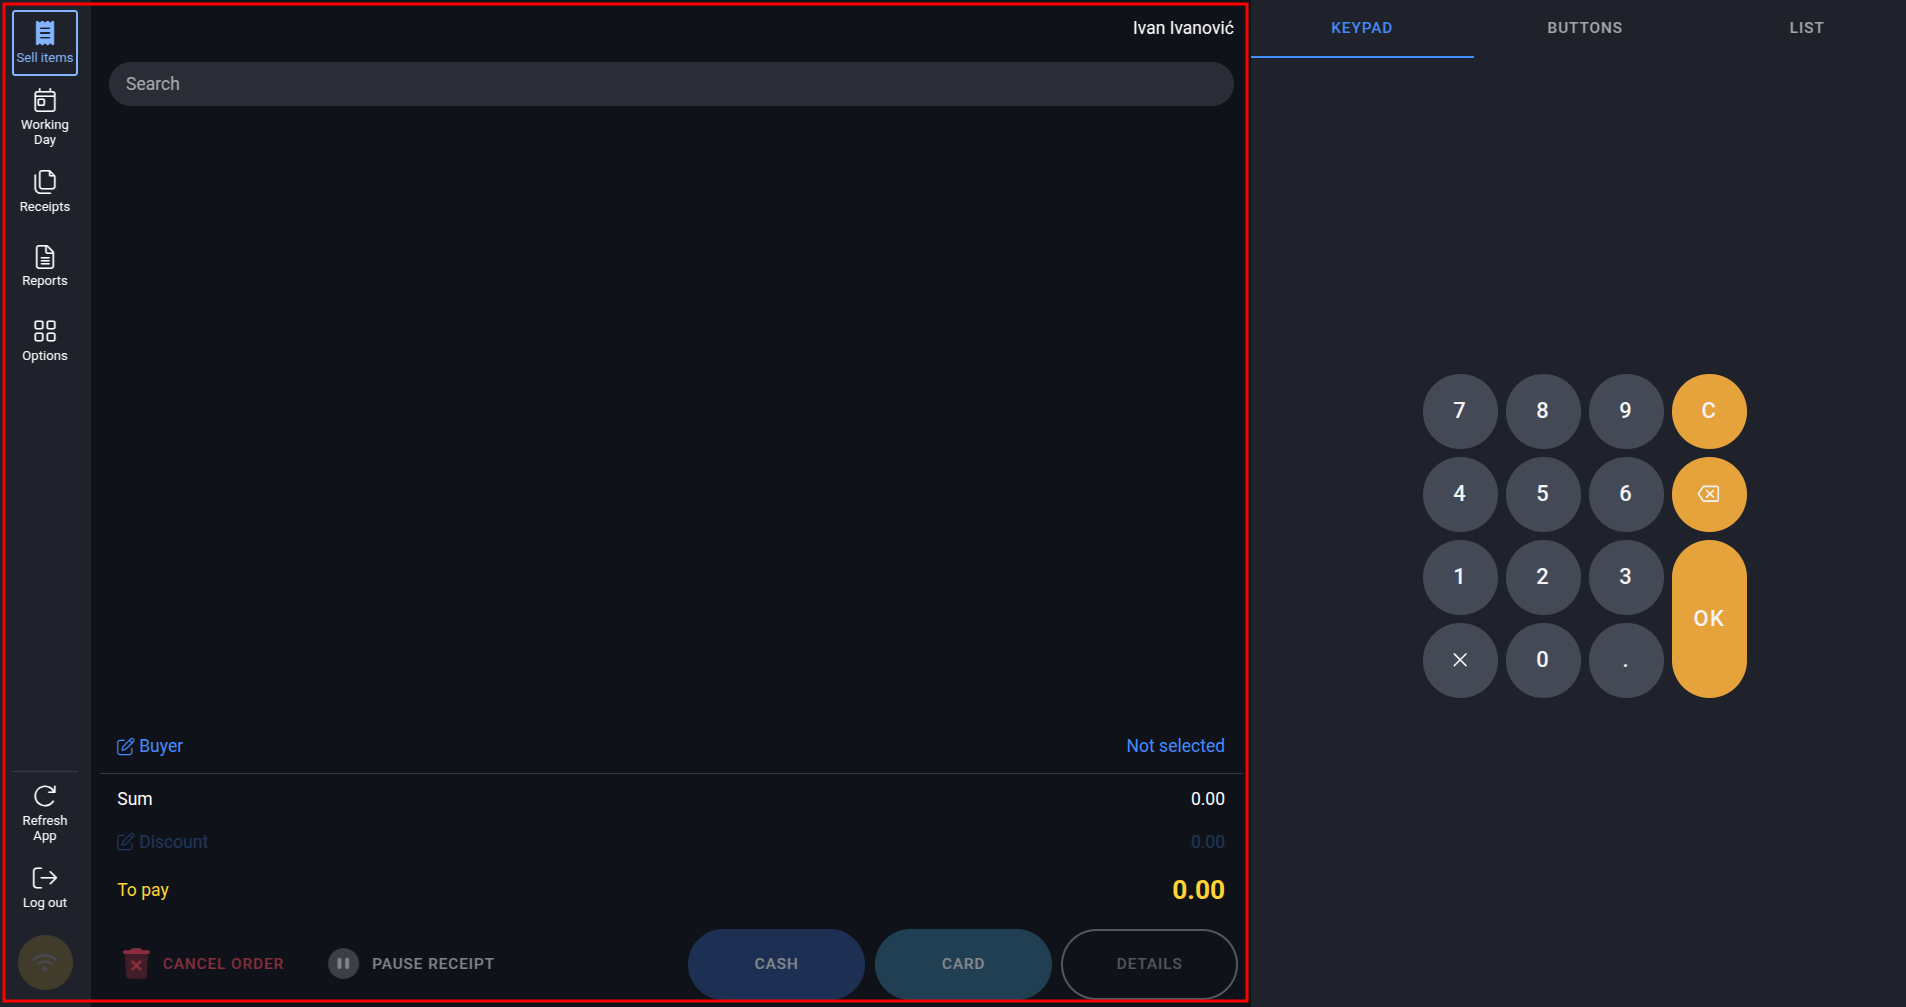
Order Overview (left part of the page)
Item Search and Add Items to the Order
If we want to add a new item to the order, Search field, which is marked in the following image, is of our use:
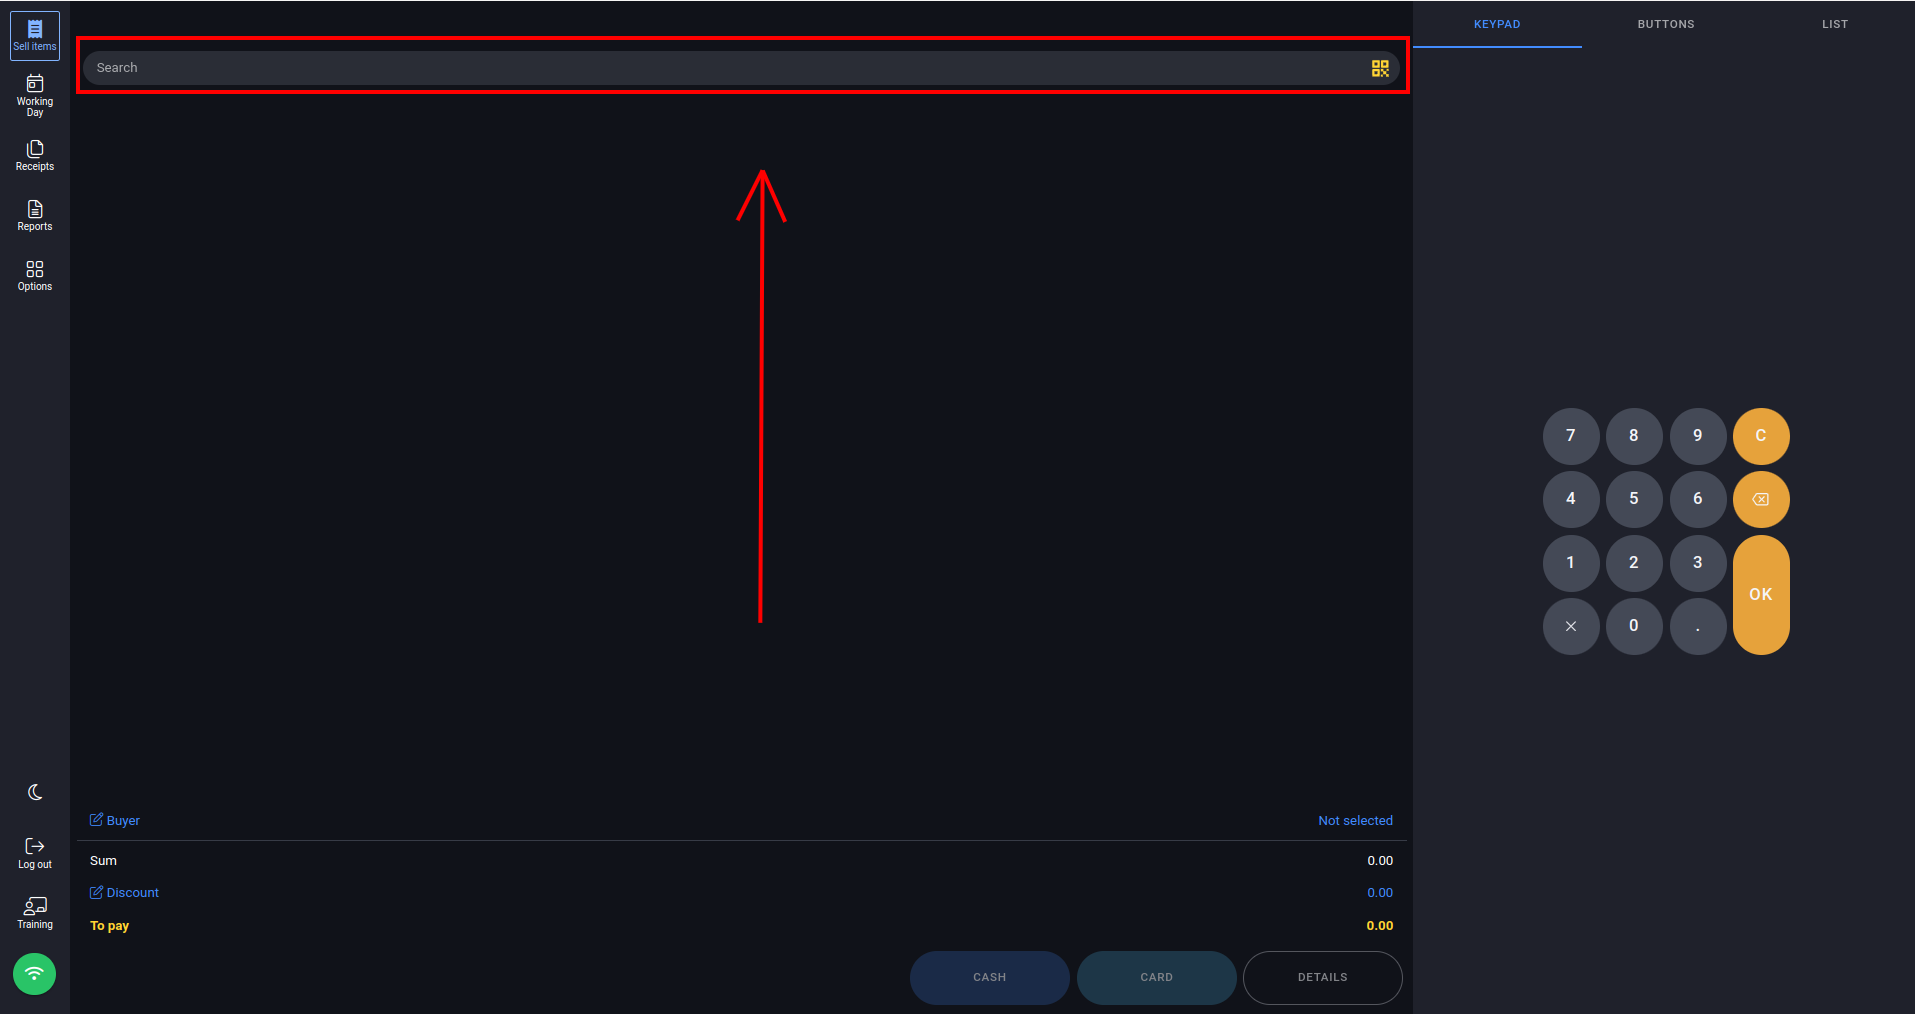
Field for searching all items
In this field, it is possible to search for items by:
- item name
- item code
After finding the item, by clicking on it, we add that item to our order. Let's say we want to add Carlsberg beer. We enter the search term in the Search field, and the system will find that item:
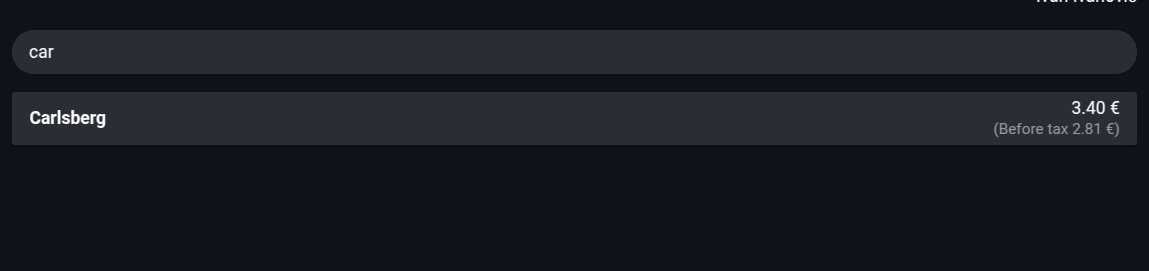
Item search result
After the system offers the found item, by clicking on it, we add 1 unit of that item to the order. Our screen will look like this after we click on the offered item and add it to order:
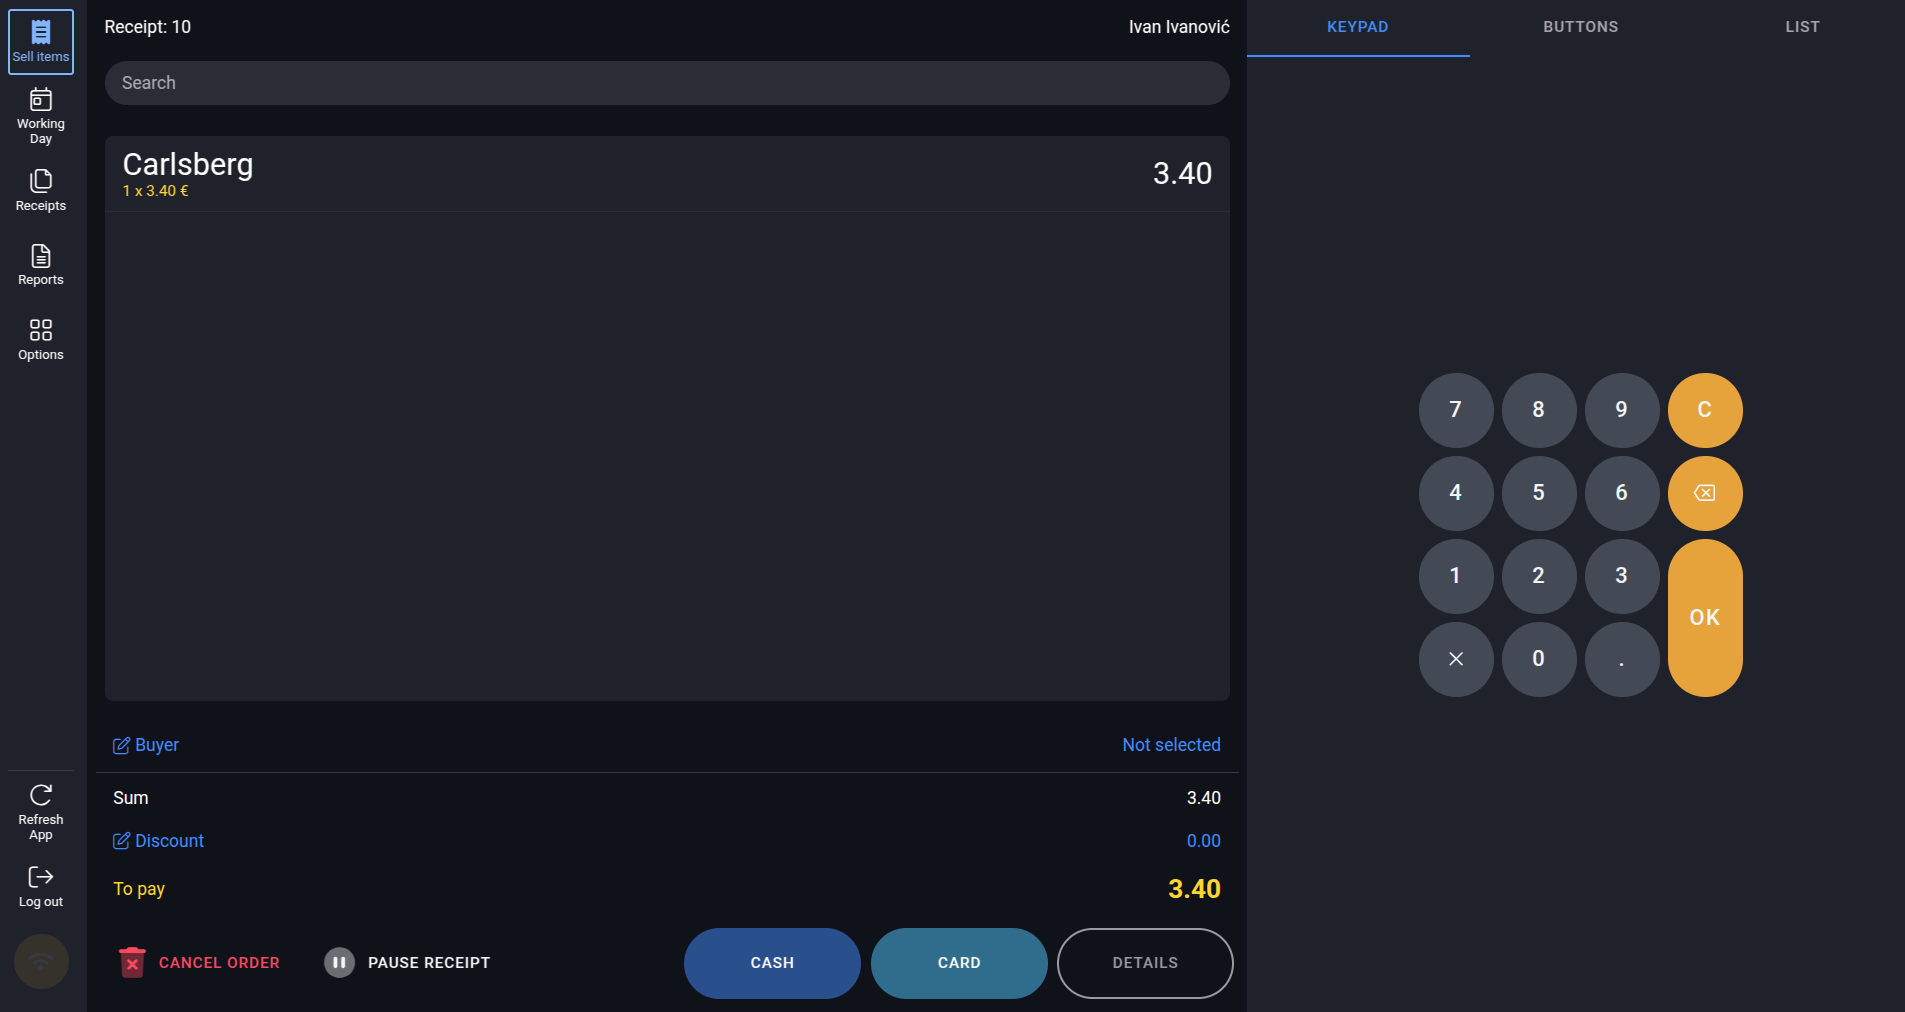
Sell Items screen after adding an item to the order through search
We can see that the following has been added to the order:
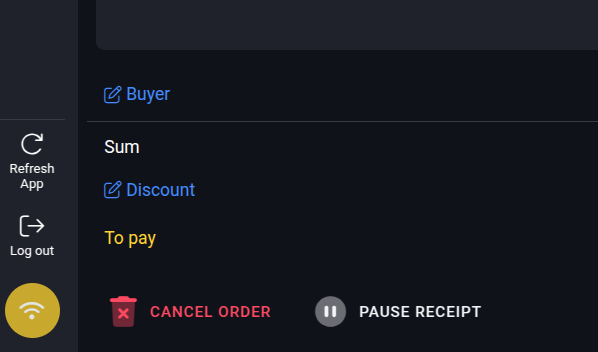
Additional information for the order is also displayed at the bottom of the screen:
- Sum
- Discount (none yet)
- To pay
Options to modify receipt item
After adding an item to the order, in our case Carlsberg beer, it is possible to manage that item. The options for managing the item added to the order are accessed by clicking on the item. After clicking on the item, the following options will be displayed:
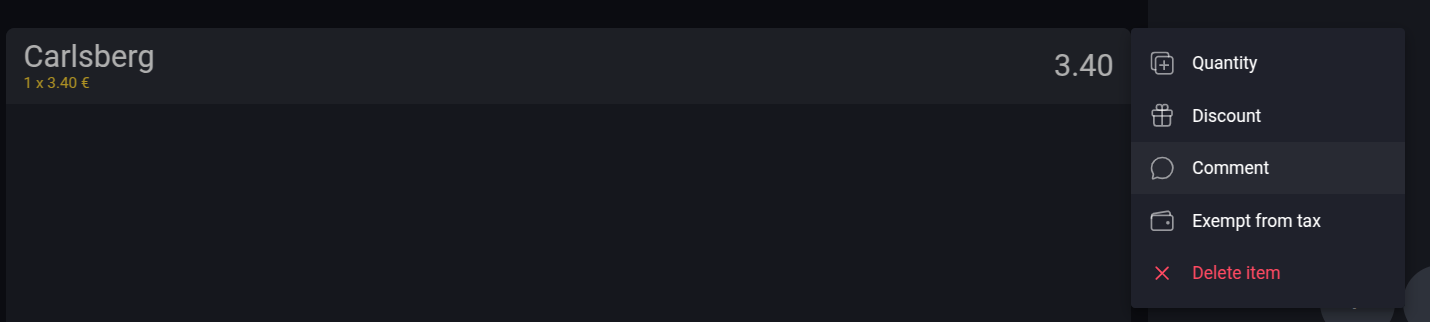
Options for managing the item
The offered options are:
- Quantity
- Discount
- Comment
- Exempt from tax
Quantity
If we select the first option for managing the item from the order, Quantity, a small window with a calculator will open. Here we enter how many units of the item we want to add to the order:
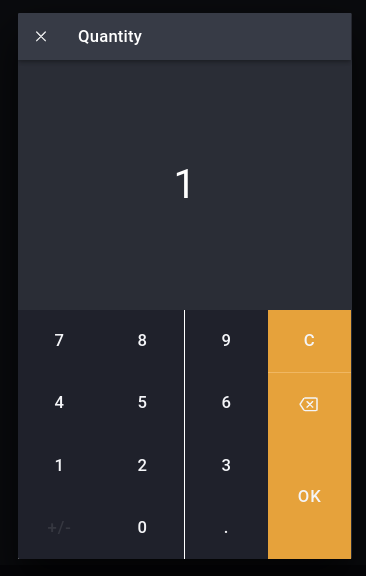
Window for entering the item quantity
In our case, we initially entered 1 unit of Carlsberg beer. Let's say we want to enter 5 units. We will enter the number 5 and click the OK button. The window will close, and the screen will look like this:
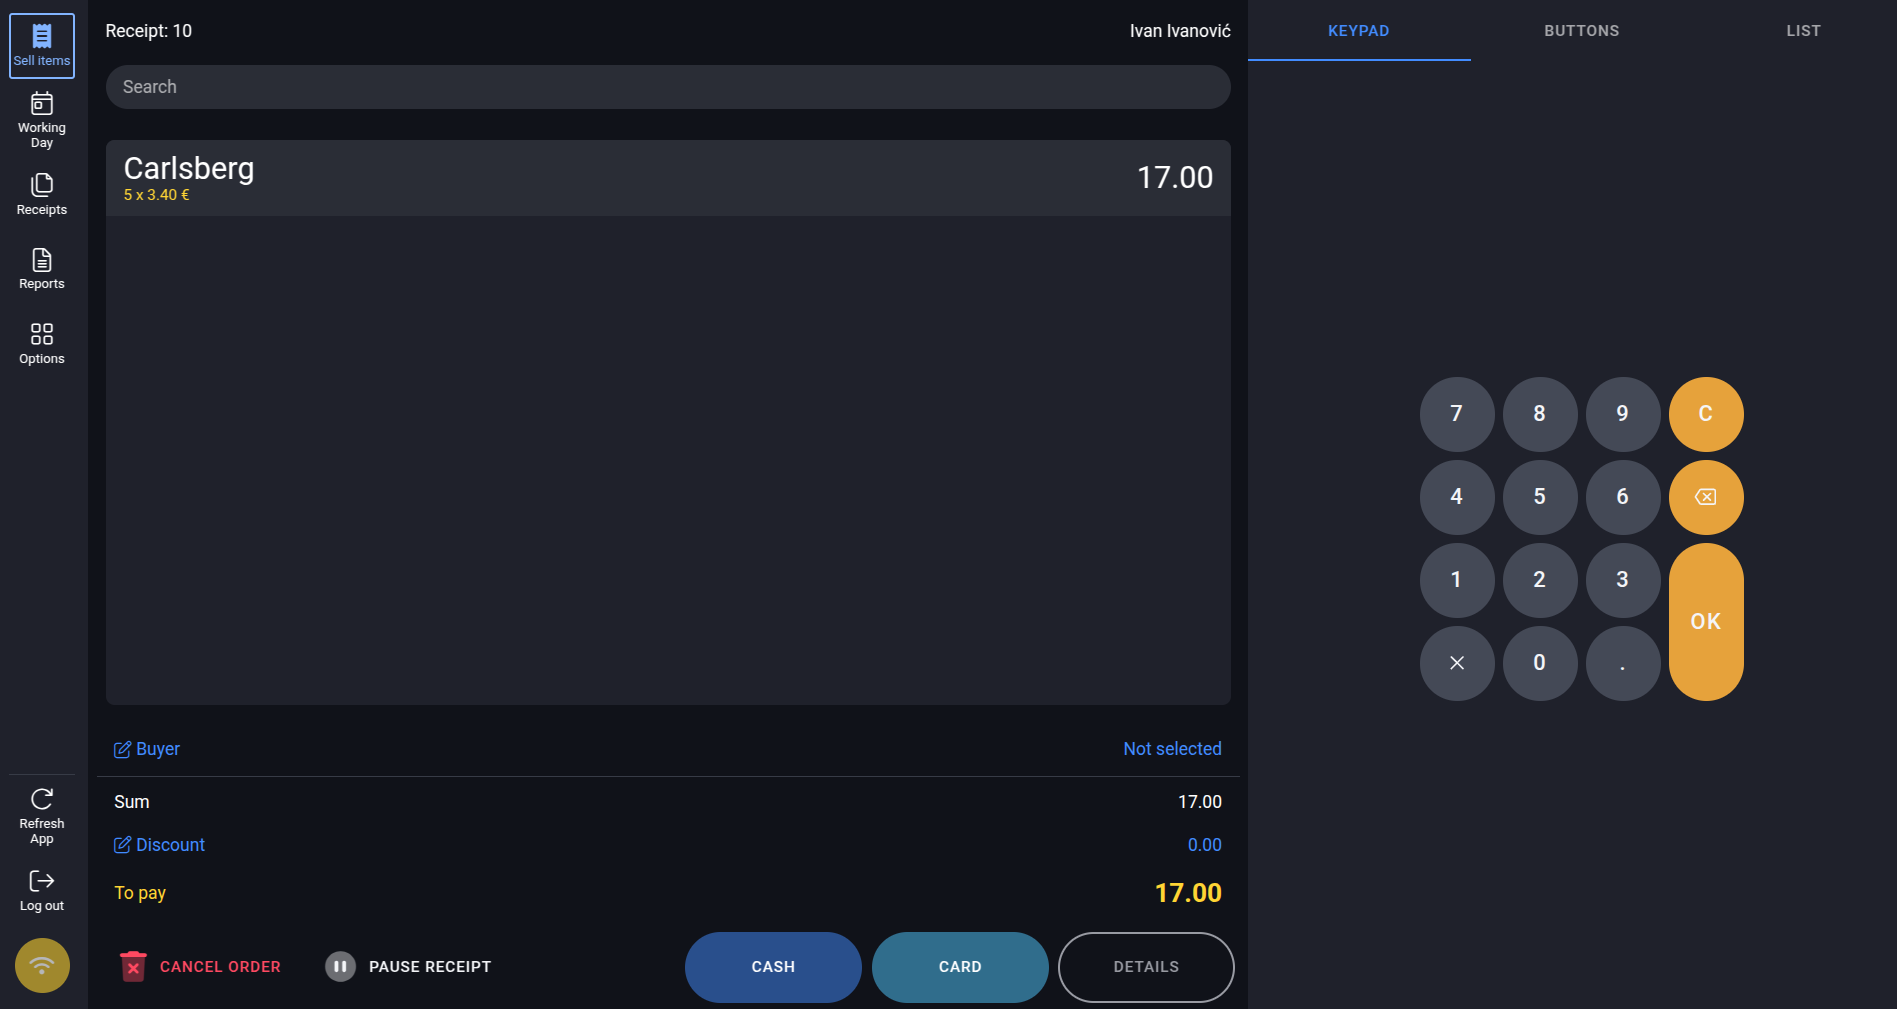
Screen after changing the quantity of items
Now we see that the order contains:
If we want to change the quantity again, we click on the item again, select the Quantity option, and change the amount.
NOTE: If we want to completely delete or remove an item from the order, we enter a quantity of 0.
Discount
The next option for managing the item from the order is Discount. By clicking on this option, a small window with a calculator will open again, but this time for adding a discount in percentages.
Let's say we want to add a 10% discount on 5 units of Carlsberg beer. We will enter the number 10, and the discount calculation window will look like this:
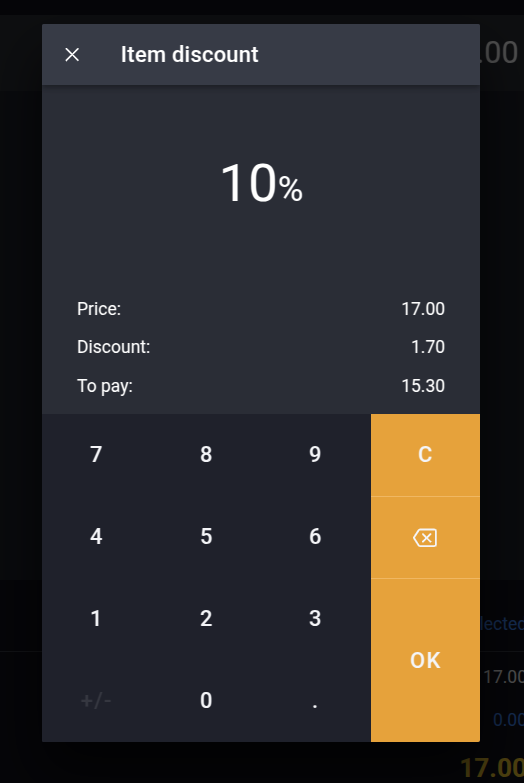
Window for entering a 10% discount
We will see the price, the calculated discount, and the total amount to pay. By clicking on OK, we add the desired discount and close the window. The status of the items on the order will look like this:
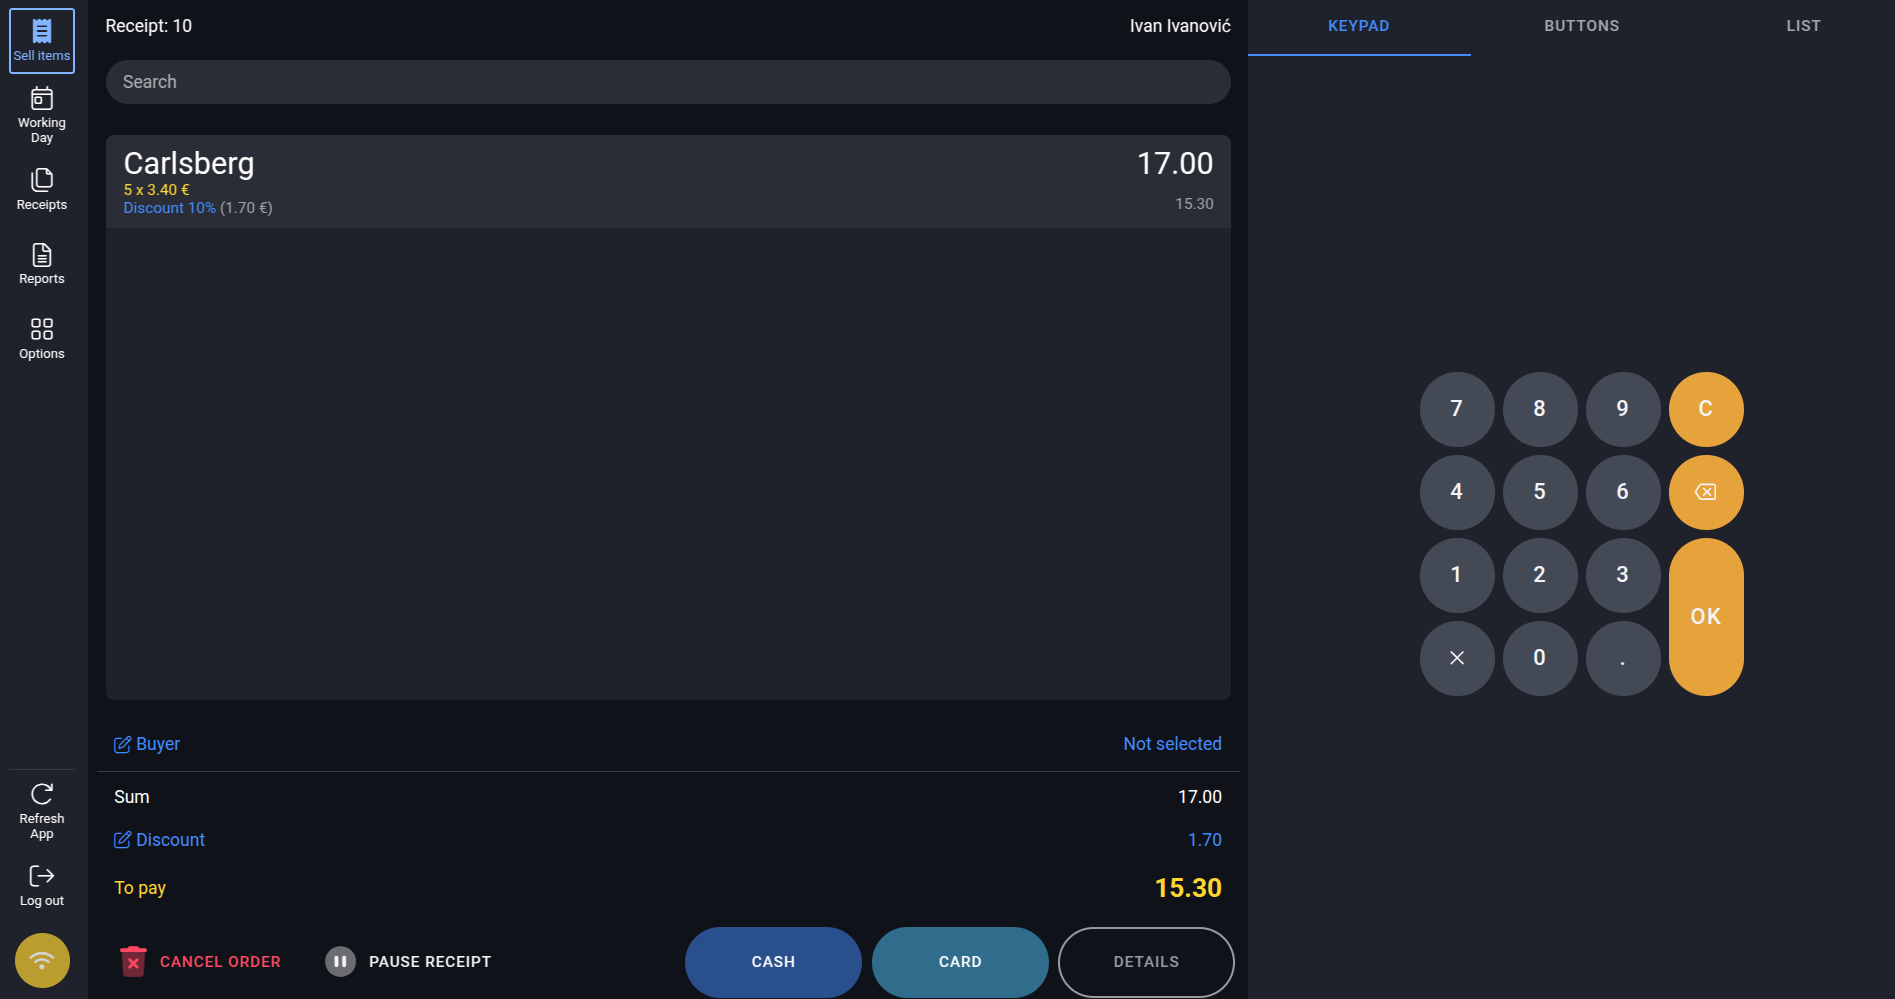
Status of items on the order after adding a 10% discount
Now you can see that the discount amount is visible in the item section, marked in blue.
Comment
The Comment option for an item is used to add a comment for the item that may depend on the specifics of the order, such as discounts, special requests, or packaging type.
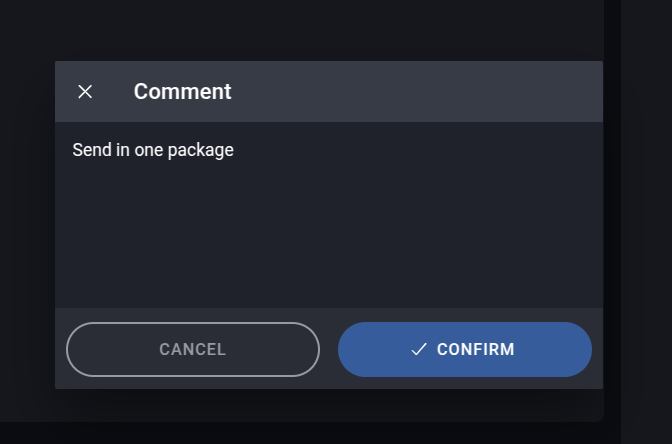
Window for adding a remark for the item
By clicking CONFIRM, we save the addition of the comment for the item and close the window. After that, in the item list on the order, we can see that the indicator that an item has a comment is the bubble icon:
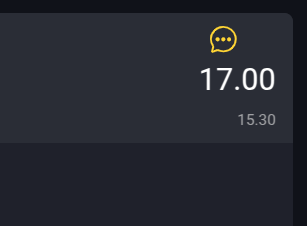
Status of the item on the order after adding a comment
Extemp from tax
The second-to-last option for managing an item on the order is Extemp from tax, which allows you to extemp an item from the order from some type of tax.
Delete item
The final option, Delete item, removes an item from the order.
Add a Buyer to the Order
If we want to add a buyer to the order, we need to click on the Buyer option, which is highlighted in the following example:
Button for adding a buyer
After clicking on the highlighted option, a window will open for adding a buyer to the order.
In the window shown above, we will be offered to select a buyer from our list of clients that we have previously added in the client addition in Options. If we want to add a new client here, we just need to click on the Add button in the upper right corner, and a form for adding clients will open.
Once we select the buyer, by clicking CONFIRM, we have added the buyer to the order.
NOTE: Adding a buyer is NOT mandatory.
Add a Discount to the Entire Order
To add a discount to the entire order, just click on the Discount button:
Button for adding a total discount to the order
After that, enter the total discount for the entire order and click OK.
Payment Method
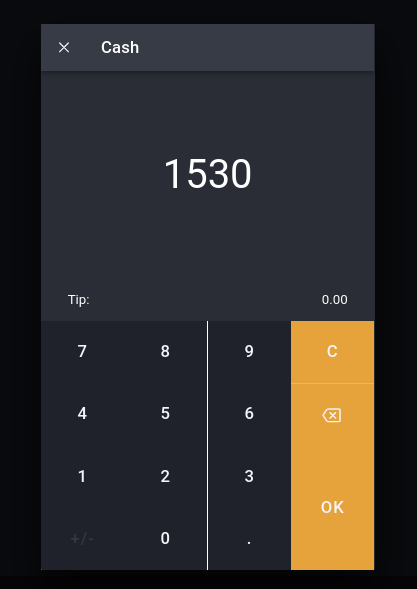
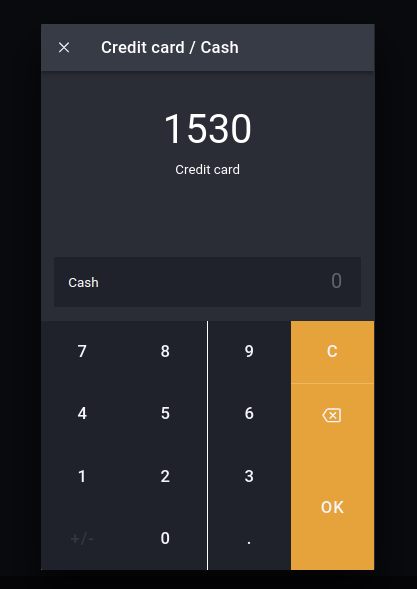
For quick order issuance, click on either CASH or CARD, depending on the payment method.
After selecting the type of order, in our case Sales, click NEXT to start the order issuance process.
Details
If we want additional settings for the receipt, such as type, payment deadline, and similar, we will click on the DETAILS button, after which a window will open:
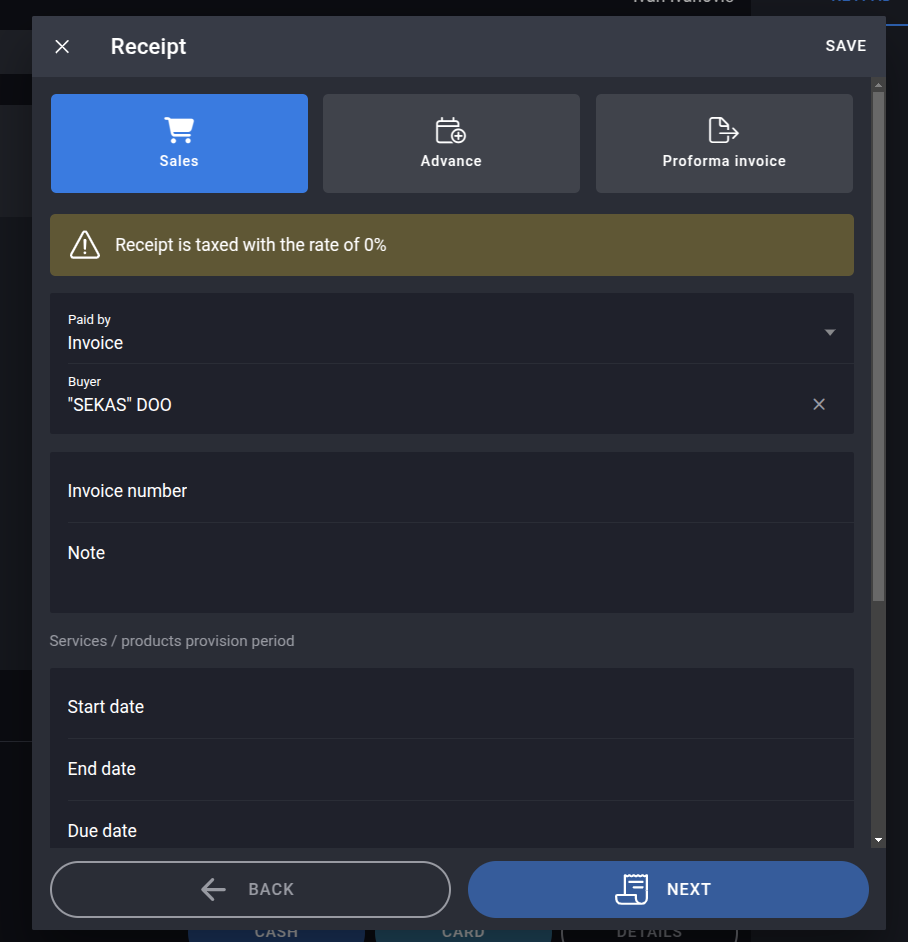
Receipt details
There are three types of invoices:
- Sales
- Advance Payment
- Proforma Invoice
Paid by options are:

Načini plaćanja
Each of these three types of invoices has its own separate settings. The settings for Sales are shown on the screen above. After selecting the order type, in our case, let's say Sales, by clicking NEXT we start the receipt issuance.
Item Selection
The second part of the Sell Items page is Item Selection:
Item Selection
This part consists of three sections:
- KEYPAD
- BUTTONS
- LIST
Keyboard
The first section, the keyboard, is used for searching items using a code.
Buttons
The BUTTONS section contains fields representing our most common items or groups of items, for easier and faster selection.
Adding Frequent Items
To add a frequent item or group, we need to click on the desired field:
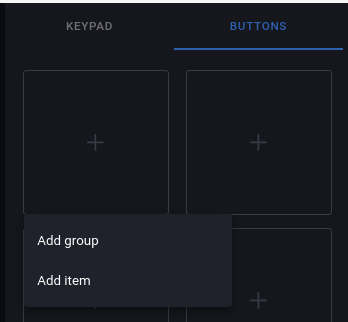
Options for creating a group or item
Let's add an item first. We will select Add Item. After that, a window opens for adding the item:
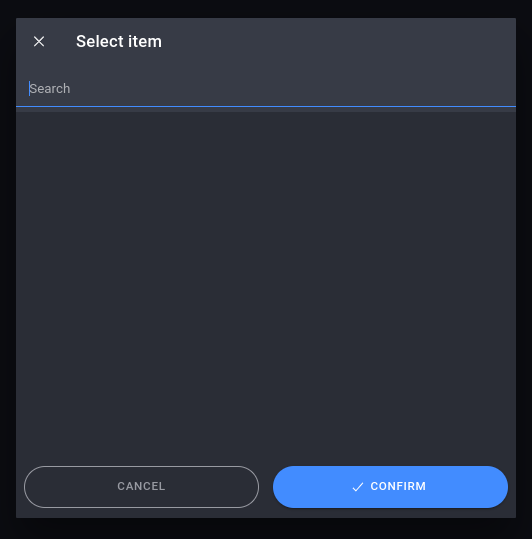
Options for creating a group or item
In the Search field, we enter the item name. After its found, by clicking CONFIRM, we proceed to select a button color:

Selecting a color for the item button
We will choose blue. By clicking CONFIRM, we add the item to the buttons grid:
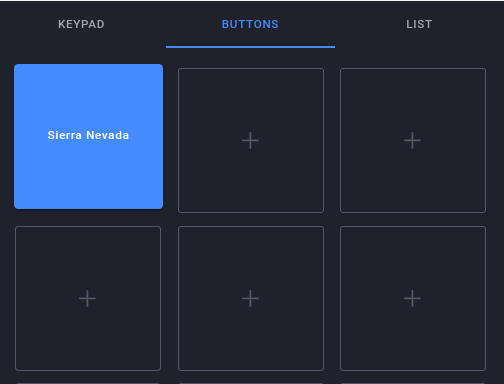
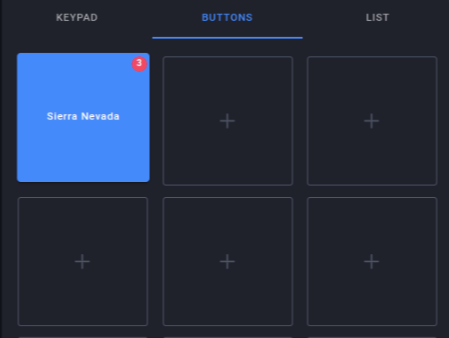
Buttons grid after adding an item
We can see that Sierra Nevada is among the frequent items. Now, if we want to create an order that contains Sierra Nevada, there is no need to search for the item, as clicking on its field will add it to the order.
If we want multiple instances of Sierra Nevada, we just need to click on its field as many times. For example, if we want 3 Sierra Nevadas, we will click on its field three times:
Order after adding 3 instances of the item
Now we can manage the item on the order in the same way as described in the Options for Managing an Item Added to the Order.
Add Groups
In addition to adding items, it's also possible to add a group. A group is used to organize a large number of different types of items more easily. For example, we will create a group named Beer and place some of the most frequently used beers there. A group is created similarly to an item, by clicking on an empty field, selecting the Add Group option, which will open a window for setting the name and button color for the group:
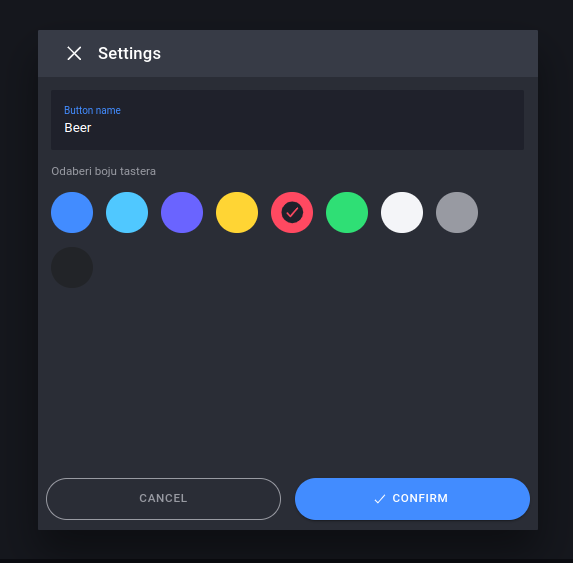
Window for creating a group
We will name the group Beer and set it to be red. By clicking CONFIRM, we create the button for the group.
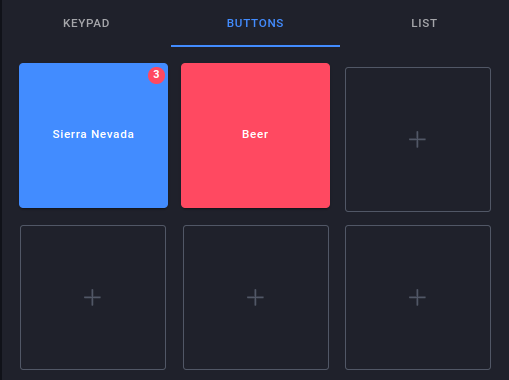
Button for the Beer group
Now we need to add items to that group. We do this by clicking on the group field, which will have a white border:
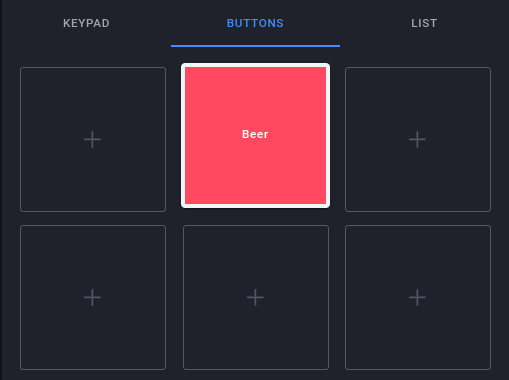
Selected button for the Beer group
and then clicking on one of the other empty fields, where we will again be given the option to add a group or an item. We will choose to add an item. Then we repeat the process as for adding a single item, and after that, the item will be added to the group.
To see all the items from one group, just click on the group field, and then all the fields of the items that belong to that group will appear:
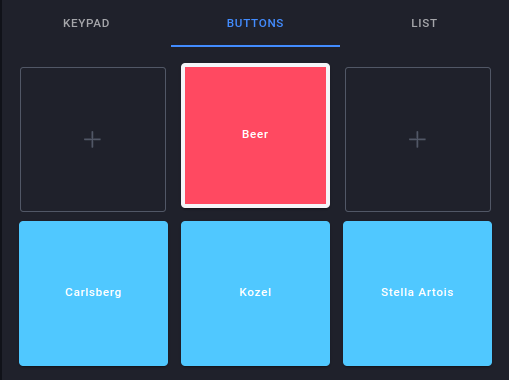
Group items
List
The last item is List, which represents a list of all items available in stock:
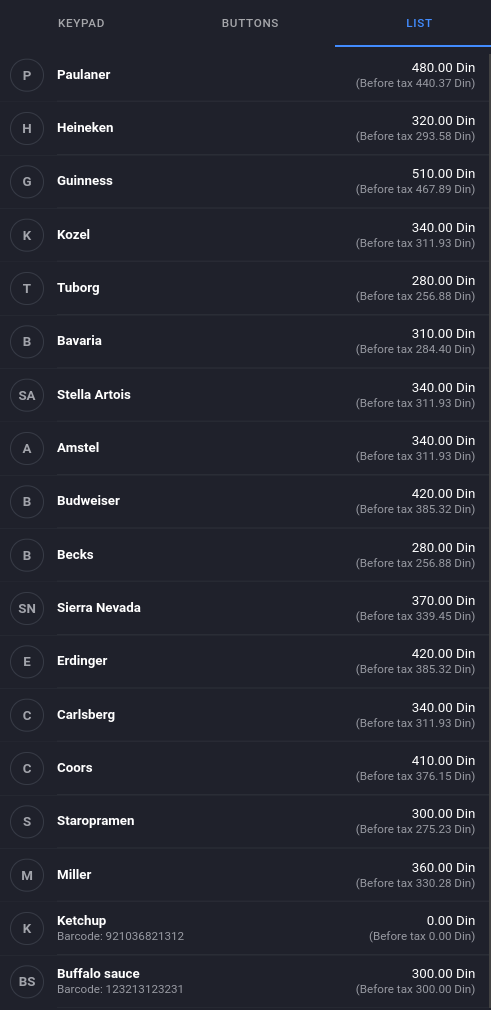
List
Clicking on an item adds it to the order. Similar to before, the number of times we click on the item corresponds to the number of times it is added to the order.