Inventory
Next, we move on to Items. By clicking on the Items option, the user will be offered the following choices:
Inventory Items
After the user clicks the first of the three options, Inventory Items, they will see the following screen:
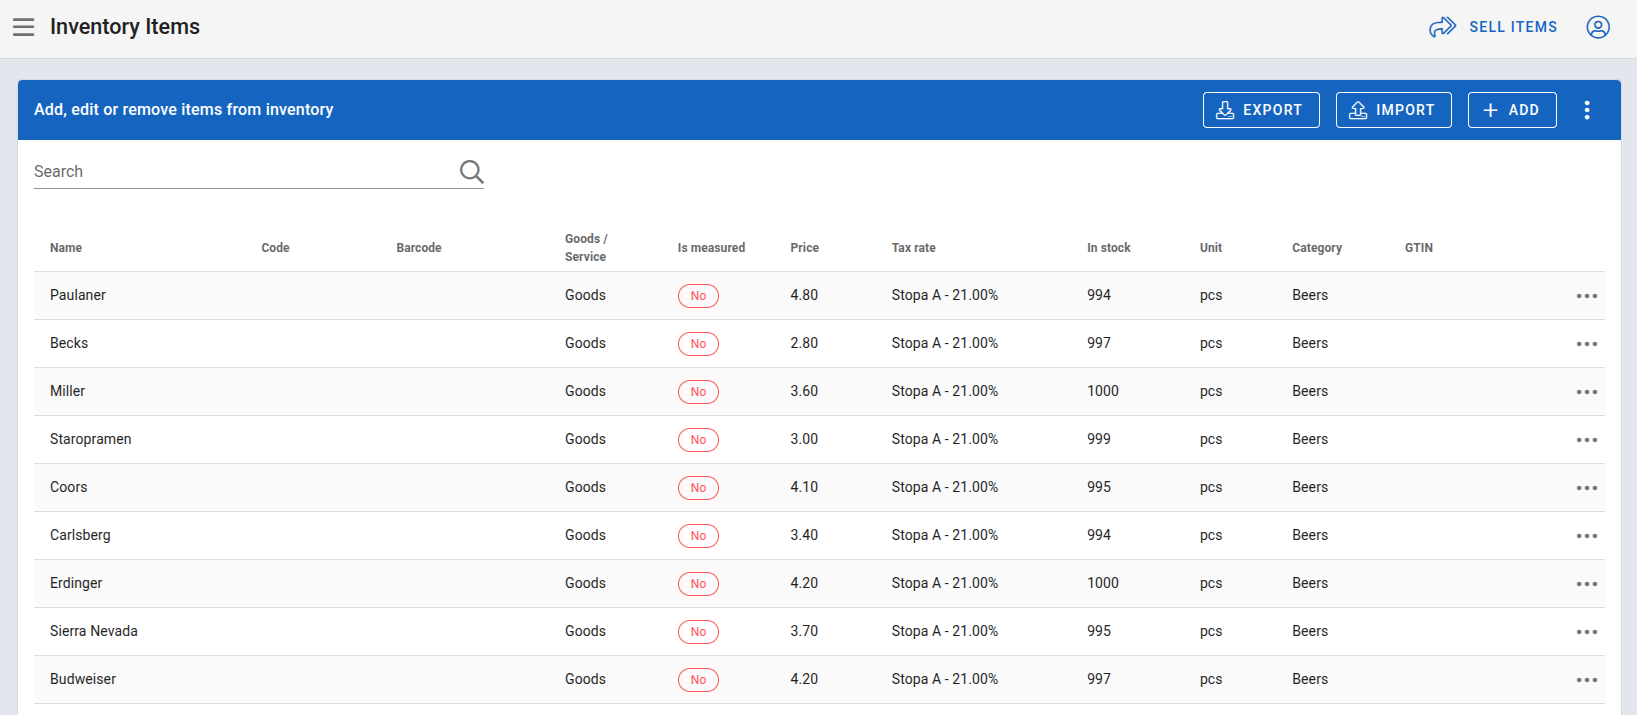
Inventory Items
Here, users can see all items available in the system.
Search Items
Searching for items is possible by entering the name of the item in the field above the table labeled Search, as shown in the image below.
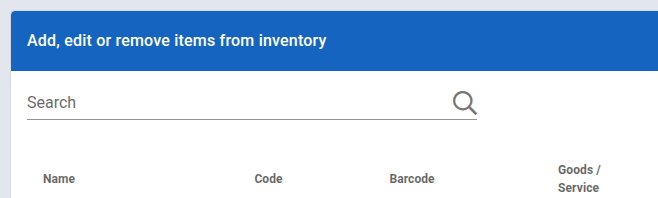
Search field for items
Export Items
By clicking the EXPORT button located on the right side above the table, next to the IMPORT and ADD buttons, the following menu will open:
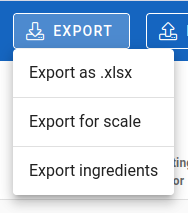
Export options
Export as .xlsx
If the user selects the Export as .xlsx option, they will download an Excel file containing all items.
Export for Scale
NOTE: This option is only available for Konty Retail.
An option that allows us to send items to the scale. The file with the articles is submitted and the path to the driver from the scale is entered.
Export Ingredients
If the user selects the Export Ingredients option, they will download an Excel file containing all ingredients.
Import Items
By clicking the IMPORT button located on the right side above the table, next to the ADD and EXPORTs buttons, the following menu will open:
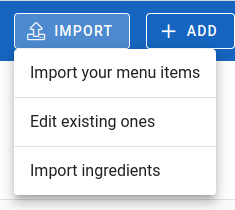
Import options
Import your Menu Items
If you want to add a new item by importing a file, click the IMPORT button, located in the top right corner of the table, then choose Import your menu items, after which the following window will open:
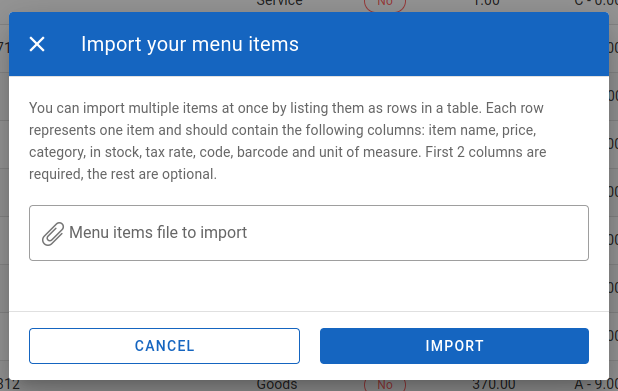
Window for importing items via a file
Click on the paperclip icon or where it says Menu item files to import, after which a window with files on your device will open. In these files, you need to find your item file that meets the following conditions:
Each row represents one item. The table should contain the following columns (in order):
- item name
- price
- category
- stock
- tax rate
- code
- barcode
NOTE: The first 3 columns are mandatory, as well as the fifth (tax rate).
Below is an example of such file:
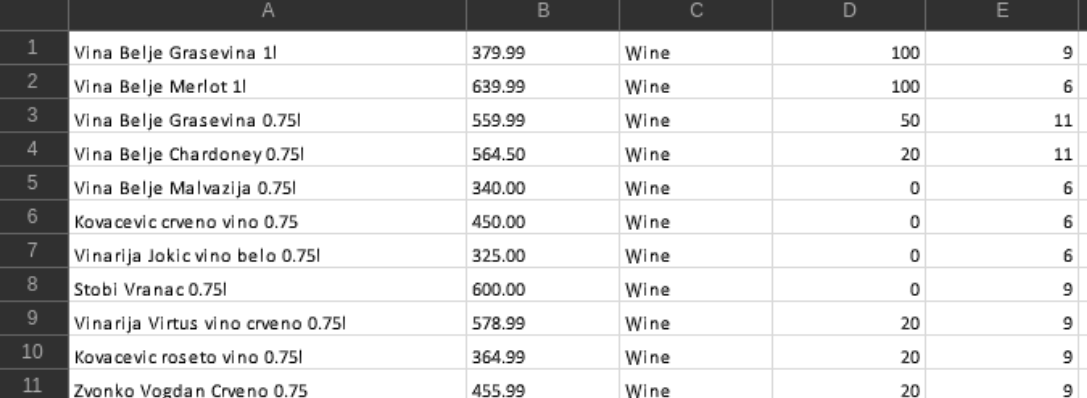
Example file with items
After selecting the file, for instance named items.xlsx, the window will look like this:
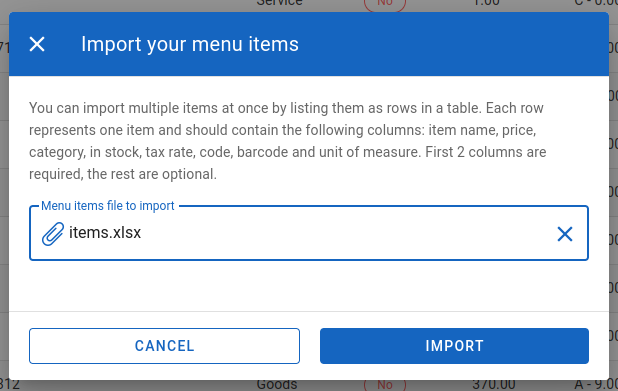
Clicking the IMPORT button will add the items from the attached file to the system. Clicking the CANCEL button stops the import, the window will close, and the items will not be added.
Edit Existing Ones
By clicking the IMPORT button, the user also has the option to edit existing items by selecting the Edit Existing Ones option. The following window will appear:
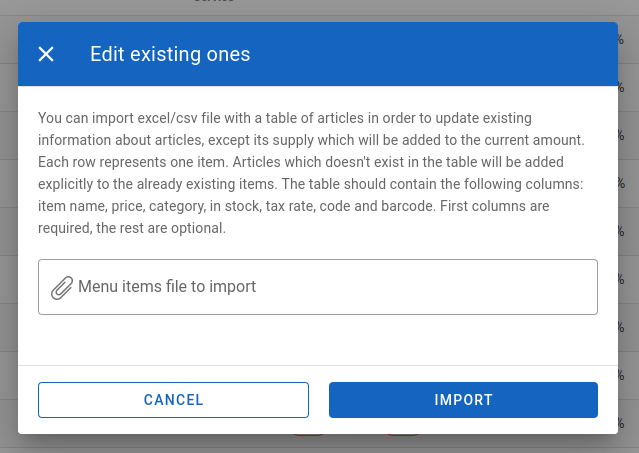
Window for editing existing items
Import Ingredients
By clicking the IMPORT button, the user also has the option to import ingredients by selecting the Import Ingredients option. The following window will appear:
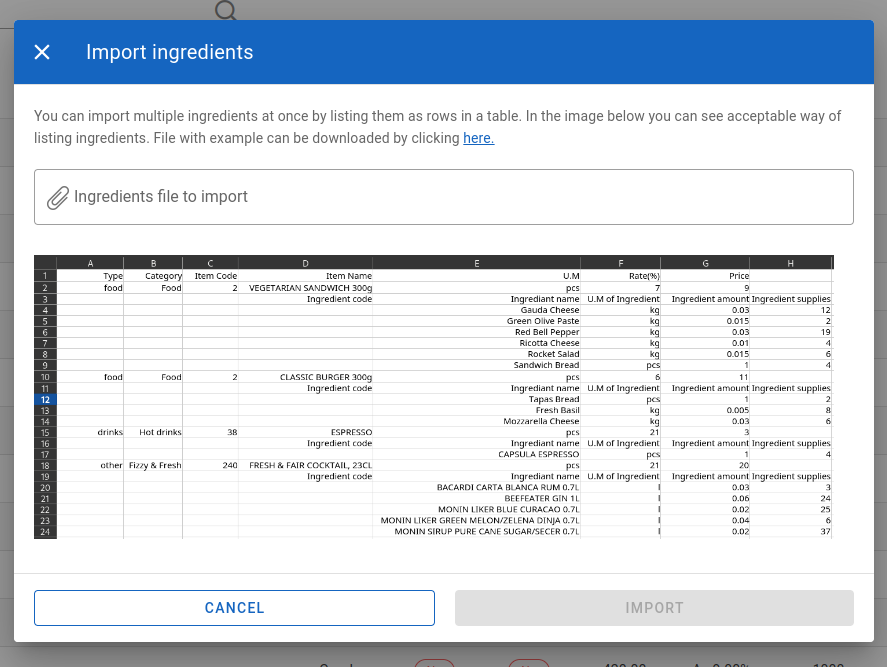
Window for importing ingredients via a file
The window contains a detailed description of the procedure for importing ingredients, as well as a sample file that can be downloaded.
Add Items Individually
If you want to add a new item individually, clicking the ADD button opens the following window:
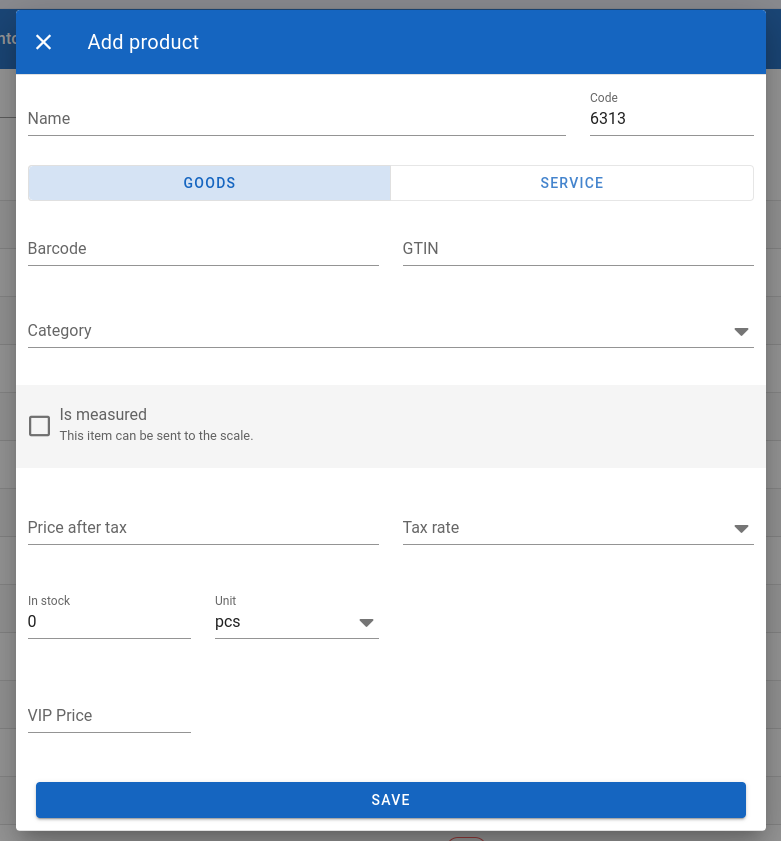
Window for adding a new item
After entering fields for the name and code, the user selects whether this item belongs to Goods or Service type. If they choose Goods, the form will look as shown above. After the user successfully fills in all fields, clicking the SAVE button creates the item and displays it in the table.
Options for Item management
To access additional options over items, you need to click on the three dots in the row in which a specific item is located. The following options will appear:
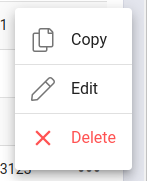
Options for managing an item
Copy Item
If you want to create a new item from an existing one that will have all the predefined options of another item, except for the name, you can select the Copy option in the item management options.
Edit Item
By clicking on Edit, the user will be presented with the item editing window. The current name of the item is 'Paulaner'. We will change the name to 'Paulaner Beer'. The form will then look like this:
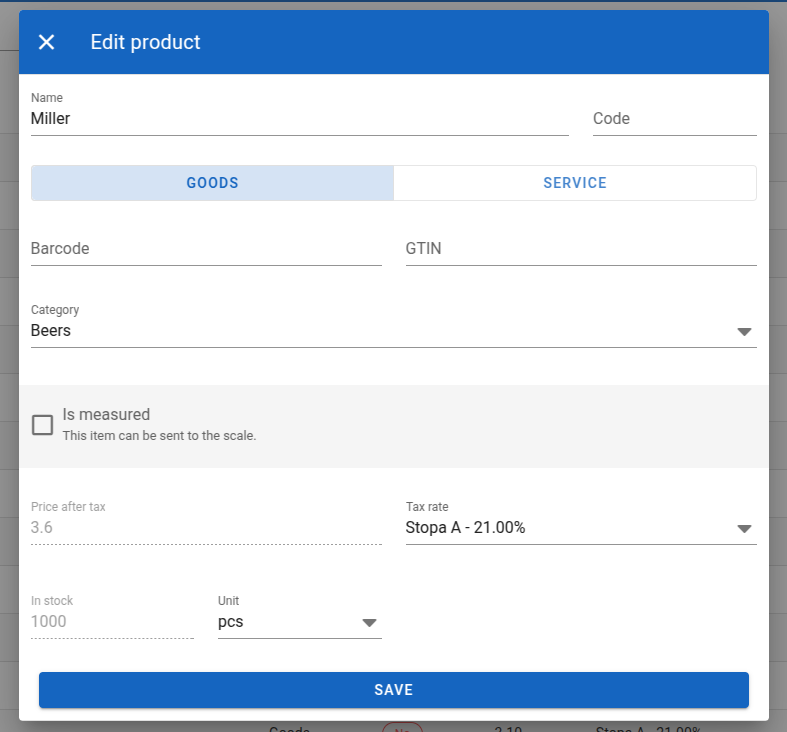
Item editing window after the change
By clicking the SAVE button, the item will be updated and saved in the table under the new name.
Delete Item
If you want to delete an item, click DELETE. Warning window will apear:
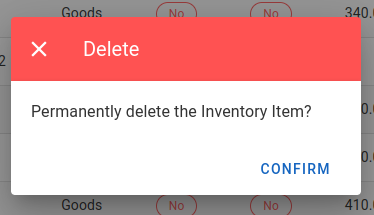
Confirm item deletion
After you confirm, the item will be permanently deleted from the system.
Item Categories
After the Items option, the next option is Item Categories. The screen that the user sees is:
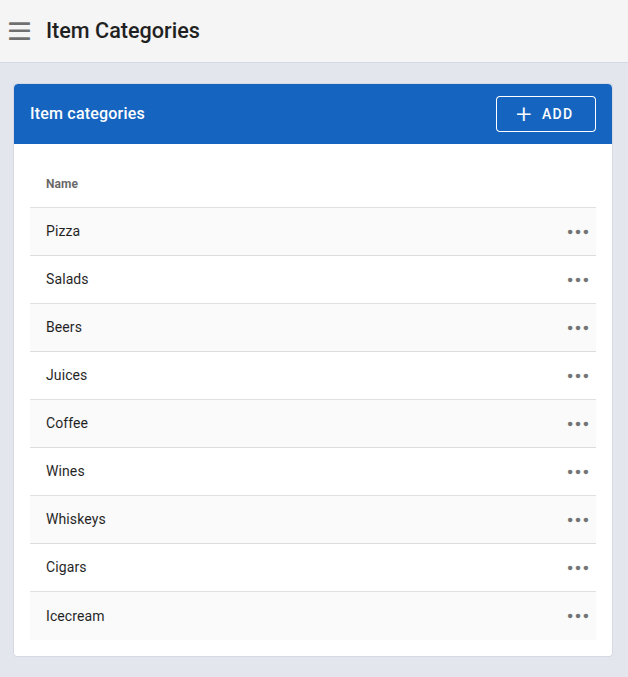
Item categories
Here, all categories present in the system are displayed. It is possible to view, add, edit, and delete them. Let’s start with adding.
Add Item Category
By clicking the ADD button, located on the right side above the table, the category addition window opens:
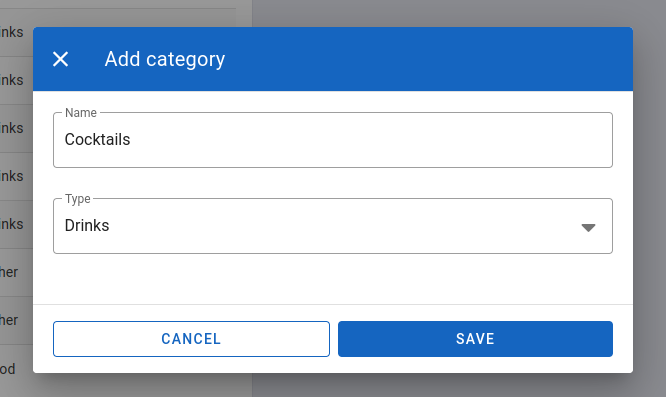
Window for adding a category
After entering the Name and then selecting Type from the dropdown menu, clicking the SAVE button will create the category and add it to the system, after which it will be displayed in the table.
Options for Item Category management
To access additional options over item categories, you need to click on the three dots in the row in which a specific item category is located. The following options will appear:
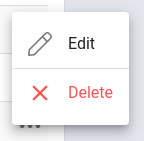
Options for an existing category
Edit Item Category
Let’s say we want to edit the previously added category. By clicking on Edit, the category editing window will open:
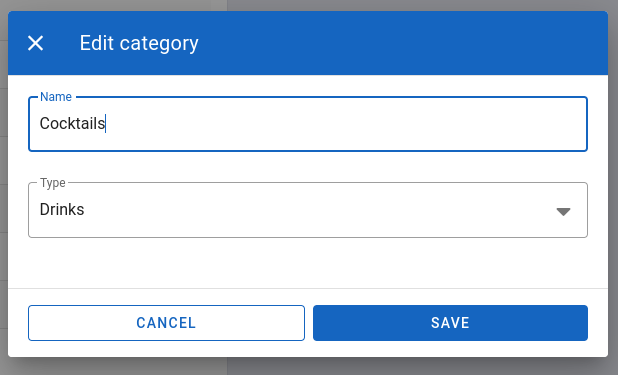
Window for editing a category
After making the desired changes, clicking SAVE will save the changes.
Delete Item Category
In case you want to delete the existing category, choose an option Delete, after which you will be shown a warning window:
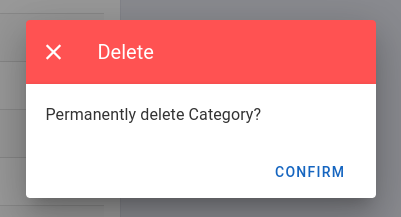
Window for confirm a deletion of a category