Options
The page layout for Options is shown in the following image:
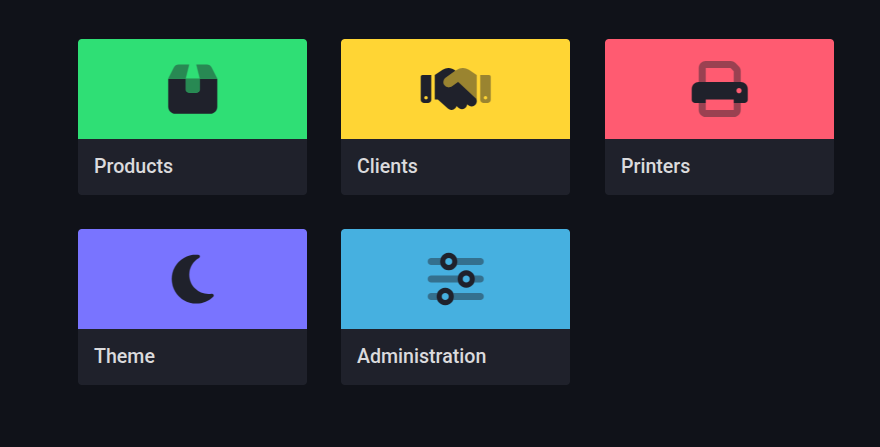
Options page
It consists of the following sections:
Products
By clicking on the Products section, the user will see the following screen:
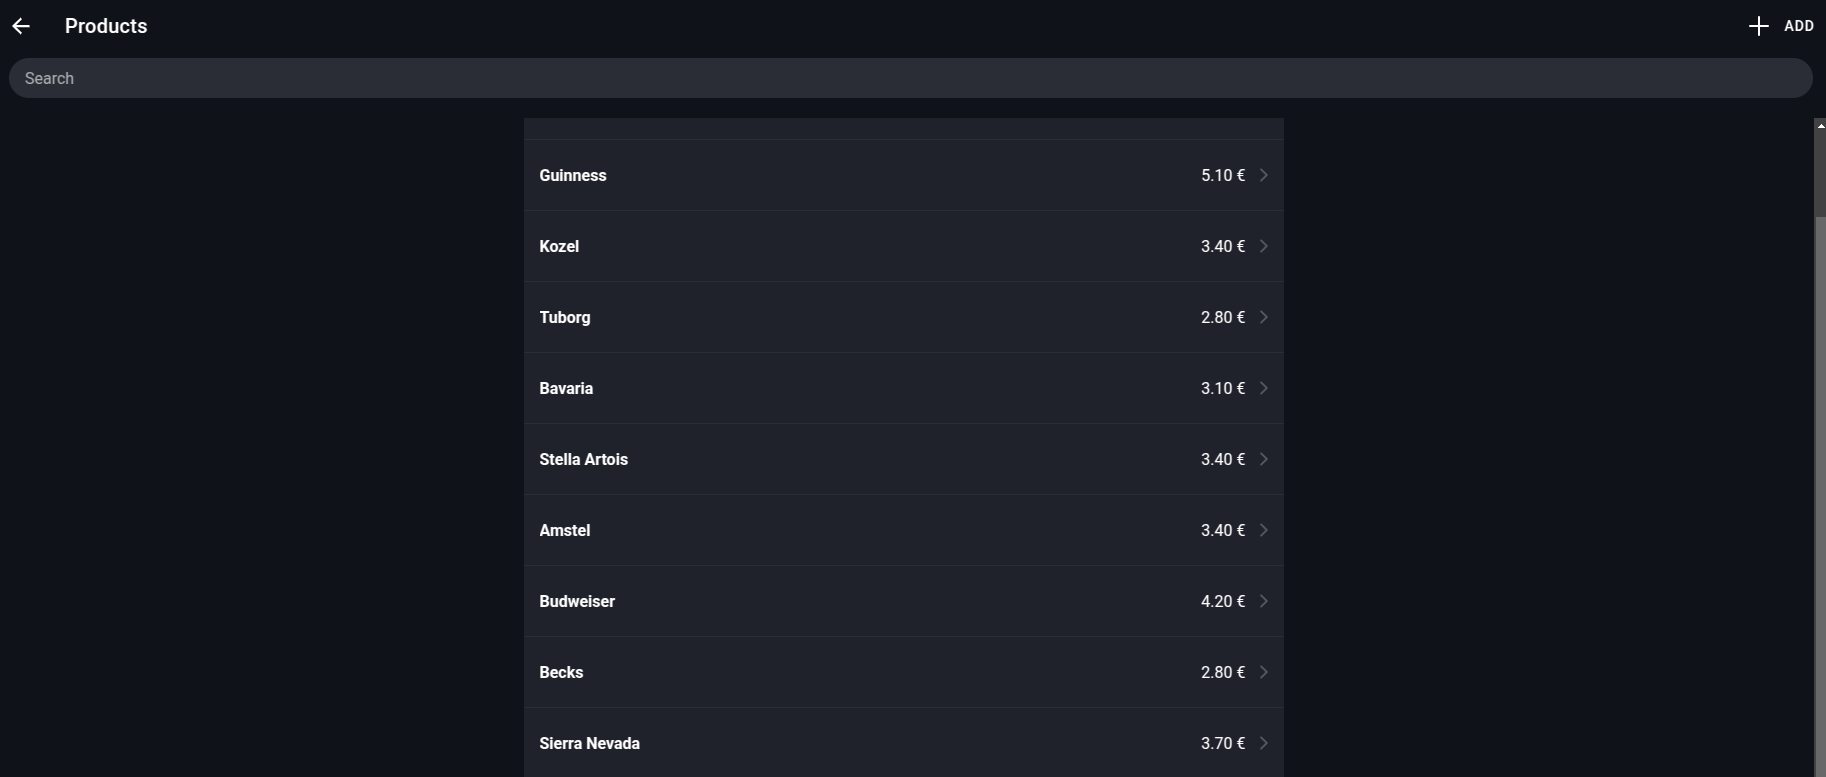
Artikli
Here, you can view a list of all products available in the Konty application. Initially, you can see their names and prices.
Search Products
To search by name for all products, enter a search term into the Search field, which is highlighted in the image below:
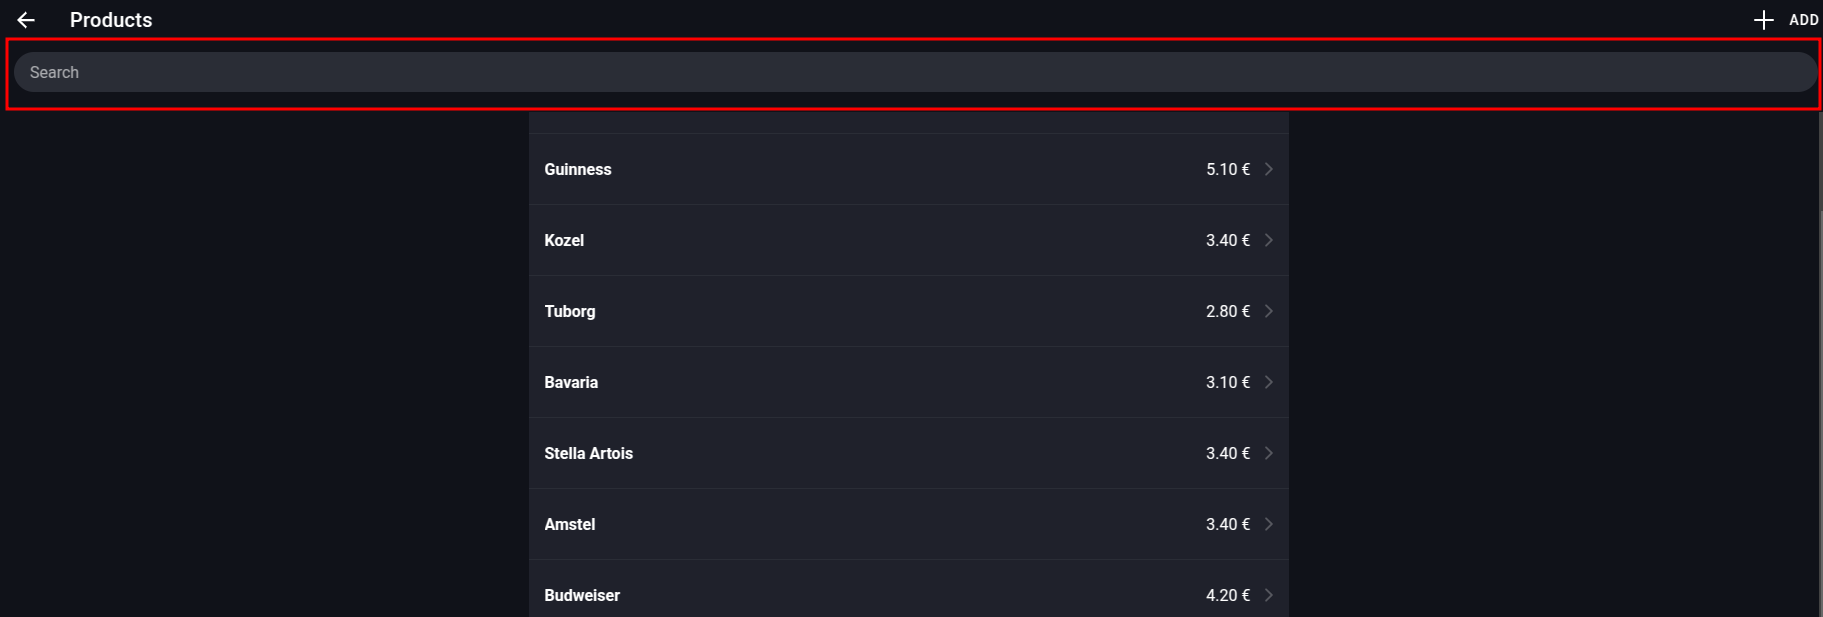
Polje za pretragu artikala
After entering a search term, application will display the results in a table if any are found. To display all products again, simply clear the search term.
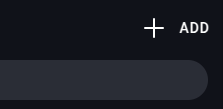
Add Product
To add a new product, click the Add button in the top-right corner:
Add New Product Button
Clicking this will open a window with a form to add a new product:
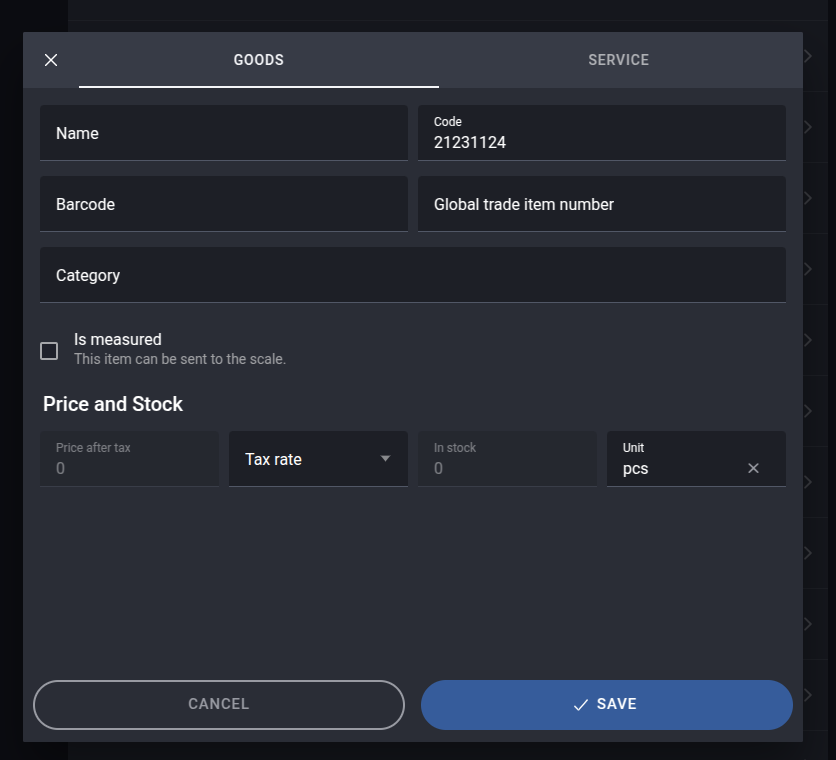
New Product Form Window
Fill in the fields with the information for the product you want to add. In the top part of the form, enter information about the product itself, and in the bottom part, enter details about the price, tax rate, stock quantity, and unit of measure.
After completing the form, click SAVE. The product will be successfully saved and added to the product table.
Product Management Options
Clicking on a specific product in the product table will bring up options for managing that product:
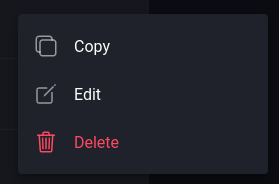
Product Management Options
Copy Product
Selecting the Copy option opens a window for copying an existing product. This action allows you to create a new product from an existing one with a few changes. For example, to create a new product Guiness copy from the product Guiness:

Product Copy Window
Edit Product
Clicking on Edit opens the same form with pre-filled details of the selected product:
Edit Product Window
After making the desired changes, click the SAVE button to save the changes in the system and close the window.
Delete Product
Clicking on the Delete action, the system will bring up a confirmation window, where by confirming the deletion we will permanently remove the product from the system:
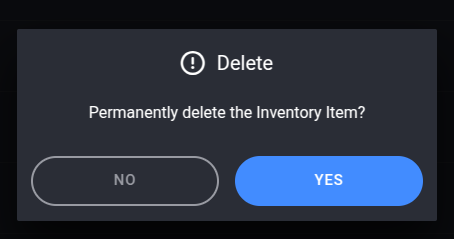
Product Deletion Confirmation Window
Clients
The second tab, Clients, takes the user to the following page, which lists all the clients of your company:
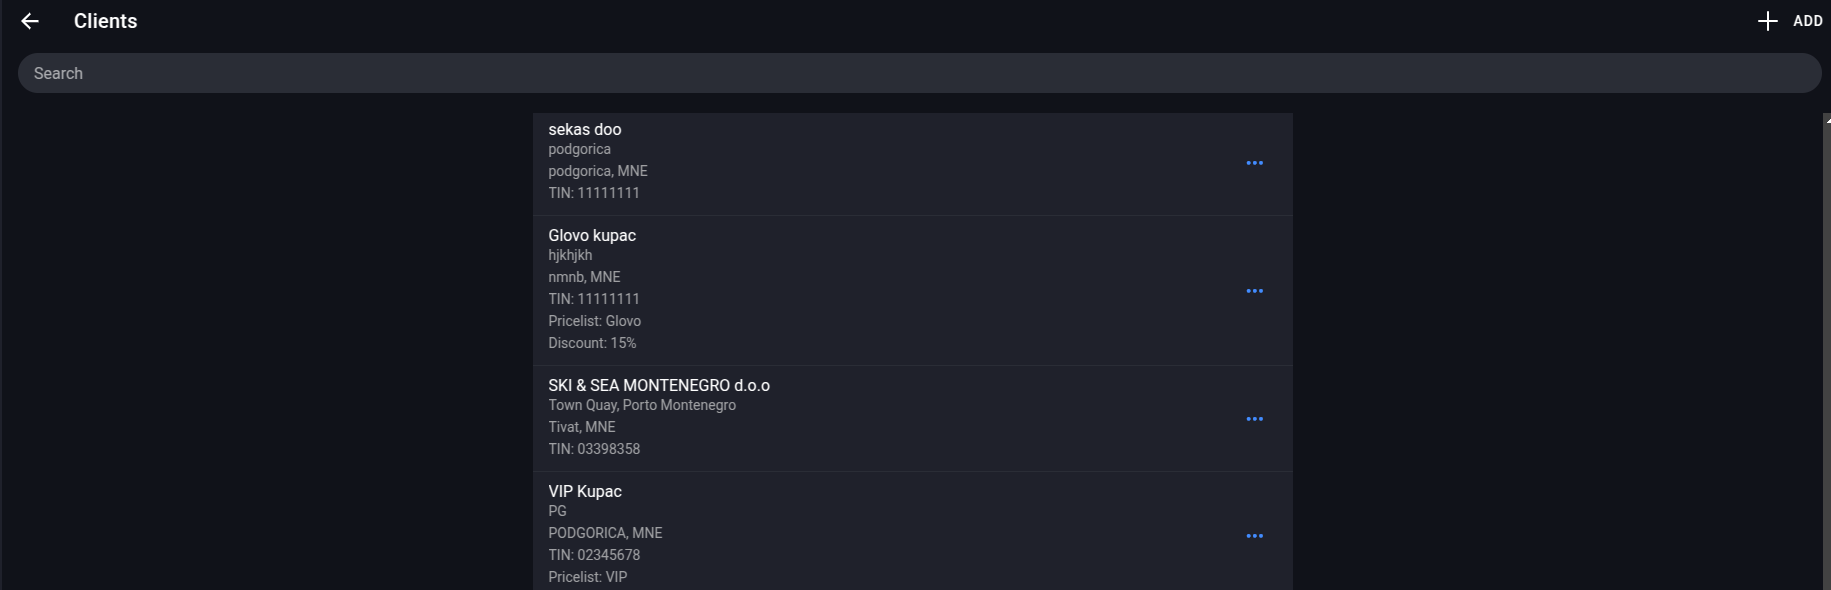
Clients
Search Clients
To search by name for all clients, enter a search term into the Search field, which is located on the top. After entering a search term, if results are found, they will be displayed in the table. To display all clients again, simply clear the search term.
Add Client
To add a new client, click the Add button in the top-right corner, highlighted in the image:
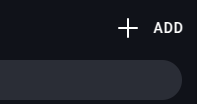
Add New Client Button
Clicking the button opens a window with a form to add a new client:
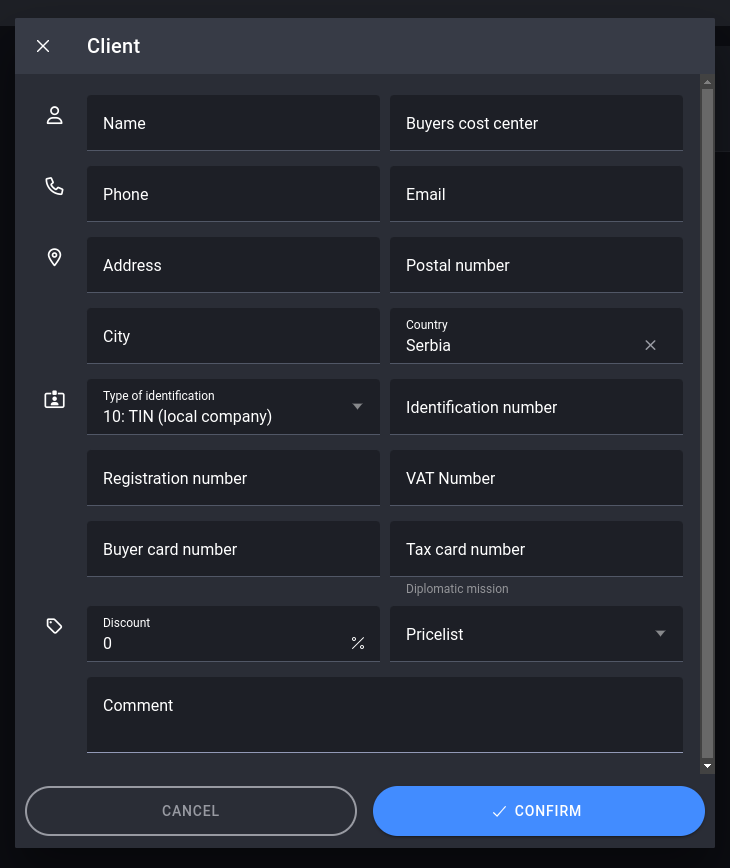
Client Addition Window
After entering the information for the new client, the form should look like this:
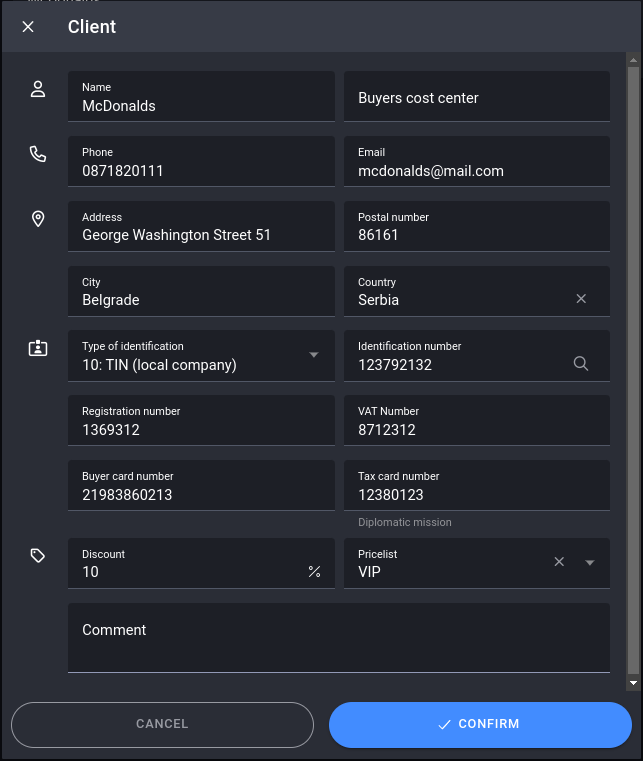
Completed Form for Adding a Client
Clicking CONFIRM creates the new client and saves it in the system. It will then be displayed in the clients table.
Client Management Options
Clicking the three blue dots in the row for a specific client in the client table will bring up options for managing that client:
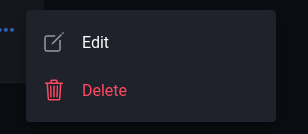
Client Management Options
Edit Client
The Edit option allows you to modify an existing client. Clicking it opens a window with a pre-filled form:
Edit Client Window
After making the desired changes, click CONFIRM to save the changes for the client and close the window.
Delete Client
Selecting the Delete option will bring up a confirmation window for deleting the client:
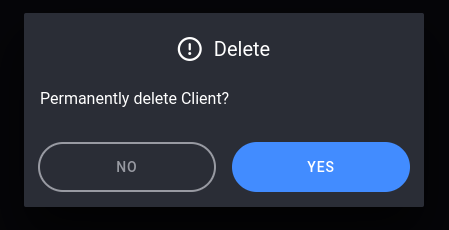
Client Deletion Confirmation Window
If you select YES, the client will be permanently deleted from the system.
Printers
By clicking on the Printers tab, the following screen will appear:
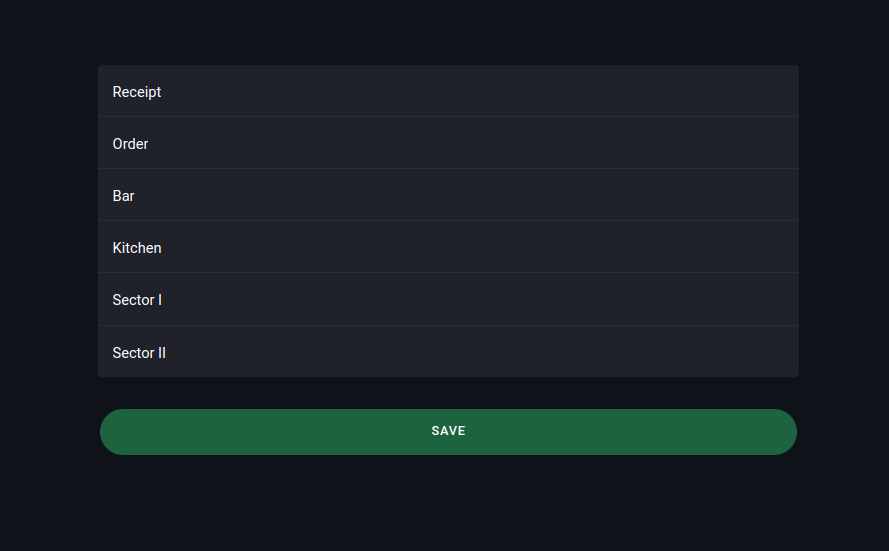
Printers
Here, for each sector of our company, we choose from the list of available printers which will print invoices and documents related to that sector.
For example, for the Receipt sector, we select the printer that will print invoices.
For the Bar sector, we select the printer that will print drinks.
Theme
Allows the user to switch from light and dark themes of the app.
Administration
By clicking on the last tab, Administration, application will take you to the administration section. This section is explained in detail in a separate document for Administration.