Receipts
The third item in the navigation is Receipts.
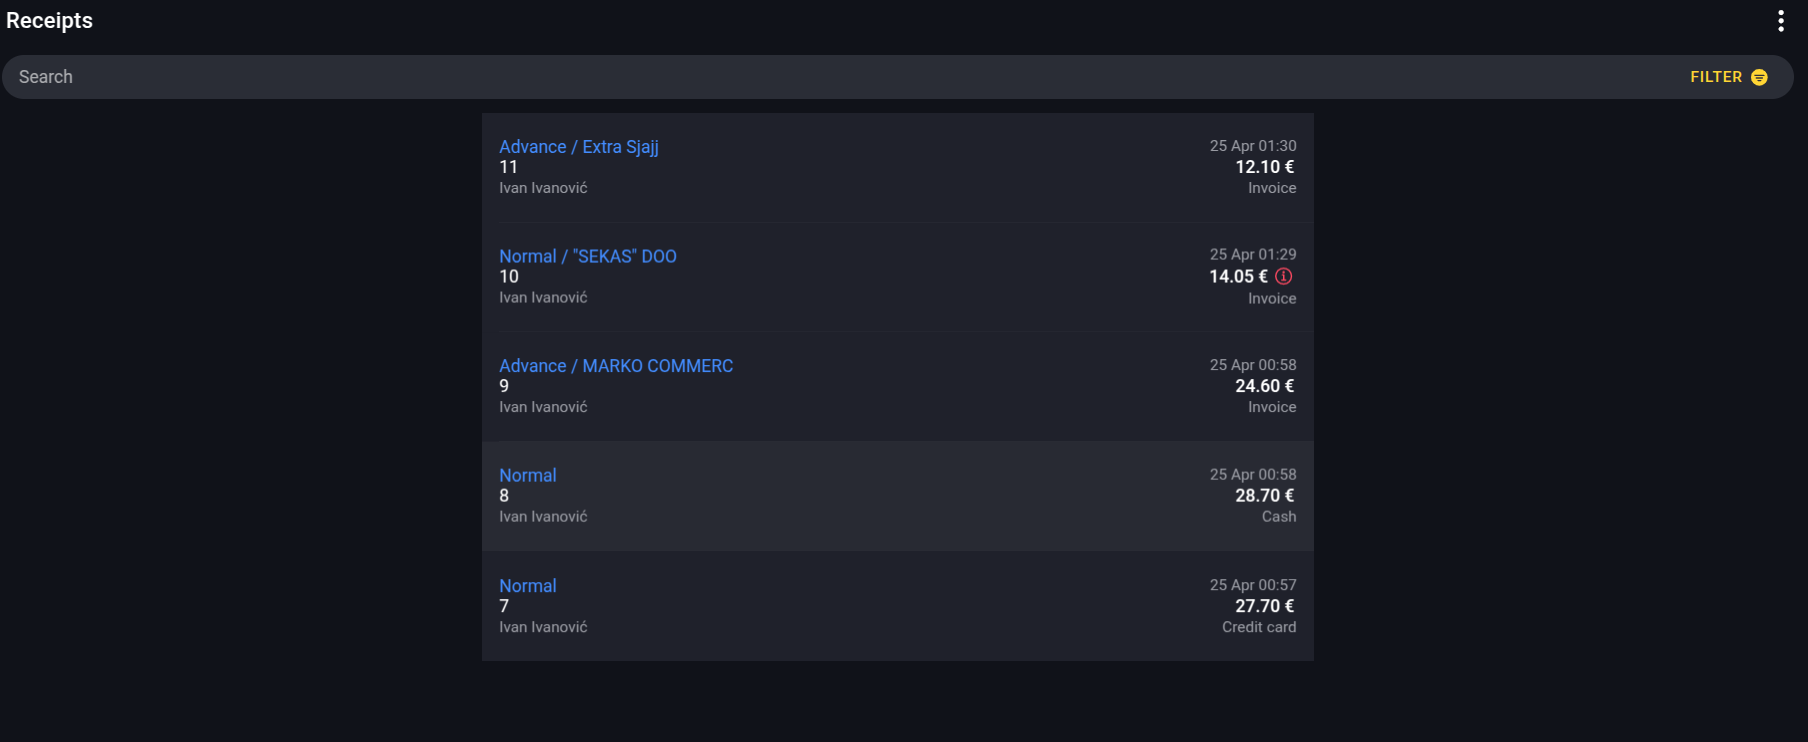
Receipts
This page allows us to view and search all previously issued receipts. In addition to viewing and searching receipts, we can create a copy of a receipt, cancel an existing sales receipt (issue a refund for a specific receipt), etc.
Search Receipts and Filters
For basic receipt search, use the Search field, where you can enter the word you want to search for a receipt. The field is marked in the following image:
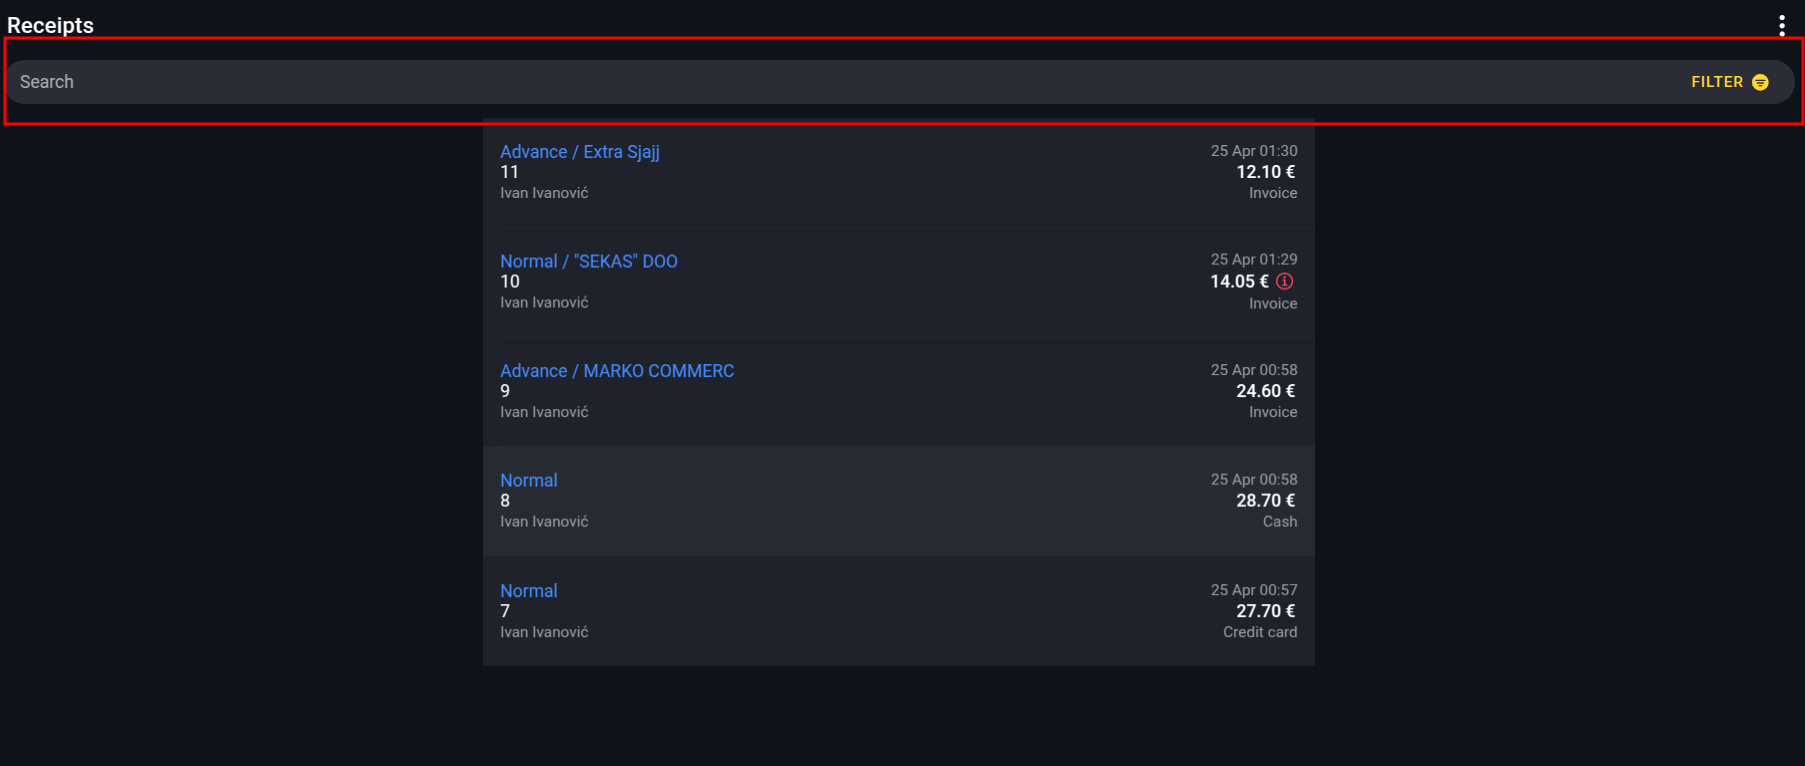
Receipt search field
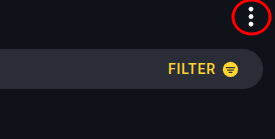
For advanced receipt search, clicking on the FILTER button located to the right of the receipt search field will open a new section with a series of fields for conducting searches:
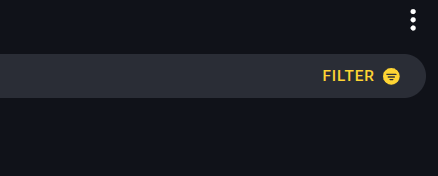
Button for advanced receipt search
The advanced search can filter receipts by one parameter or multiple parameters at once. Clicking FILTER button opens the following window:
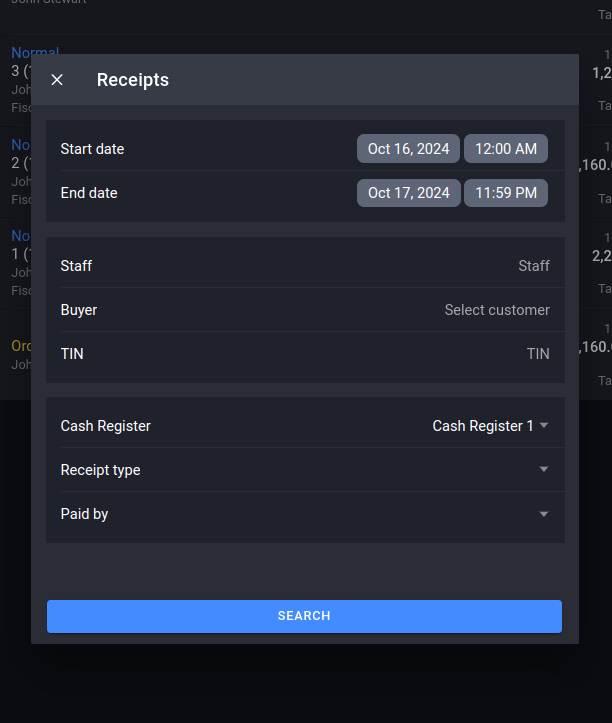
Window for advanced receipt search
You can search by:
- start and end date of receipt issuance
- staff
- buyer
- TIN
- cash register
- type of receipt
- payment method
By clicking SEARCH, the results with selected filters will be displayed.
Receipt Preview
By clicking on a receipt, the preview window will appear. For example, a sales receipt will look like this:
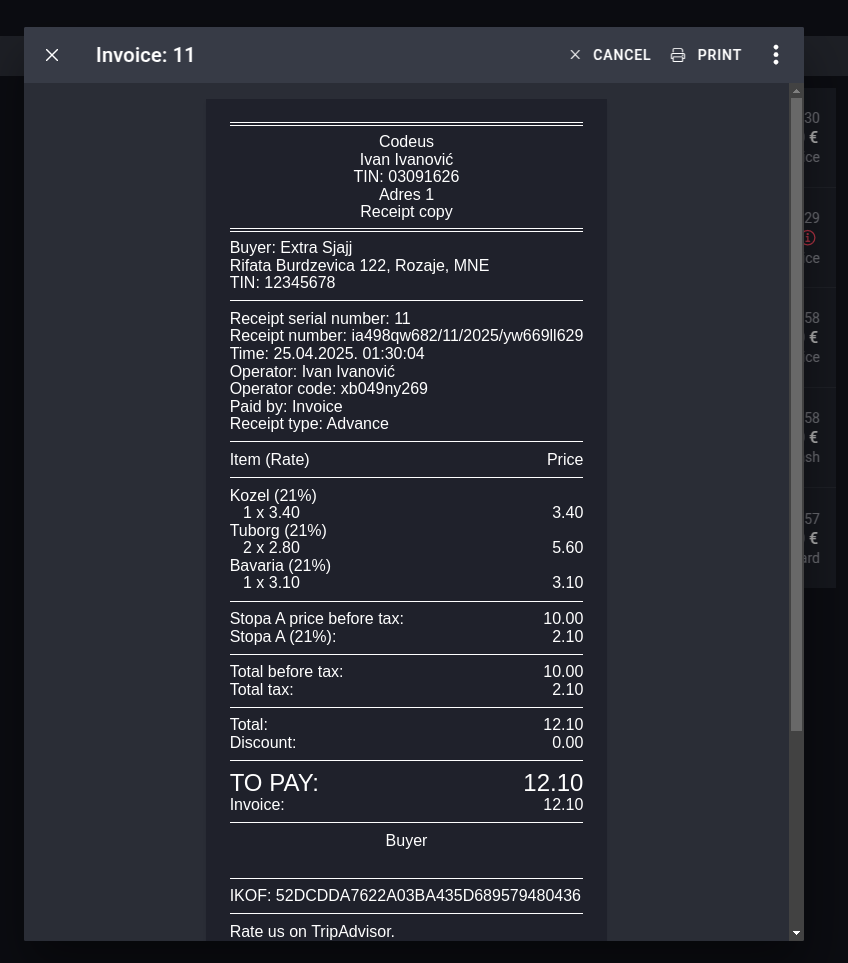
Sales receipt preview
Manage Receipt Options
You can access basic options for the receipt by clicking on the three dots in the corner of the receipt display after selecting the desired receipt. Depending on the type of receipt, the offered options will vary.
Cancel Receipt
If we want to cancel a previously issued receipt, we simply click on the CANCEL option located in the upper part above the receipt display.
Issue Receipt
This option is available only for proforma invoices. Based on a previously issued proforma invoice, we can later issue a receipt. After that, the following window will open:

Window for confirming receipt issuance based on a proforma invoice
Create New Advance Receipt
This option allows for issuing a new advance receipt that is linked to an existing advance receipt. It is used in cases where additional payment for a previously issued advance needs to be recorded, such as an additional amount that the client pays within the same order or job.
Issue Receipt For Advance
This allows for issuing a final advance receipt that sums all previous payments for a specific order or service. It is used when all planned advances have been paid and the final amount needs to be recorded before issuing the final receipt. After issuing this final advance, further issuance of advance receipts for the same job is no longer possible, as the advance part is complete. The final advance is then used to reduce the total amount when preparing the final receipt.
Correct Receipt
The option for correcting a receipt allows us to adjust the receipt by entering the quantity of items we want to refund.
NOTE: Once a receipt is corrected, it cannot be corrected or canceled again.
After clicking on the receipt we want to correct, by clicking on the three dots in the corner of the receipt preview window, we choose the Correct option. The explanation for correcting a receipt is provided at the top of the window in the yellow area:
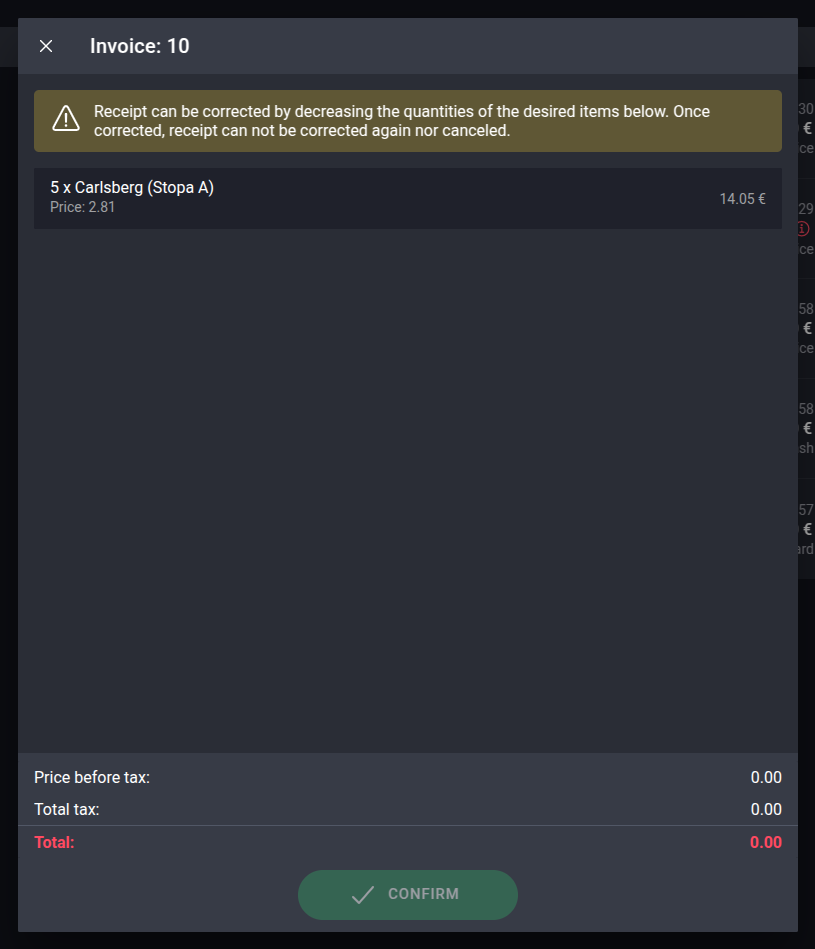
Window for correcting a receipt
Let's say we want to refund one copy of Paulaner beer. By clicking on Paulaner beer in the current window we see, a window will open for entering the number of copies we want to refund:
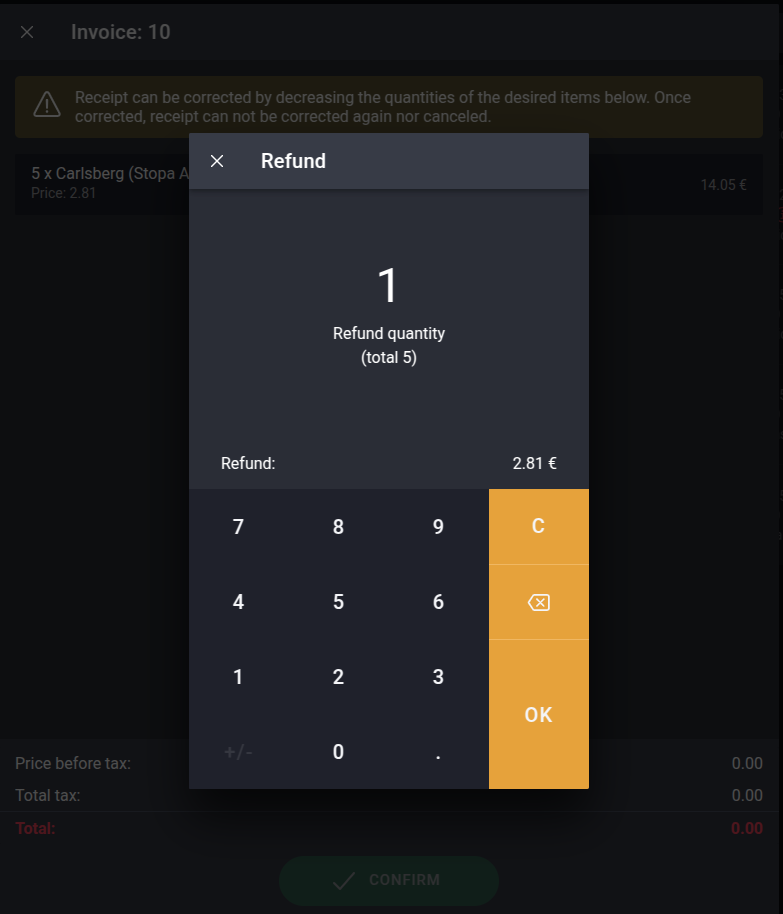
Window for entering a refund amount
We will enter 1 and click OK.

Window for correcting a receipt after entering the quantity of the item for refund
We see that it is marked that we want to cancel 1 quantity of Sierra Nevada beer. By clicking the green button CONFIRM at the bottom of the window, the next window for entering other items on the receipt will open if we want to change anything there as well. For our example, we will set the payment method to Voucher:
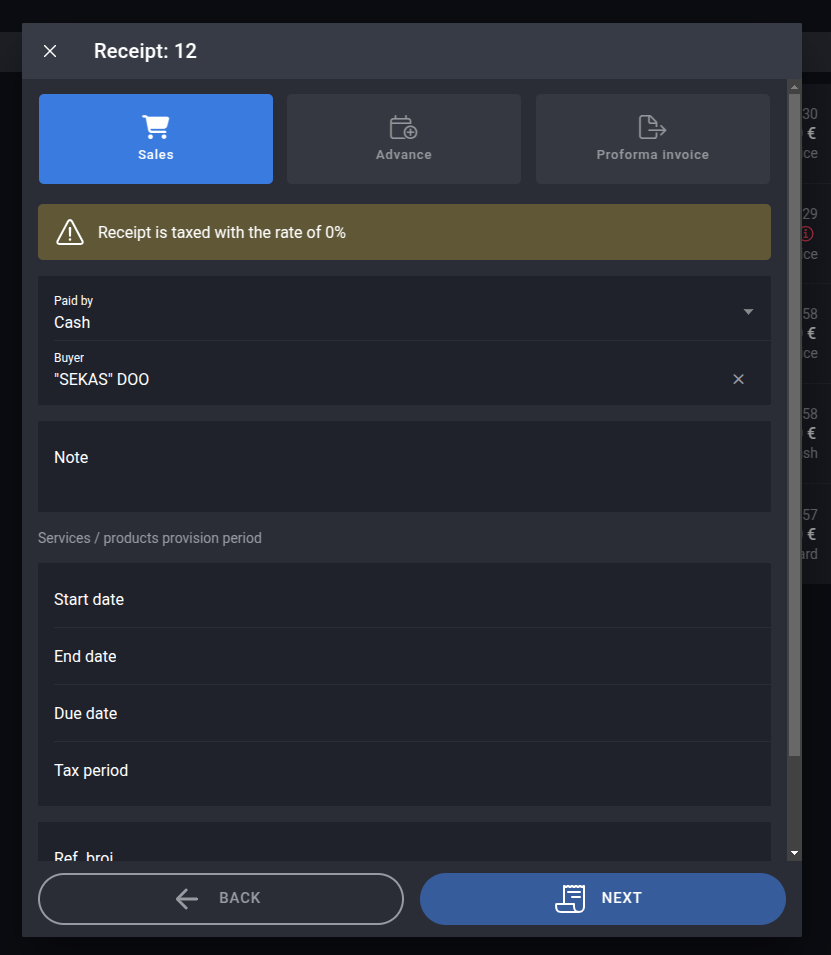
Window for displaying additional options for a receipt
By clicking NEXT, the screen for displaying the final appearance of the receipt will appear:
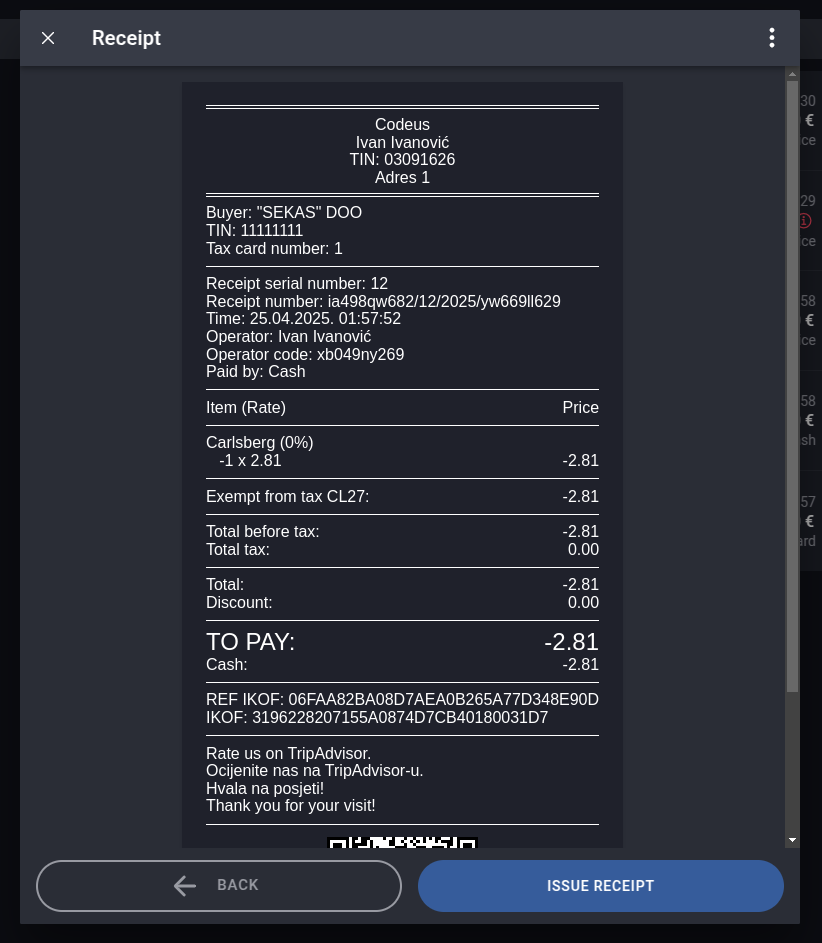
Window for displaying the final appearance of the receipt
To issue the receipt, click on ISSUE RECEIPT.
Issue Receipt Copy
If we want to issue a copy of a previously issued receipt, we need to open the desired receipt from the receipt overview and then select the option to Issue Receipt Copy from the menu that opens by clicking on the three dots in the upper right corner of the window. By selecting the format for printing the receipt, we issue a copy of the previously selected receipt.
A4 Format
By selecting this option, the currently selected receipt will be displayed in A4 format:
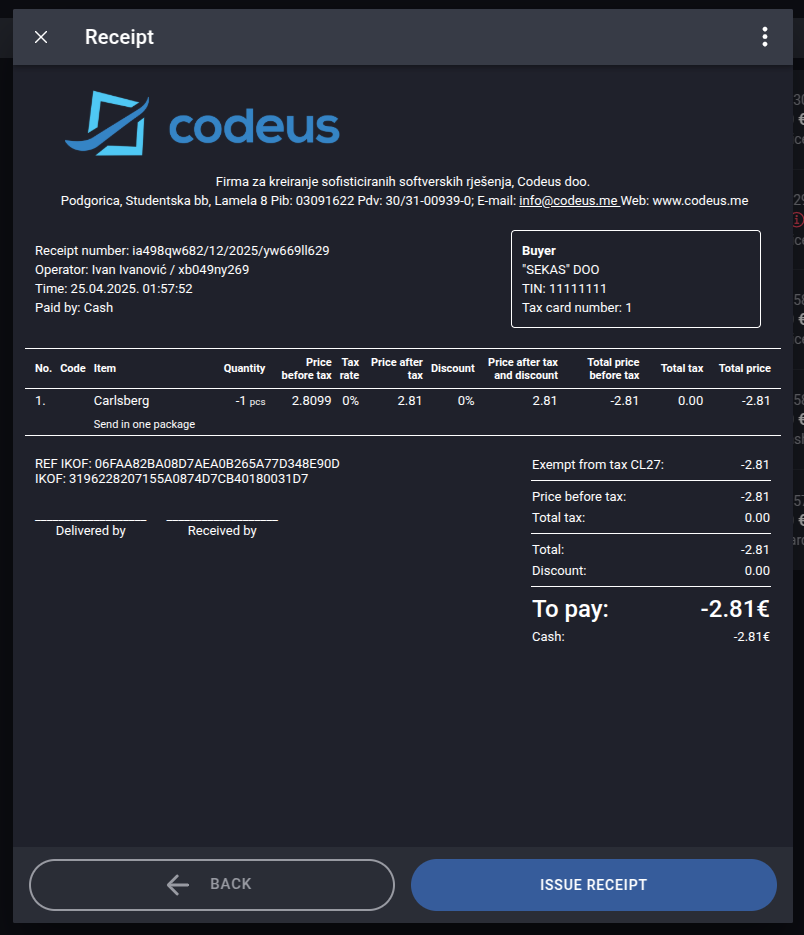
Receipt preview in A4 format
Regular Format
This option will only be displayed when showing the receipt in A4 format. By clicking on it, we will display the receipt in regular format:
Receipt preview in regular format
To return to A4 format, simply click on the three dots and select the A4 format option.
Save as PDF
By clicking this option, the receipt will be downloaded as a PDF file to your device.
Advanced Receipt Management Options
By clicking on the three dots in the upper right corner of the screen, advanced options for managing receipts open:
Advanced options for managing receipts
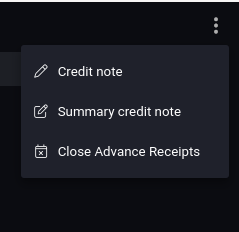
Advanced options for managing receipts
After selecting any of the offered options, it is possible to choose one or more receipts, depending on the previously selected option. After that, two options will appear in the upper right corner:
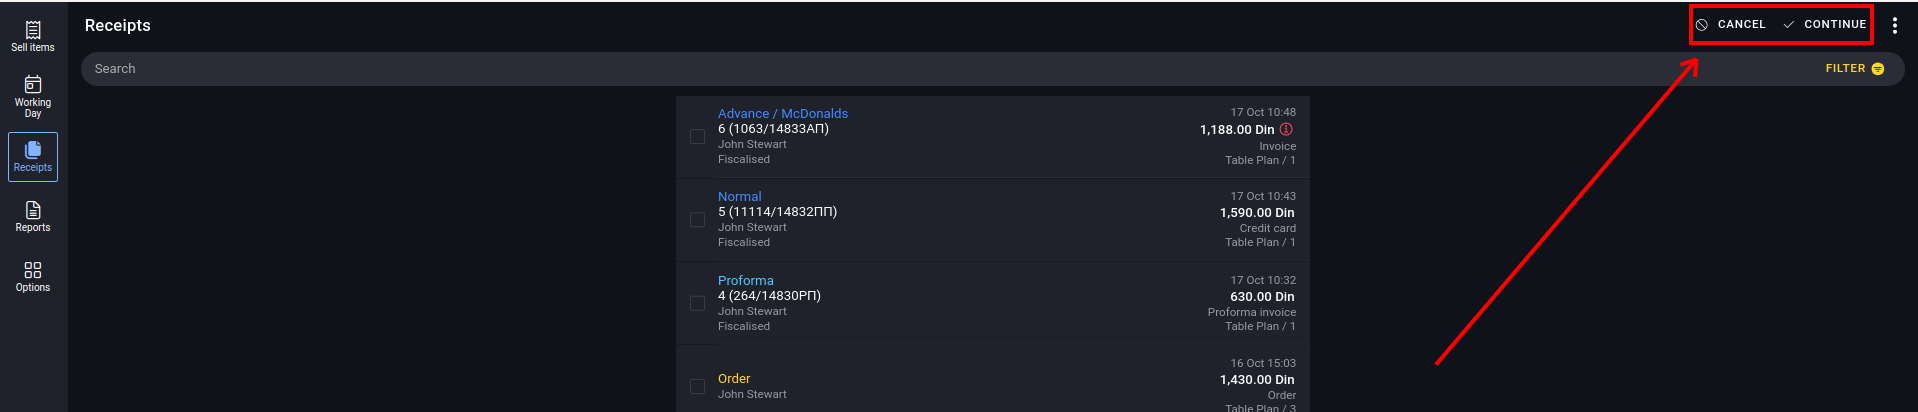
Advanced options for managing receipts
By clicking on CONTINUE, we proceed with the selected option, while clicking on CANCEL cancels the receipt selection and closes the advanced options.
Credit Note
- A credit note is a document that establishes that a certain business change has occurred, which reduces the customer's existing obligation under a specific invoice.
This option is only available for invoices that have a customer. After selecting the invoices for which we want to issue a credit note, click the CONTINUE button in the upper right corner, and the following window will appear:
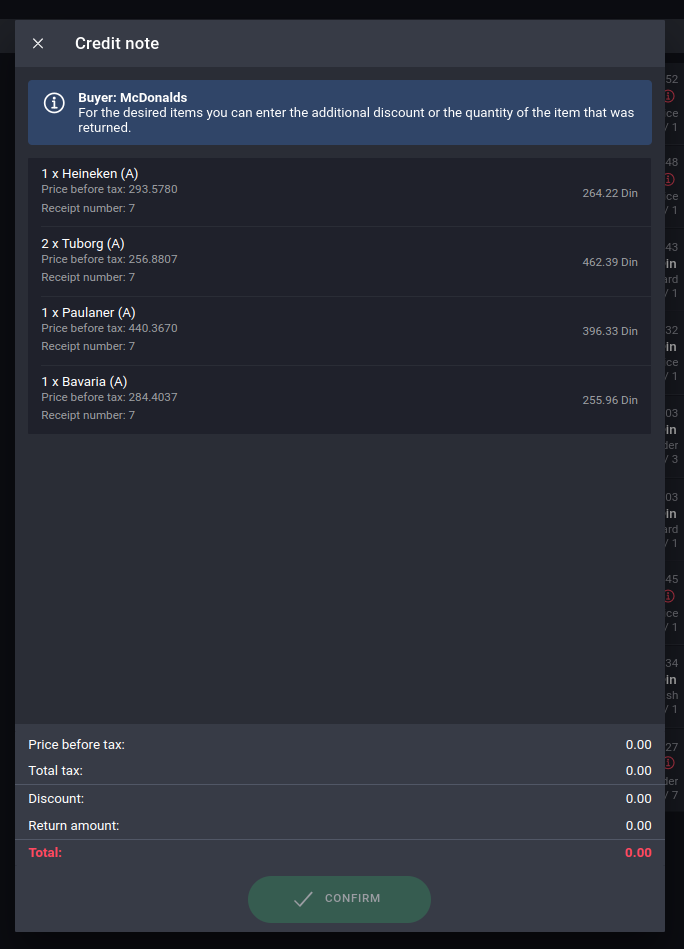
Credit Note Window
By clicking on the item from the invoice, further management options will be available:
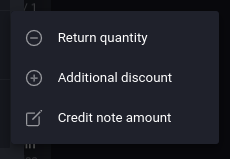
Options for Credit Note
For example, if we want to enter that the quantity for return of Paulaner beer is 1:
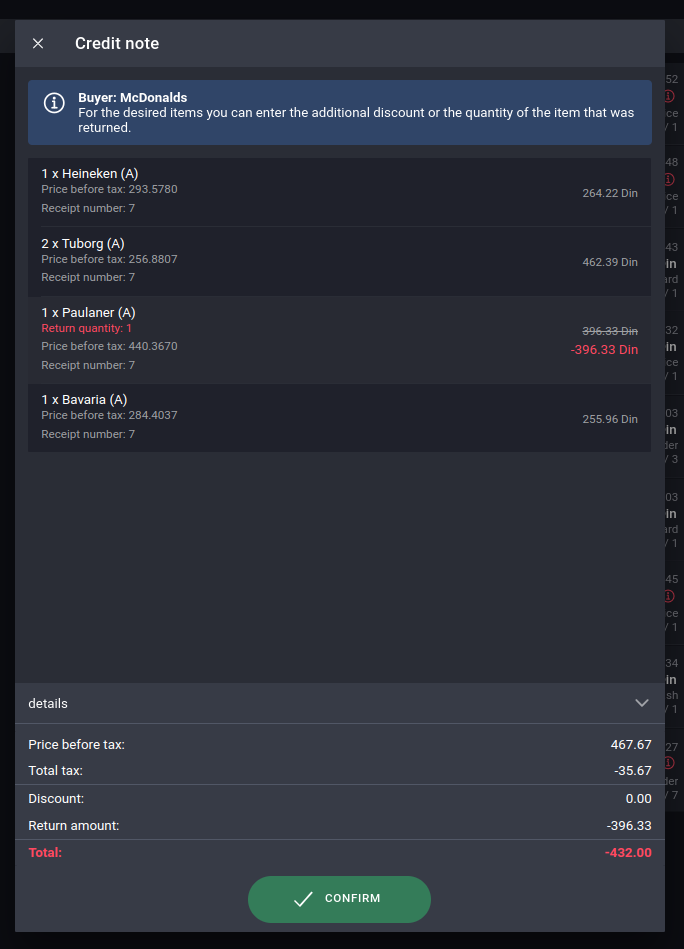
Options for Credit Note
Clicking on CONFIRM will validate the credit note.
Summary Credit Note
Similar to the Credit Note.
Close Advance Receipts
This option is only available for invoices of type Advance. After selecting this option and choosing the advances we want to close, clicking on CONTINUE will display a warning window:
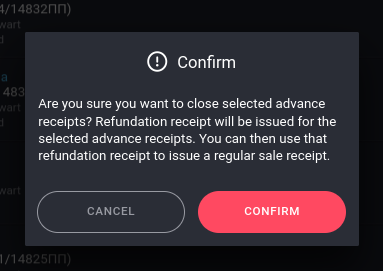
Confirmation Window for Closing Advance Invoices
Clicking on CONFIRM will close all advance invoices.